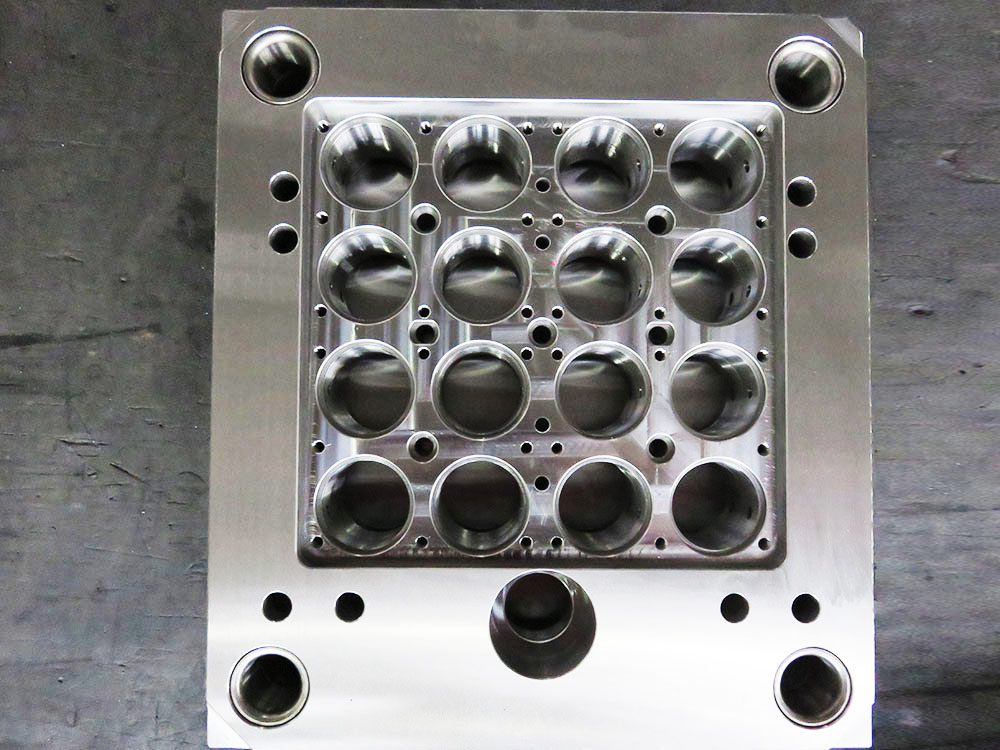
How to Interpret Dimension Formats on Architectural Scale Drawings
Architectural scale drawings play a crucial role in the Mold Base industry, providing detailed plans and measurements for the construction and manufacturing of mold bases. However, interpreting the dimension formats on these drawings can be a challenging task. In this article, we will explore the key aspects of interpreting dimension formats on architectural scale drawings, ensuring clear communication and accurate understanding of the specifications.
1. Decimal and Fractional Dimension Formats
Architectural scale drawings commonly use decimal and fractional dimension formats to represent measurements. Decimal dimensions are displayed as whole numbers or with one or more decimal places (e.g., 12 or 12.5), while fractional dimensions are presented as fractions (e.g., 1/2 or 3/4).
2. Scaling and Annotation on Drawings
Proper scaling and annotation are crucial on architectural scale drawings to accurately represent the dimensions. Scaling allows the drawing to be a proportional representation of the actual size, while annotation provides additional information and clarifies any uncertainty. It is important to refer to the drawing scale and annotations to correctly interpret the dimensions.
3. Understanding Dimension Lines and Extension Lines
Dimension lines indicate the extent of a particular measurement, while extension lines extend from the object being measured to the dimension line. These lines may be labeled with numbers or symbols to indicate the distance or dimension. Careful examination of the dimension lines and extension lines is necessary to identify the correct measurement.
4. Differentiating Between Length, Width, and Height
Architectural scale drawings often include dimensions for length, width, and height. It is essential to identify and differentiate between these dimensions accurately, as they form the basic parameters of the mold base. Length dimensions represent the longest measurement, width dimensions indicate the shortest measurement perpendicular to the length, and height dimensions depict the vertical measurements.
5. Paying Attention to Tolerances
Tolerances are important considerations in the Mold Base industry, as they define the acceptable deviation from the specified dimensions. Tolerances are typically specified in units such as inches or millimeters and are mentioned as a plus or minus value (e.g., ±0.025). It is crucial to understand and adhere to these tolerances for ensuring the proper functioning of the mold base.
6. Referencing the Drawing Legend and Specifications
Architectural scale drawings often include a legend or specifications section, which provides essential details and explanations for the dimensions used in the drawing. It is important to refer to this section to gain a comprehensive understanding of the dimension formats and any specific conventions or symbols used.
7. Consulting Relevant Standards and Guidelines
The Mold Base industry follows standard practices and guidelines, such as those established by organizations like the International Organization for Standardization (ISO). These standards provide consistent guidelines for interpreting dimension formats and ensure uniformity across architectural scale drawings. Consulting these standards can provide further clarity and accuracy in interpreting the dimensions.
By following these guidelines and paying attention to the details, one can effectively interpret dimension formats on architectural scale drawings in the Mold Base industry. Accurate interpretation is crucial to ensure the successful fabrication and construction of mold bases, leading to high-quality end products.


