Learning to interpret machining diagrams in Mold Base industry
The Mold Base industry is a vital part of the manufacturing sector, providing the foundation for the production of various molds. Understanding machining diagrams is crucial for professionals in this field, as it enables them to interpret and communicate design specifications accurately. This article aims to outline the key aspects of learning to interpret machining diagrams in the Mold Base industry.
Anatomy of a machining diagram
Before delving into the process of interpreting machining diagrams, it is essential to familiarize oneself with their anatomy. A typical machining diagram consists of several crucial elements: dimensions, symbols, features, and notations. Dimensions are essential measurements that define the shape, size, and relative positions of various features on the mold base. Symbols convey information about specific machining operations or processes, such as drilling, milling, or tapping. Features represent the physical characteristics of the mold base, such as holes, slots, or pockets. Notations provide additional instructions or clarifications regarding the machining requirements.
Interpreting dimensions
Dimensions are fundamental in machining diagrams as they define the precise measurements required for machining operations. It is crucial to understand the different types of dimensions typically included in machining diagrams. Linear dimensions indicate the length, width, or height of features, while angular dimensions measure the angles between different surfaces or features. Diameter dimensions specify the size of circular or cylindrical features, while radius dimensions define the curvature of rounded corners. It is vital to interpret dimensions accurately to ensure the machining process produces the desired outcome.
Decoding symbols
Symbols play a significant role in machining diagrams as they represent specific machining operations or processes. It is essential to become familiar with the common symbols used in the Mold Base industry. For example, a circle with a dot in the center represents a drilled hole, while an "X" symbol indicates a tapped hole. A square with a diagonal line indicates a milled slot, and parallel lines represent a surface that needs to be machined flat. Understanding these symbols allows professionals to identify the required operations accurately and select the appropriate tools and techniques accordingly.
Identifying features
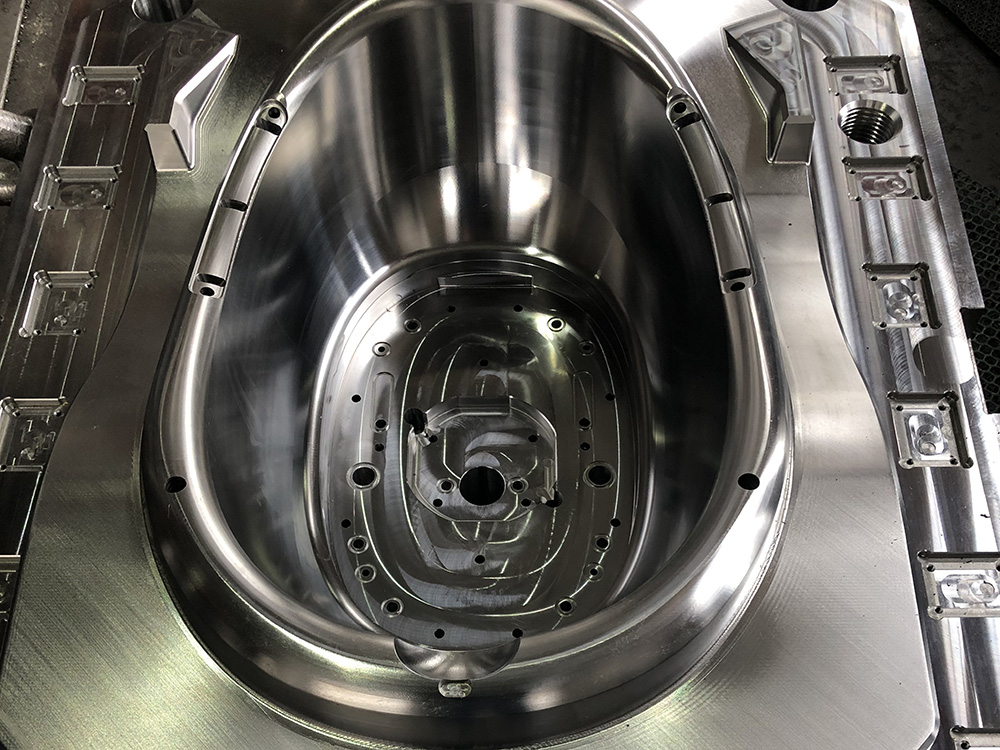
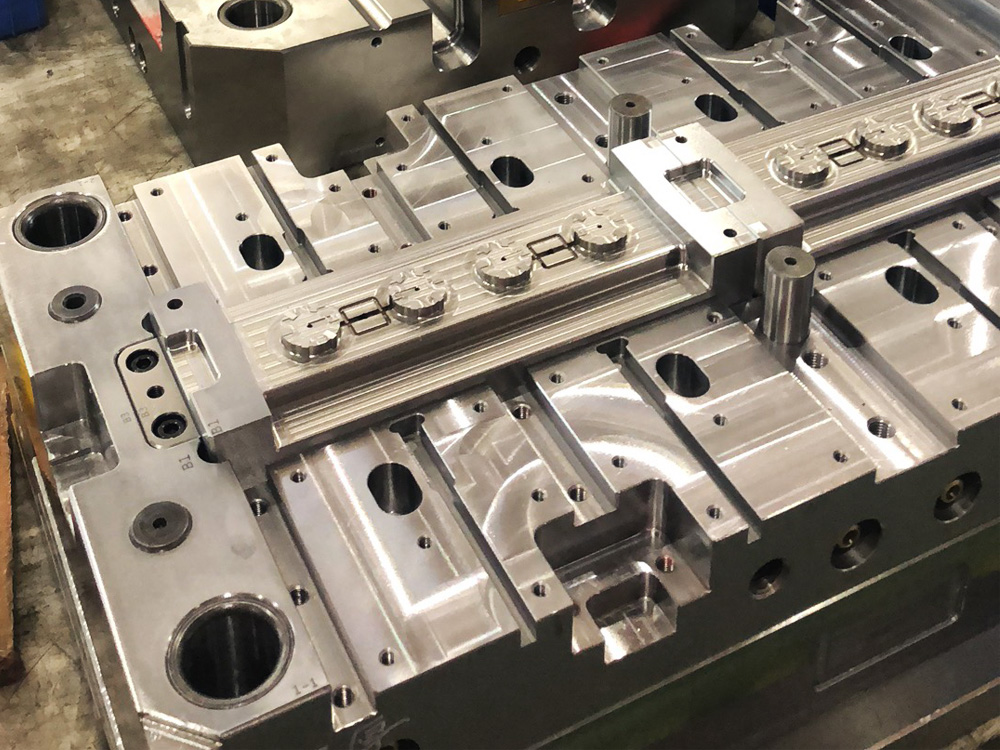
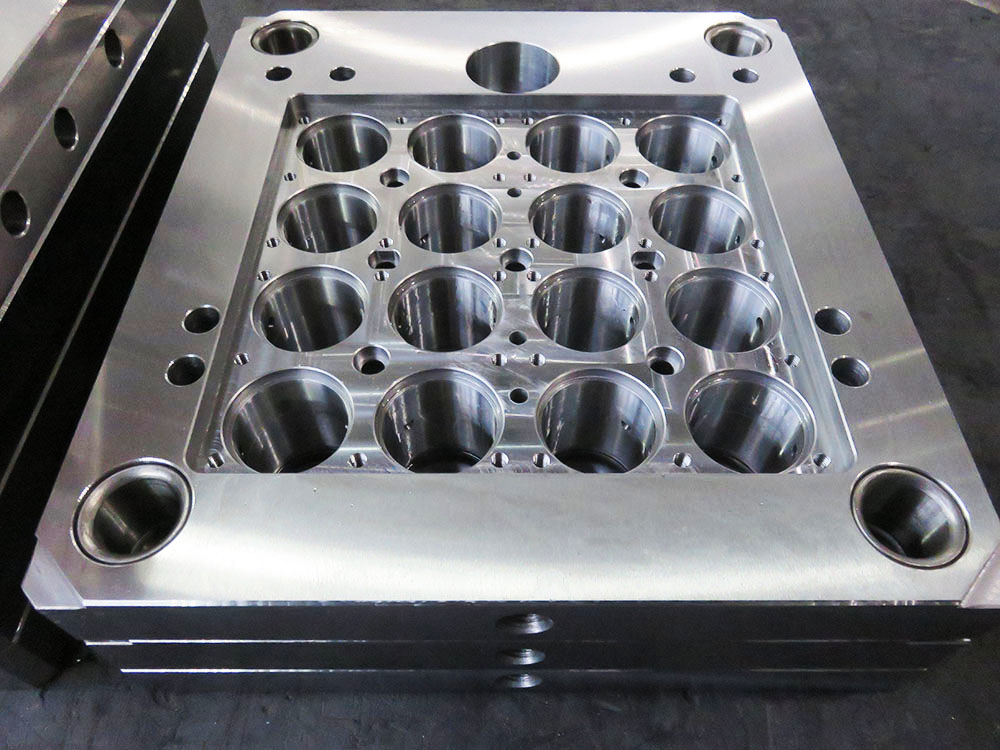
Features depicted in machining diagrams represent the physical characteristics of the mold base that require machining. These features can include holes, pockets, slots, or any other shape that needs to be created through the machining process. It is crucial to identify and interpret these features correctly to ensure that the final product meets the design specifications. Careful attention should be given to the shape, size, and position of each feature to ensure accurate machining.
Understanding notations
In addition to dimensions, symbols, and features, machining diagrams often include notations that provide additional instructions or clarifications. These notations can provide details on tolerances, surface finishes, or any special requirements that need to be considered during the machining process. Understanding and interpreting these notations accurately ensure that the mold base is machined to the required standards and specifications.
Conclusion
Learning to interpret machining diagrams in the Mold Base industry is a crucial skill for professionals involved in mold manufacturing. By understanding the anatomy of machining diagrams, interpreting dimensions accurately, decoding symbols, identifying features, and understanding notations, professionals can ensure precise and efficient machining operations. Developing proficiency in interpreting machining diagrams enhances communication, reduces errors, and ultimately leads to the production of high-quality mold bases.


