How to Determine the Coordinates of the Guide Column on a Car Model
Guide columns play a crucial role in the mold base industry, especially in car manufacturing. They ensure the accurate alignment and movement of parts during the manufacturing process. Determining the coordinates of the guide column on a car model is essential for achieving precise and efficient mold bases. In this article, we will discuss the systematic approach to determining these coordinates.
Step 1: Understand the Design Requirements
The first step involves understanding the design requirements of the car model and the specific function of the guide column. This includes analyzing the part drawings, assembly drawings, and specifications provided by the automobile manufacturer. In addition, it is important to study the tolerances and quality standards that must be met.
Step 2: Identify the Reference Points
To determine the coordinates of the guide column, it is necessary to identify the reference points on the car model. These points serve as benchmarks for the entire measurement process. They are typically well-defined features on the car body or frame, such as mounting holes, centerlines, or edges.
Step 3: Establish a Coordinate System
With the reference points identified, the next step is to establish a coordinate system. This involves defining a set of axes based on the chosen reference points. The coordinate system provides a consistent and logical framework for measurements.
Step 4: Conduct Measurements
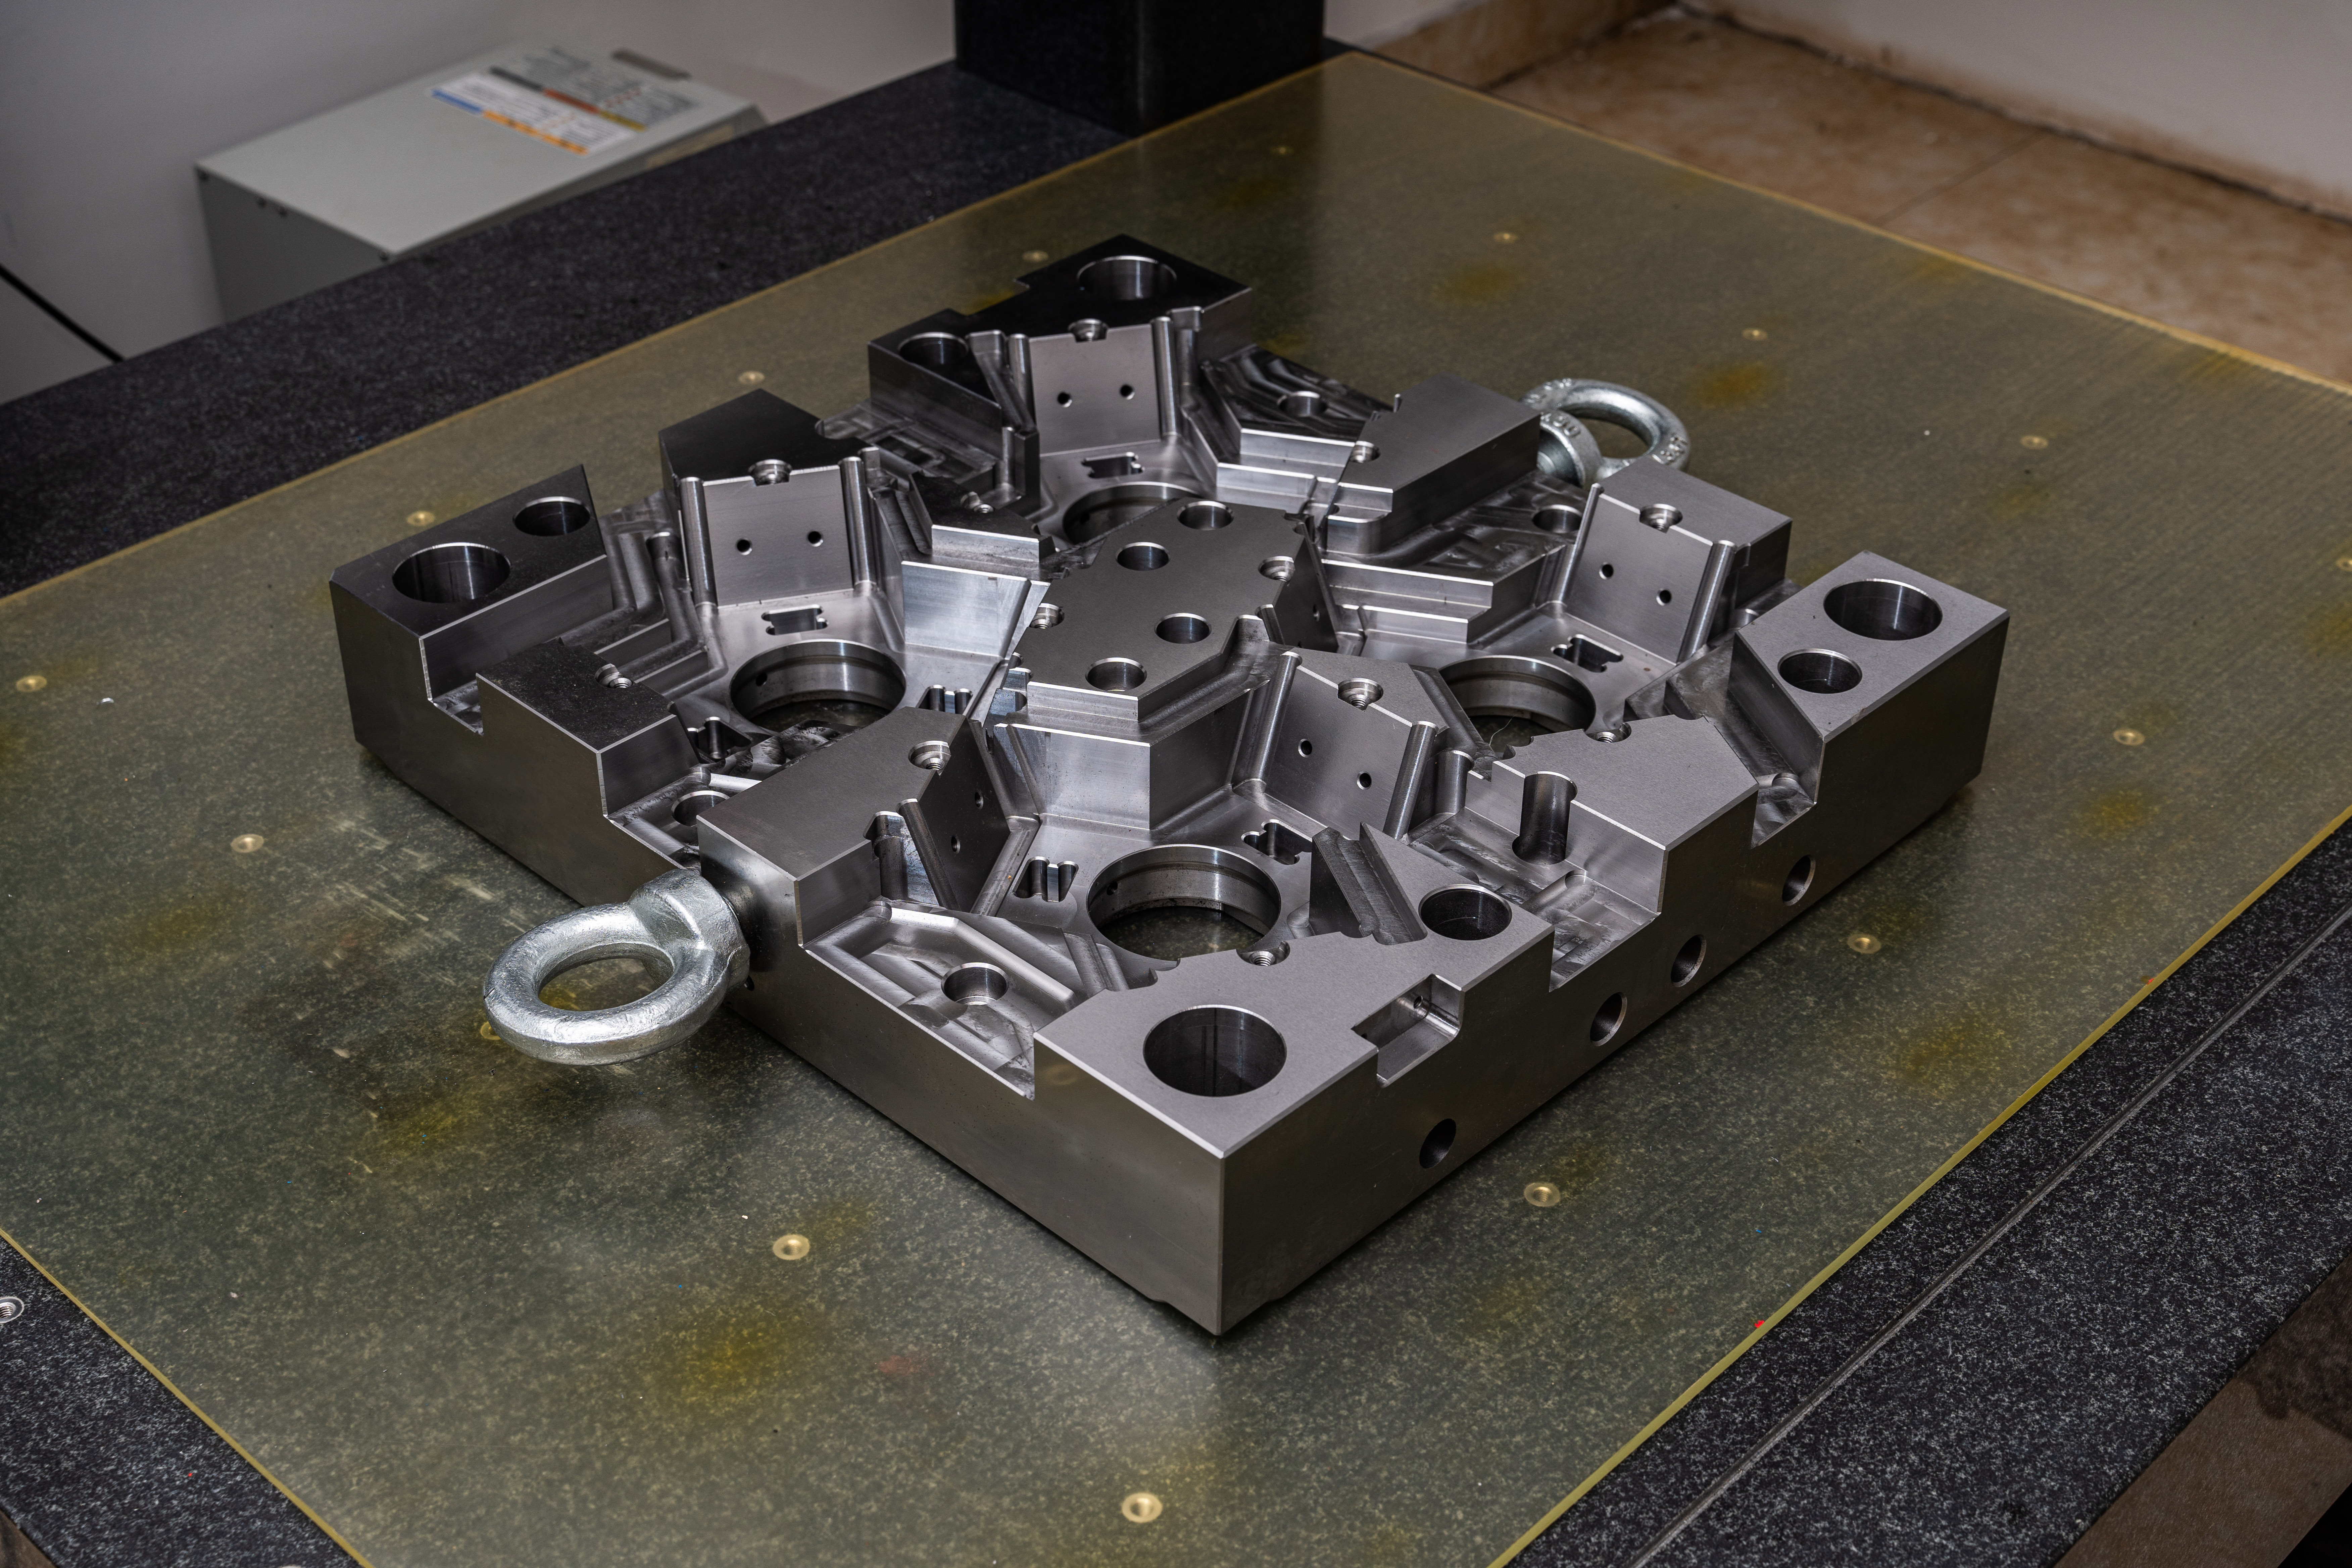
Using advanced measurement tools such as coordinate measuring machines (CMMs) or laser scanning devices, measurements are taken at specific locations on the car model. The measurements include distances, angles, and other relevant dimensions.
Step 5: Data Analysis
Once the measurements are obtained, the data is analyzed to calculate the coordinates of the guide column. This step often requires specialized software that can process the collected data and perform complex mathematical calculations.
Step 6: Verification and Adjustment
After the initial calculation of the guide column coordinates, a verification process is conducted to ensure accuracy. This may involve re-measuring specific areas or comparing the calculated coordinates with the design requirements. If any discrepancies are found, adjustments are made to the coordinate values.
Step 7: Documentation
The final step involves documenting the determined coordinates of the guide column. This documentation serves as a reference for future manufacturing processes, quality control, and maintenance.
In conclusion, determining the coordinates of the guide column on a car model is a systematic and meticulous process. By following the steps outlined in this article and utilizing advanced measurement techniques and software, precise and efficient mold bases can be achieved in the mold base industry.


