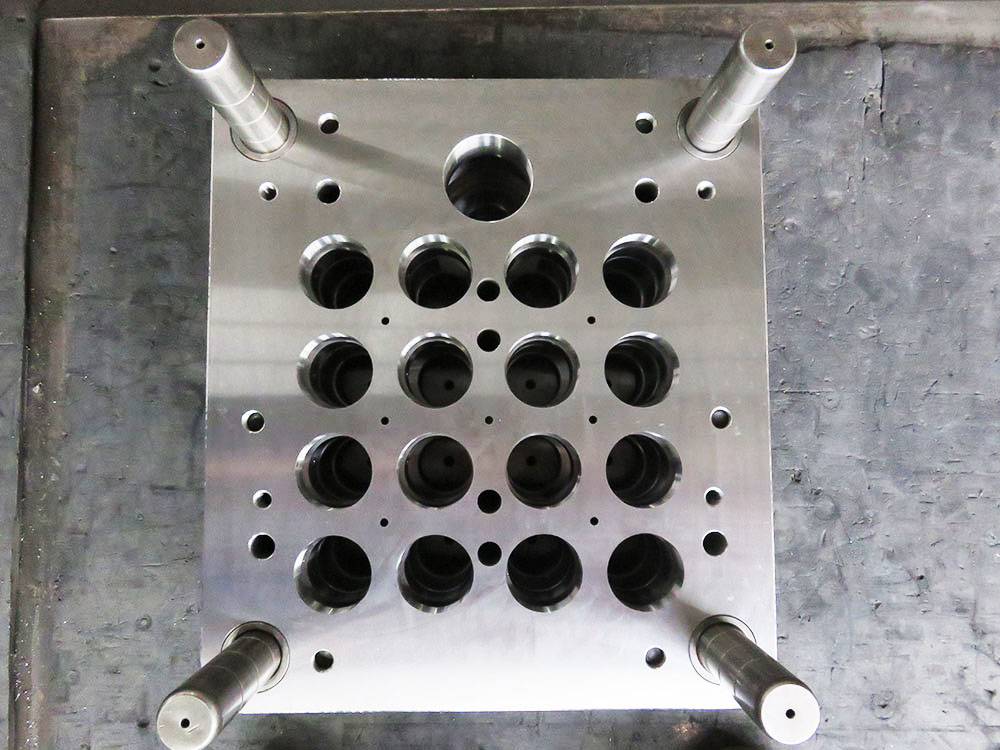
How to Dismantle the Clasp of the Injection Molding Machine Frame?
In the mold base industry, the dismantling of the clasp of an injection molding machine frame is a crucial step in maintenance and repair. This process requires precision, careful handling, and knowledge of the structure of the machine. In this article, we will provide a step-by-step guide on how to dismantle the clasp efficiently and effectively.
Step 1: Preparation
Before starting the dismantling process, it is essential to ensure the machine is turned off, and all power sources are disconnected. This guarantees the safety of the operator and prevents any accidents during the dismantling procedure.
Step 2: Identify the Clasp Components
Understanding the different components of the clasp is crucial for a smooth dismantling process. The clasp generally consists of a locking mechanism, screws, bolts, and clamping plates. Familiarize yourself with these components to better understand their interconnections.
Step 3: Remove the Bolts and Screws
Begin by locating and removing the bolts and screws that secure the clasp to the machine frame. Use appropriate tools such as wrenches or screwdrivers to loosen and remove them. Remember to keep the bolts and screws in a safe place for reassembling later.
Step 4: Release the Locking Mechanism
The clasp is designed to hold the mold securely in position during the injection molding process. To dismantle it, you need to release the locking mechanism. This might involve turning a lever or adjusting a knob to disengage the clamping plates. Refer to the machine's manual for specific instructions on how to release the lock properly.
Step 5: Carefully Dismantle the Clasp
Once the locking mechanism is released, you can now proceed to dismantle the clasp itself. Start by separating the clamping plates from the machine frame, ensuring a steady and controlled movement. Avoid any sudden jerks or excessive force that could potentially damage the clasp or other machine components.
Step 6: Clean and Inspect
After removing the clasp, it is essential to thoroughly clean and inspect its components for any signs of wear, damage, or dirt accumulation. Use appropriate cleaning agents and tools to ensure the clasp is ready for reassembly or potential replacement if necessary.
Step 7: Reassembling the Clasp
When all maintenance or repairs are complete, it is time to reassemble the clasp. Start by carefully aligning the clamping plates with the machine frame, making sure they fit securely and snugly in place. Then, use the bolts and screws that were previously removed to reattach the clasp. Ensure that all connections are tightened properly and the clamping force is evenly distributed.
Conclusion
Dismantling the clasp of an injection molding machine frame in the mold base industry requires meticulous attention to detail and proper execution. By following the steps outlined in this guide, you can successfully dismantle the clasp, conduct maintenance or repairs, and ensure the efficient functioning of the injection molding machine. Remember, safety should always be a priority, and seeking guidance from machine manuals or professionals is crucial whenever in doubt.


