Introduction
The inspection process plays a critical role in ensuring the quality and accuracy of support frameworks used in the mold base industry. In this record, we will discuss the parallel inspection method employed for evaluating support frameworks, emphasizing its significance and procedures.Procedure
1. Preliminary Inspection
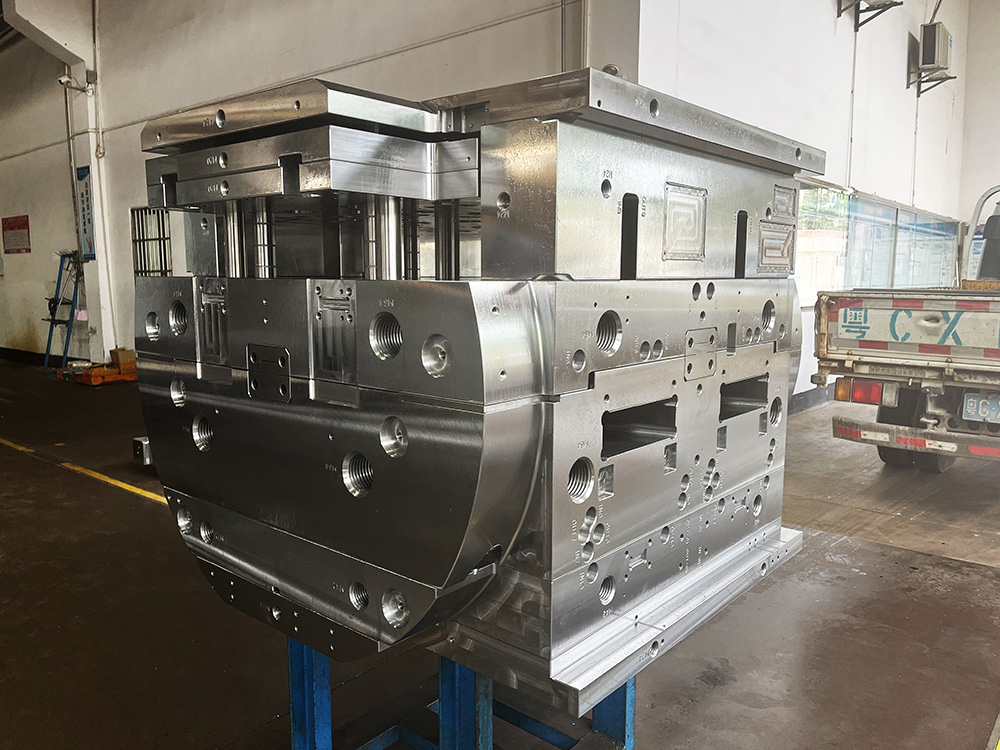
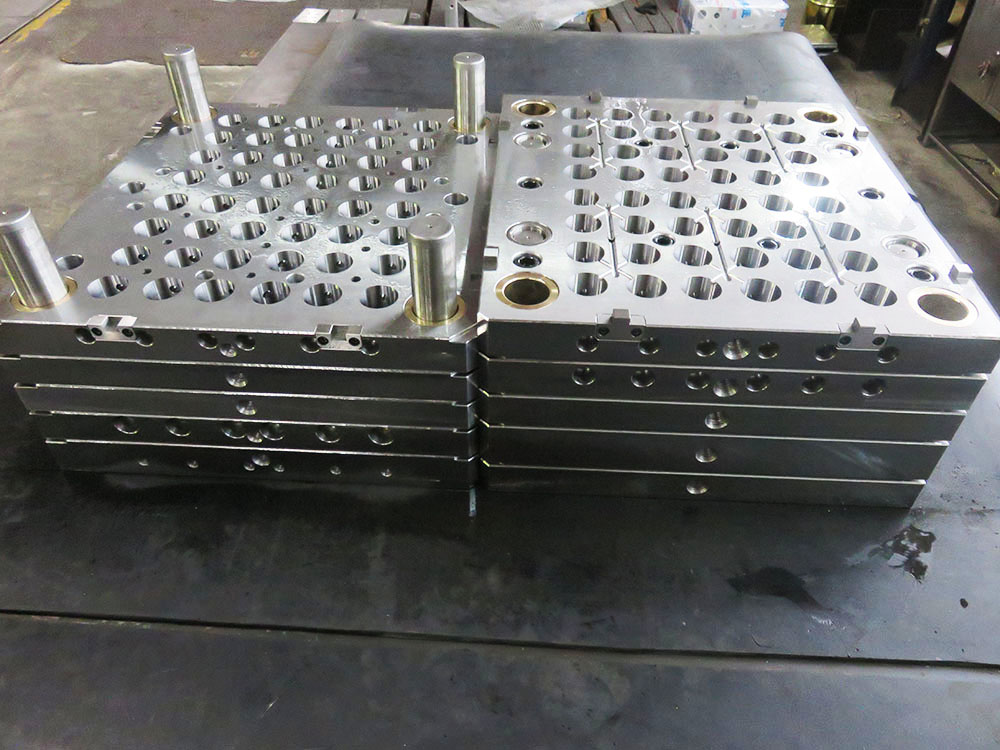
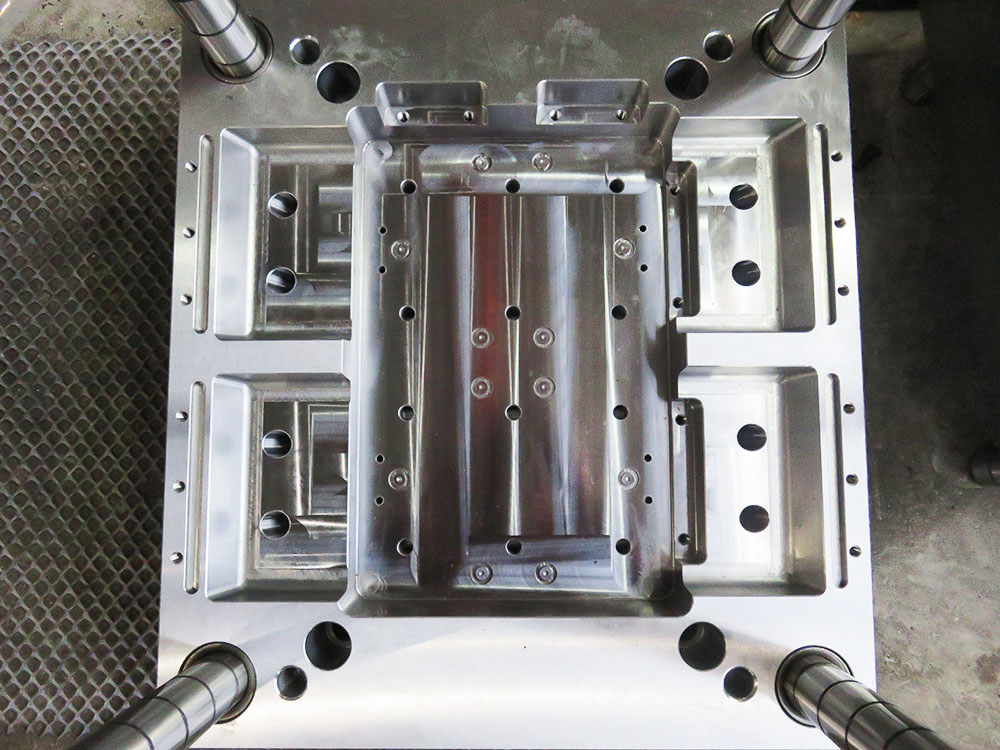
During the preliminary inspection phase, a visual examination is conducted to identify any apparent defects or abnormalities in the support frameworks. This includes checking for surface imperfections, structural flaws, or any signs of wear and tear.2. Precise Measurement
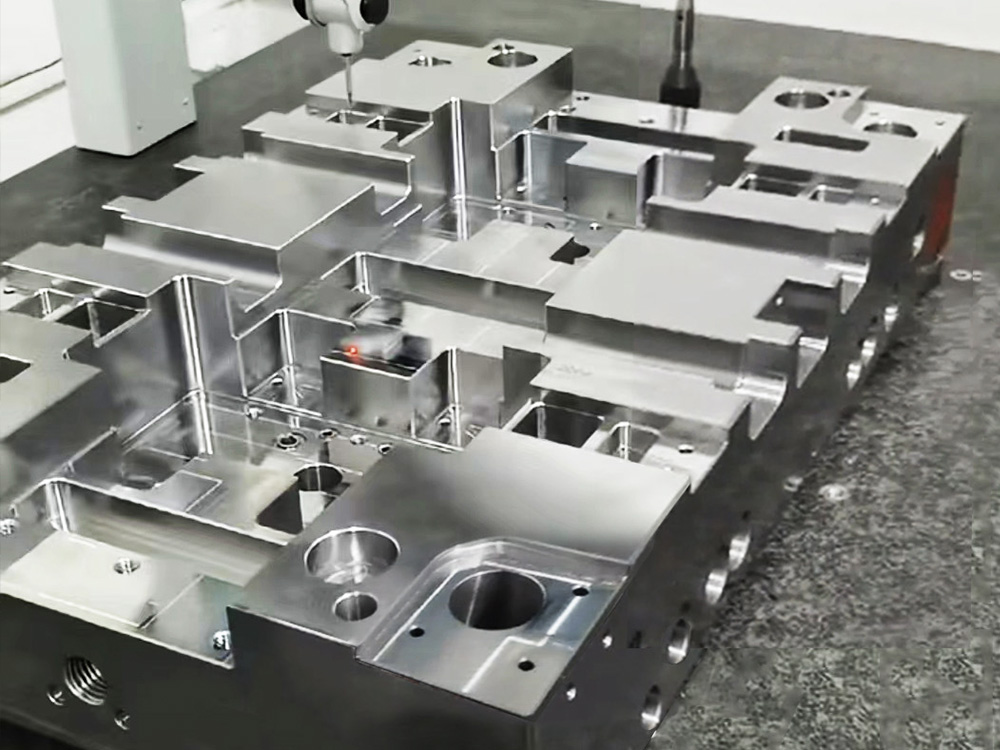
Accurate measurements are crucial to determine if the support frameworks meet the required specifications. The parallel inspection method involves using advanced measurement tools to assess critical dimensions, including length, width, height, and hole positioning, among others.3. Comparative Analysis
A comparative analysis is performed to assess the dimensional tolerances of the support frameworks. This involves comparing the measured values against the design specifications. Deviations outside the acceptable tolerance limits are documented and addressed accordingly.4. Functional Testing
The functional testing stage evaluates the support frameworks' performance by subjecting them to realistic conditions. This includes assessing their load-bearing capacity, stability, and the ability to withstand external forces and vibrations. Any issues encountered are promptly recorded for rectification.5. Documentation
Accurate documentation is an integral part of the parallel inspection process. Detailed records are maintained for each support framework, including inspection results, measurements, comparative analysis, functional test outcomes, and any corrective actions taken. This ensures transparency and traceability for future reference.Significance
The parallel inspection of support frameworks offers several benefits to the mold base industry:
1. Quality Assurance
By employing a systematic inspection method, the quality and reliability of support frameworks are ensured. This leads to improved product quality and minimizes the risk of failure or malfunction in the mold base assembly process.2. Precision and Accuracy
Parallel inspection allows for precise measurement and dimensional analysis, ensuring that the support frameworks meet the required specifications. This ensures compatibility and interchangeability with other mold base components.3. Time and Cost Efficiency
By identifying and rectifying potential issues during the inspection stage, the parallel inspection method helps to avoid costly and time-consuming rework or replacement in the later stages of production.4. Compliance with Standards
The parallel inspection process ensures compliance with industry standards and regulations, providing confidence to manufacturers and end-users in the reliability and safety of the mold base assembly.


