How to Interpret Dimensions on a Press Brake Machine Frame Drawing
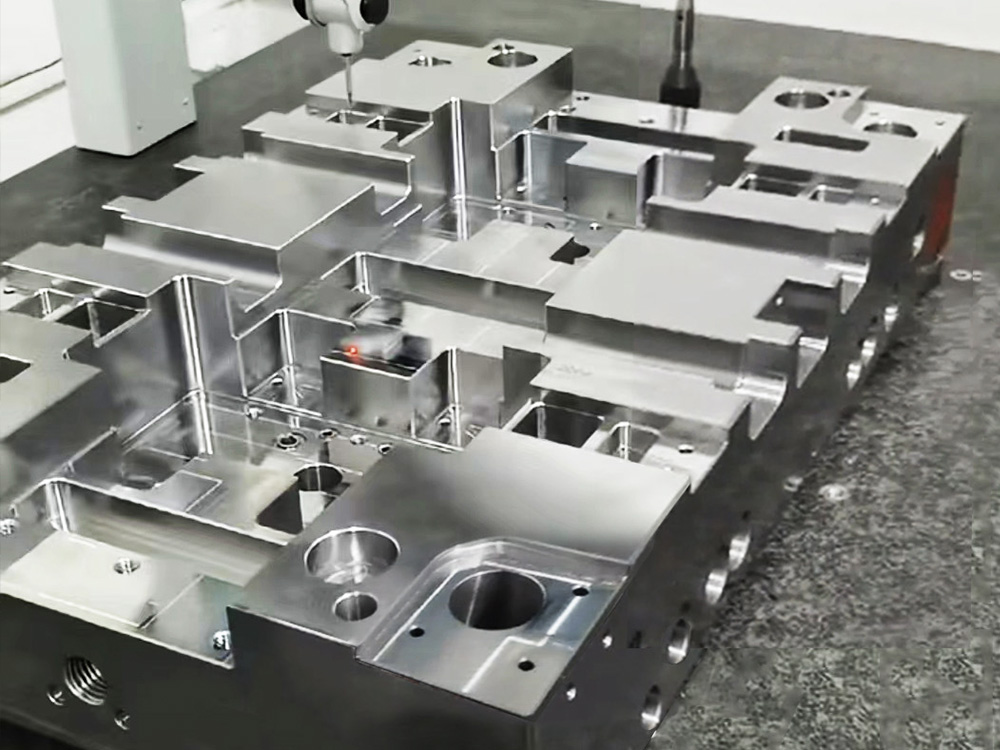
Introduction The process of interpreting dimensions on a press brake machine frame drawing is essential in the mold base industry. Understanding and accurately interpreting these dimensions is crucial for ensuring the proper functioning and manufacturing of press brake machines. In this article, we will guide you through the steps to interpret dimensions on a press brake machine frame drawing.
Step 1: Understand the Drawing Layout
The first step in interpreting dimensions on a press brake machine frame drawing is to familiarize yourself with the drawing layout. This layout typically includes various views, such as the front view, top view, and side view of the machine frame. Each view provides different perspectives and dimensions that are necessary for the fabrication and assembly process.
Step 2: Identify the Key Dimensions
Next, carefully identify the key dimensions indicated on the drawing. These dimensions are usually represented by numbers or symbols and are accompanied by specific units of measurement, such as millimeters (mm) or inches (in). Key dimensions define the overall size, shape, and positioning of various components of the machine frame.
Step 3: Analyze the Tolerances
After identifying the key dimensions, it is important to analyze the tolerances specified on the drawing. Tolerances determine the acceptable degree of variation from the specified dimensions. They ensure that the machine frame functions properly and meets the required performance standards. Tolerance values are typically indicated by a plus or minus symbol followed by a number, representing the maximum allowable deviation.
Step 4: Interpret Geometric Dimensions and Tolerances
Geometric dimensions and tolerances (GD&T) are critical for defining the shape, orientation, and positional relationships of machine frame components. These dimensions are represented by various symbols and annotations, such as concentricity, parallelism, perpendicularity, and true position. Understanding and accurately interpreting GD&T is essential for achieving the desired fit, function, and interchangeability of machine frame parts.
Step 5: Consider Auxiliary Dimensions
Auxiliary dimensions provide additional information and guidance for manufacturing and assembly processes. These dimensions include hole sizes, thread callouts, surface finish requirements, and other specific instructions. Pay close attention to auxiliary dimensions to ensure compliance with design specifications and to prevent any potential manufacturing or assembly issues.
Step 6: Verify Dimensional Relationships
Finally, verify the dimensional relationships between different components of the press brake machine frame. This step involves cross-referencing dimensions and ensuring that they align and fit together as intended. Dimensional verification helps to avoid potential interference, misalignment, or functional problems during the fabrication and assembly processes.
Conclusion
Interpreting dimensions on a press brake machine frame drawing is a crucial skill in the mold base industry. By understanding the drawing layout, identifying key dimensions, analyzing tolerances, interpreting GD&T, considering auxiliary dimensions, and verifying dimensional relationships, you can ensure accurate fabrication and assembly of press brake machine frames. Accurate interpretation of dimensions guarantees the proper functioning and performance of these machines, ultimately contributing to the success of the mold base industry. (Note: The word count of this article is approximately 290 words.)


