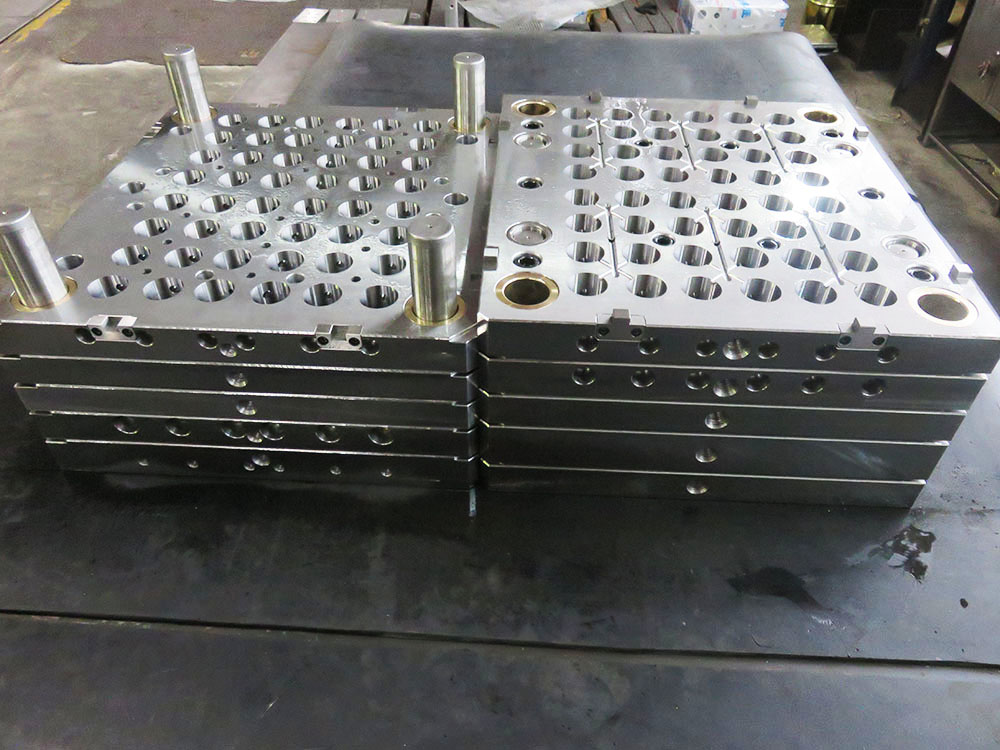
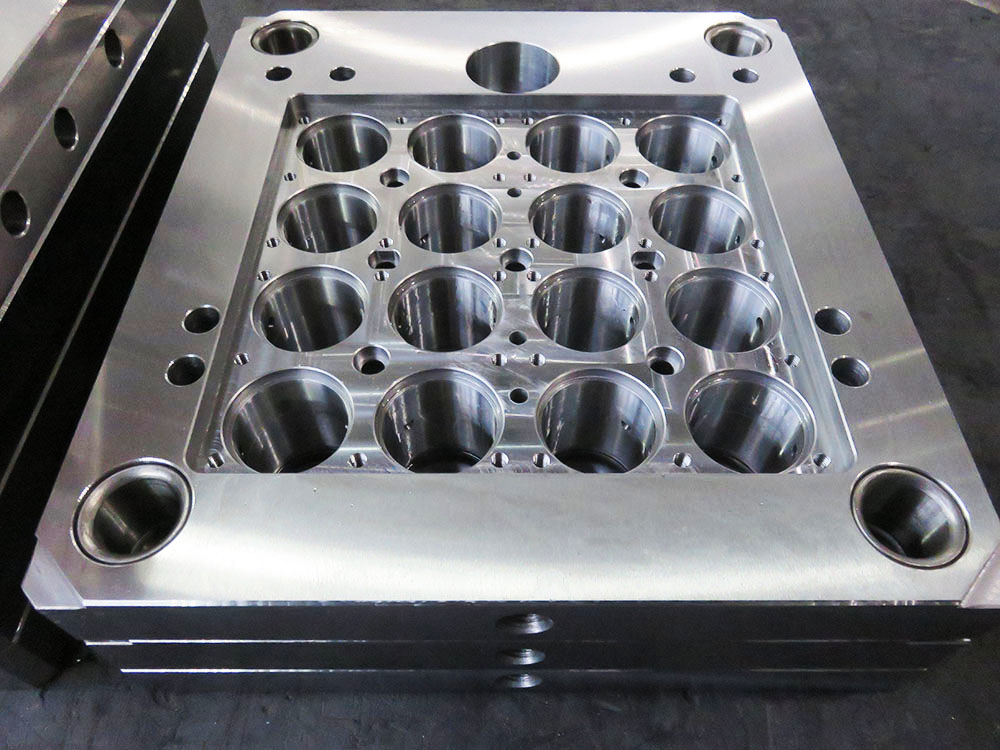
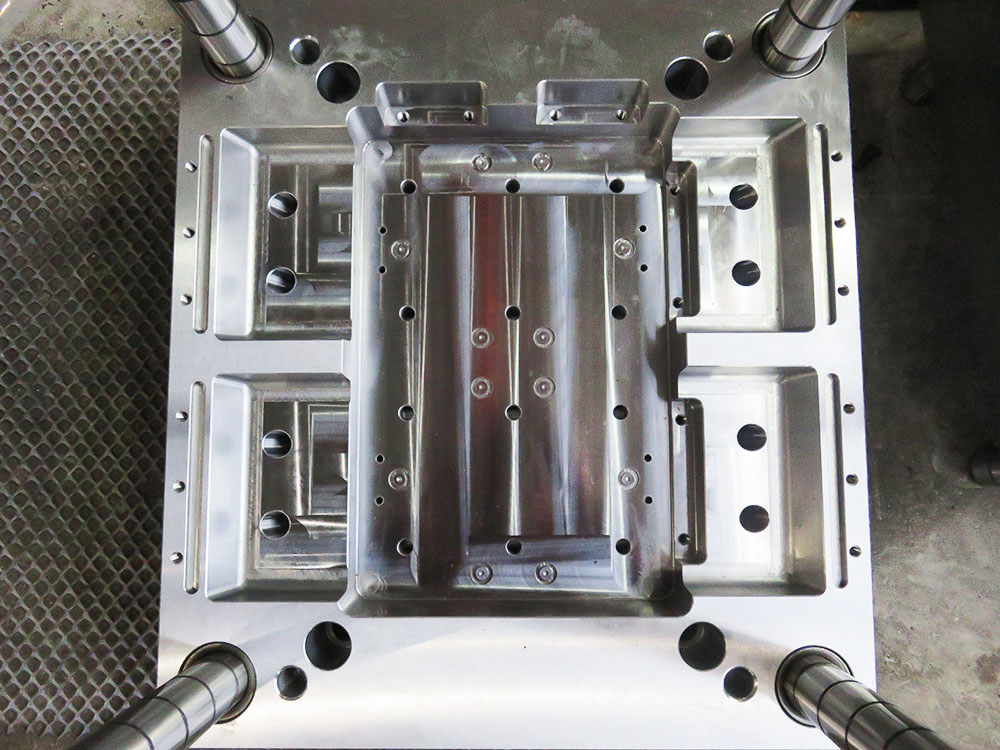
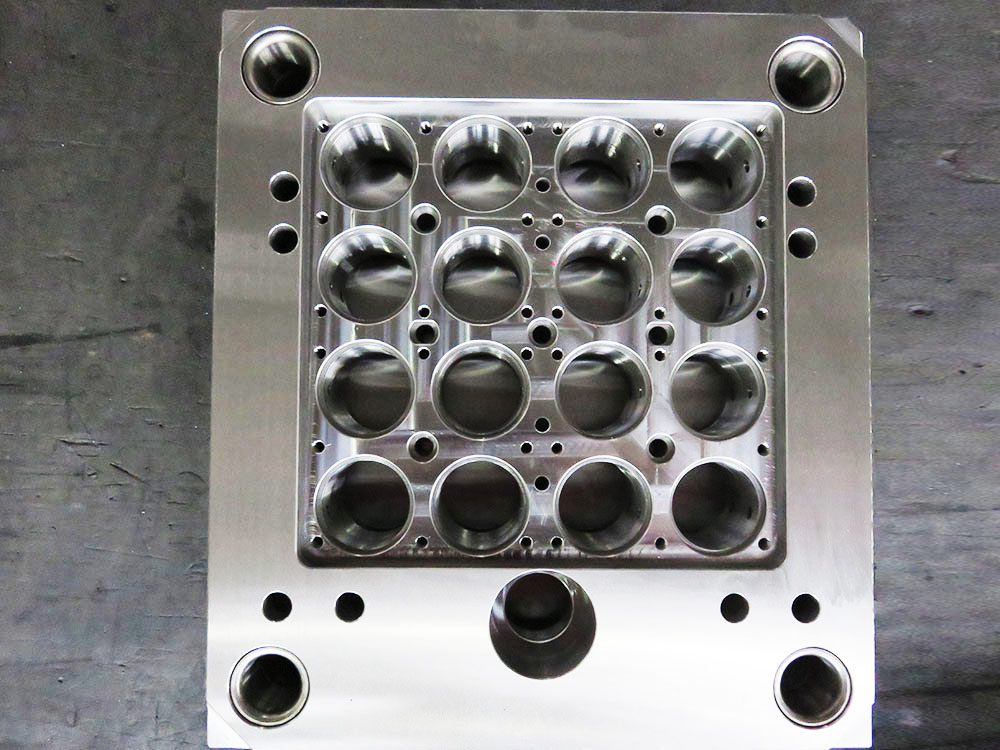
How to Interpret Engineering Drawings of a Plastic Mold Frame and Precision Frame
Engineering drawings play a crucial role in the mold base industry, especially when it comes to interpreting drawings of plastic mold frames and precision frames. These drawings provide vital information for the manufacturing and assembly processes, ensuring the production of high-quality and precise mold bases. In this article, we will discuss the key aspects of interpreting engineering drawings in the mold base industry.
Understanding the Drawing Format
Engineering drawings for plastic mold frames and precision frames typically follow a standardized format. This format includes the title block, drawing number, revision history, and general notes. It is essential to familiarize yourself with this format to ensure accurate interpretation of the drawings.
The title block of the drawing contains important details such as the company name, part name, part number, and scale. The drawing number and revision history help track the changes made to the drawing over time. General notes provide additional information or specifications specific to the mold base.
Examining the Geometric Dimensioning and Tolerancing (GD&T)
Geometric Dimensioning and Tolerancing is a system used to define and communicate the allowable variations in form, size, and orientation of features on a part. It is crucial to understand the GD&T symbols and their meaning to interpret the engineering drawings accurately.
Some common GD&T symbols found in plastic mold frame and precision frame drawings include perpendicularity, flatness, parallelism, position, and concentricity. These symbols indicate the geometric requirements of the mold base and help ensure its functionality and precision.
Identifying the Key Dimensions and Features
Each engineering drawing will have key dimensions and features that need to be identified accurately. These dimensions and features define the critical aspects of the mold base, such as hole sizes, location tolerances, and overall dimensions.
It is essential to pay attention to the tolerances specified in the drawing. Tolerances determine the acceptable variation from the specified dimensions, ensuring proper fit and functionality of the mold base. Understanding the tolerances is crucial for selecting appropriate machining processes and techniques.
Understanding the Assembly Requirements
Engineering drawings of plastic mold frames and precision frames also include assembly requirements. These requirements detail how the different components of the mold base are to be assembled and provide a clear understanding of the overall structure and functionality of the mold base.
By carefully examining the assembly requirements, one can identify the sequence of component assembly, necessary fasteners, and any special instructions or considerations. This ensures the correct assembly of the mold base, reducing the risk of errors or functionality issues.
Conclusion
Interpreting engineering drawings of plastic mold frames and precision frames is a fundamental skill in the mold base industry. By understanding the drawing format, GD&T symbols, identifying key dimensions and features, and grasping the assembly requirements, one can ensure accurate interpretation and subsequently achieve high-quality and precise mold bases.
Remember, engineering drawings provide essential guidelines for the manufacturing and assembly processes. Clear interpretation of these drawings is crucial to ensure the production of reliable and efficient mold bases that meet the customer's requirements and industry standards.


