Determining the Reference Plane for a Stamping Die Rack in the Mold Base Industry
In the mold base industry, one critical aspect of designing a stamping die rack is determining the reference plane. The reference plane serves as the baseline for measuring and aligning various components of the die rack effectively. This article will discuss the importance of the reference plane and provide a step-by-step guide on how to determine it accurately.
Importance of the Reference Plane
The reference plane is the foundation upon which the entire stamping die rack is built. It provides a consistent starting point for coordinating the placement and alignment of molds, punches, and other components within the rack. By having a well-defined reference plane, manufacturers can achieve precision and repeatability in their stamping operations, leading to high-quality finished products.
The reference plane is typically determined based on the die set's design and the requirements of the specific stamping process. It is often chosen to align with critical features of the workpiece or to optimize the accessibility and maneuverability of the stamping die components.
Steps to Determine the Reference Plane
Step 1: Understand the Die Set Design
Before determining the reference plane, it is crucial to have a clear understanding of the die set design. This includes the specifications of the stamping operation, the dimensions of the workpiece, and any specific requirements or restrictions.
Step 2: Identify Critical Features of the Workpiece
Identify the critical features of the workpiece that need to be aligned or referenced in the stamping process. For example, if the workpiece has holes or slots, these features can serve as suitable reference points for the reference plane.
Step 3: Determine the Accessibility and Clearance Requirements
Consider the accessibility and clearance requirements of the stamping die components. Ensure that the chosen reference plane allows sufficient space for the insertion and removal of molds, punches, and other tools.
Step 4: Establish the Baseline
Select a suitable surface or feature to establish the baseline for the reference plane. This can be a flat surface on the stamping die rack's base or a specific component in the die set that provides stability and rigidity.
Step 5: Measure and Align Components
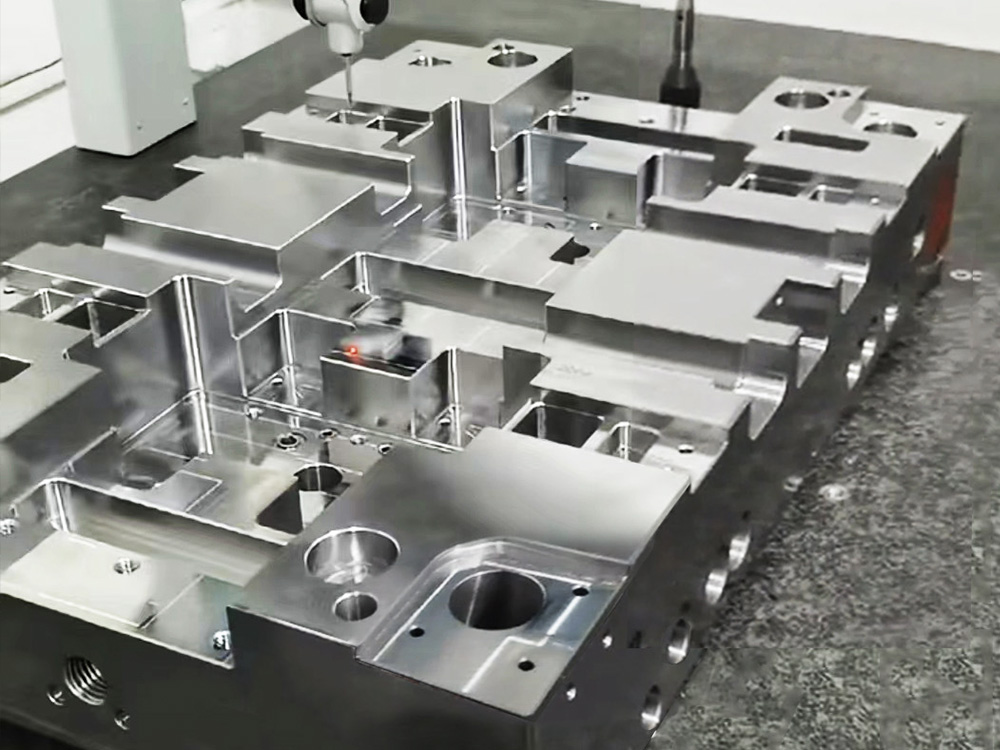
Once the reference plane is determined, begin measuring and aligning the various components of the stamping die rack accordingly. Use precise measurement tools such as calipers or coordinate measuring machines to ensure accurate alignment.
Step 6: Verify and Adjust as Needed
Once the initial alignment is complete, verify the alignment by conducting tests or trial stamping operations. If any deviations or issues are detected, adjust the components as necessary to achieve optimal alignment and performance.
Conclusion
Determining the reference plane for a stamping die rack is a crucial step in the mold base industry. By having a well-defined reference plane, manufacturers can ensure precision, repeatability, and efficiency in their stamping operations. Following the step-by-step guide provided in this article will aid in accurately determining the reference plane and ultimately contribute to the production of high-quality stamped products.


