How to Annotate Dimensional Tolerances for Circular Features in CAD Modeling
In the mold base industry, it is crucial to accurately annotate dimensional tolerances for circular features in CAD modeling. This ensures that the final product meets the required specifications and functions effectively. In this article, we will discuss the best practices for annotating dimensional tolerances for circular features in CAD modeling.
Understanding Circular Features
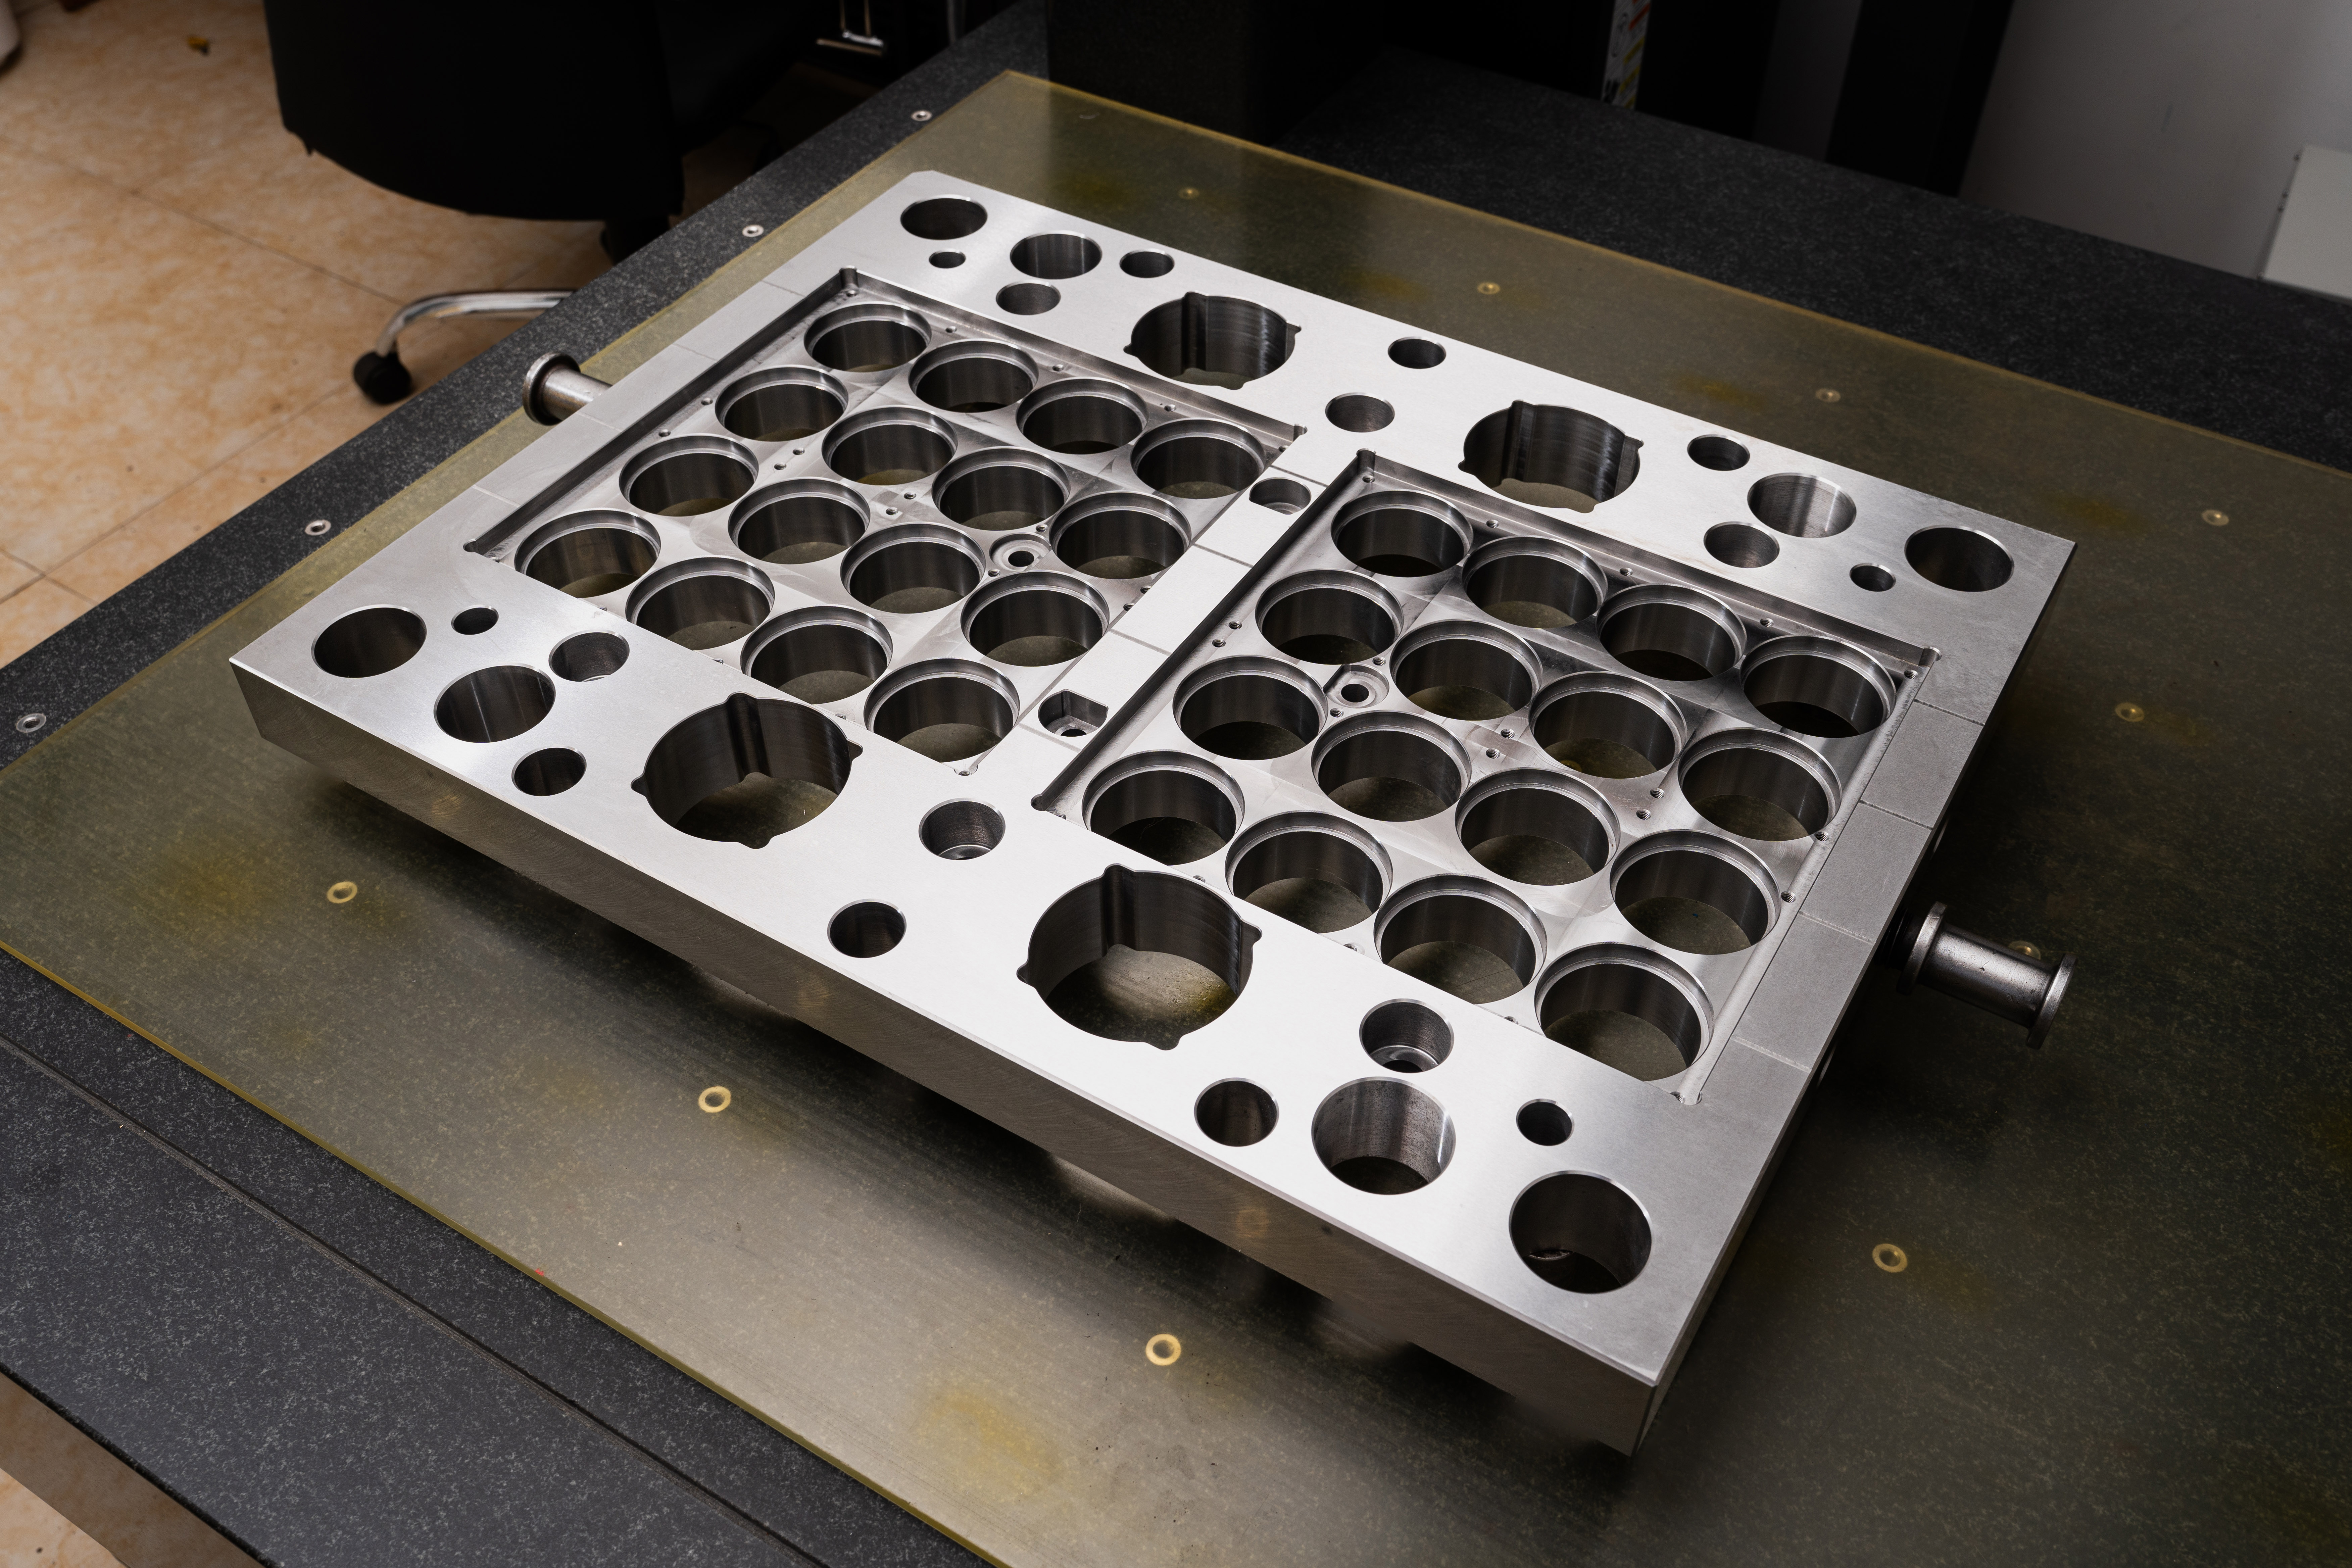
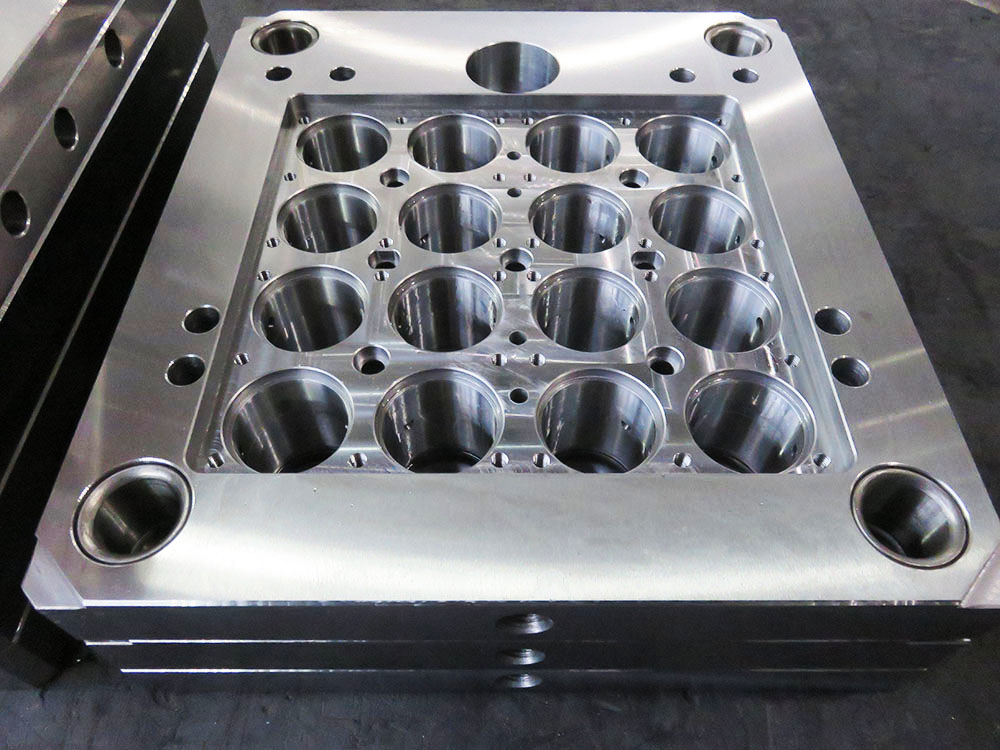
Before we delve into the process of annotating dimensional tolerances, it is essential to have a clear understanding of circular features in CAD modeling. Circular features include holes, bores, and other cylindrical shapes that are critical to the functionality and accuracy of the mold base.
These circular features have specific dimensional requirements, including diameter, roundness, concentricity, and position tolerance. Annotating these tolerances accurately is crucial to ensure the mold base functions as intended.
Annotating Dimensional Tolerances
When annotating dimensional tolerances for circular features in CAD modeling, it is important to follow a systematic approach. Here are the steps you should follow: 1. Identify the Circular Features: Identify all the circular features in the mold base that require dimensional annotation. This includes holes, bores, and any other cylindrical shapes. 2. Determine the Required Tolerances: Consult the design specifications or engineering drawings to determine the required tolerances for each circular feature. These tolerances may include diameter, roundness, concentricity, and position tolerance. 3. Use Geometric Dimensioning and Tolerancing Symbols: Familiarize yourself with the geometric dimensioning and tolerancing (GD&T) symbols for circular features. These symbols help communicate the required tolerances effectively. 4. Place Tolerances on Circular Features: Use the appropriate GD&T symbols to annotate the dimensional tolerances on each circular feature in the CAD model. Ensure that the tolerances are clearly visible and located near the respective features. 5. Indicate Datum References: Utilize datum symbols, such as capital letters, to indicate the datums referenced in the tolerances. These datums establish the reference points for the dimensional tolerances. 6. Provide Additional Information: In some cases, additional information may be required to clarify the dimensional tolerances. This can include notes, material requirements, or any other pertinent details to ensure accurate manufacturing of the mold base. 7. Verify Tolerances with Design Specifications: Before finalizing the annotations, cross-check the dimensional tolerances with the provided design specifications to ensure accuracy. 8. Document the Annotations: Document the annotated dimensional tolerances in a technical drawing or CAD model file. This documentation serves as a reference for manufacturing and quality control processes.
Conclusion
Accurately annotating dimensional tolerances for circular features in CAD modeling is essential in the mold base industry. Following a systematic approach and utilizing GD&T symbols will ensure that the final product meets the required specifications. By understanding the importance of dimensional tolerances and implementing best practices, manufacturers can produce high-quality mold bases that function effectively and efficiently.


