Interpreting Hole Markings on Architectural Blueprints in the Mold Base Industry
Architectural blueprints serve as crucial documents that guide the construction of various structures, including mold bases in the manufacturing industry. These blueprints contain a wealth of information, including hole markings, which play a vital role in ensuring the accuracy and functionality of the mold base. In this article, we will explore the systematic approach to interpreting hole markings on architectural blueprints in the mold base industry.
Step 1: Understand the Symbol Key
Every architectural blueprint comes with a symbol key or legend, which provides a comprehensive list of symbols and their corresponding meanings. Familiarize yourself with this symbol key as it will be the foundation for interpreting hole markings accurately. Look for the specific symbol that represents holes, and note any variations or specific indications related to hole size, depth, or location.
Step 2: Identify Hole Types
Architectural blueprints may feature different types of holes in the context of mold bases. Some common hole types include:
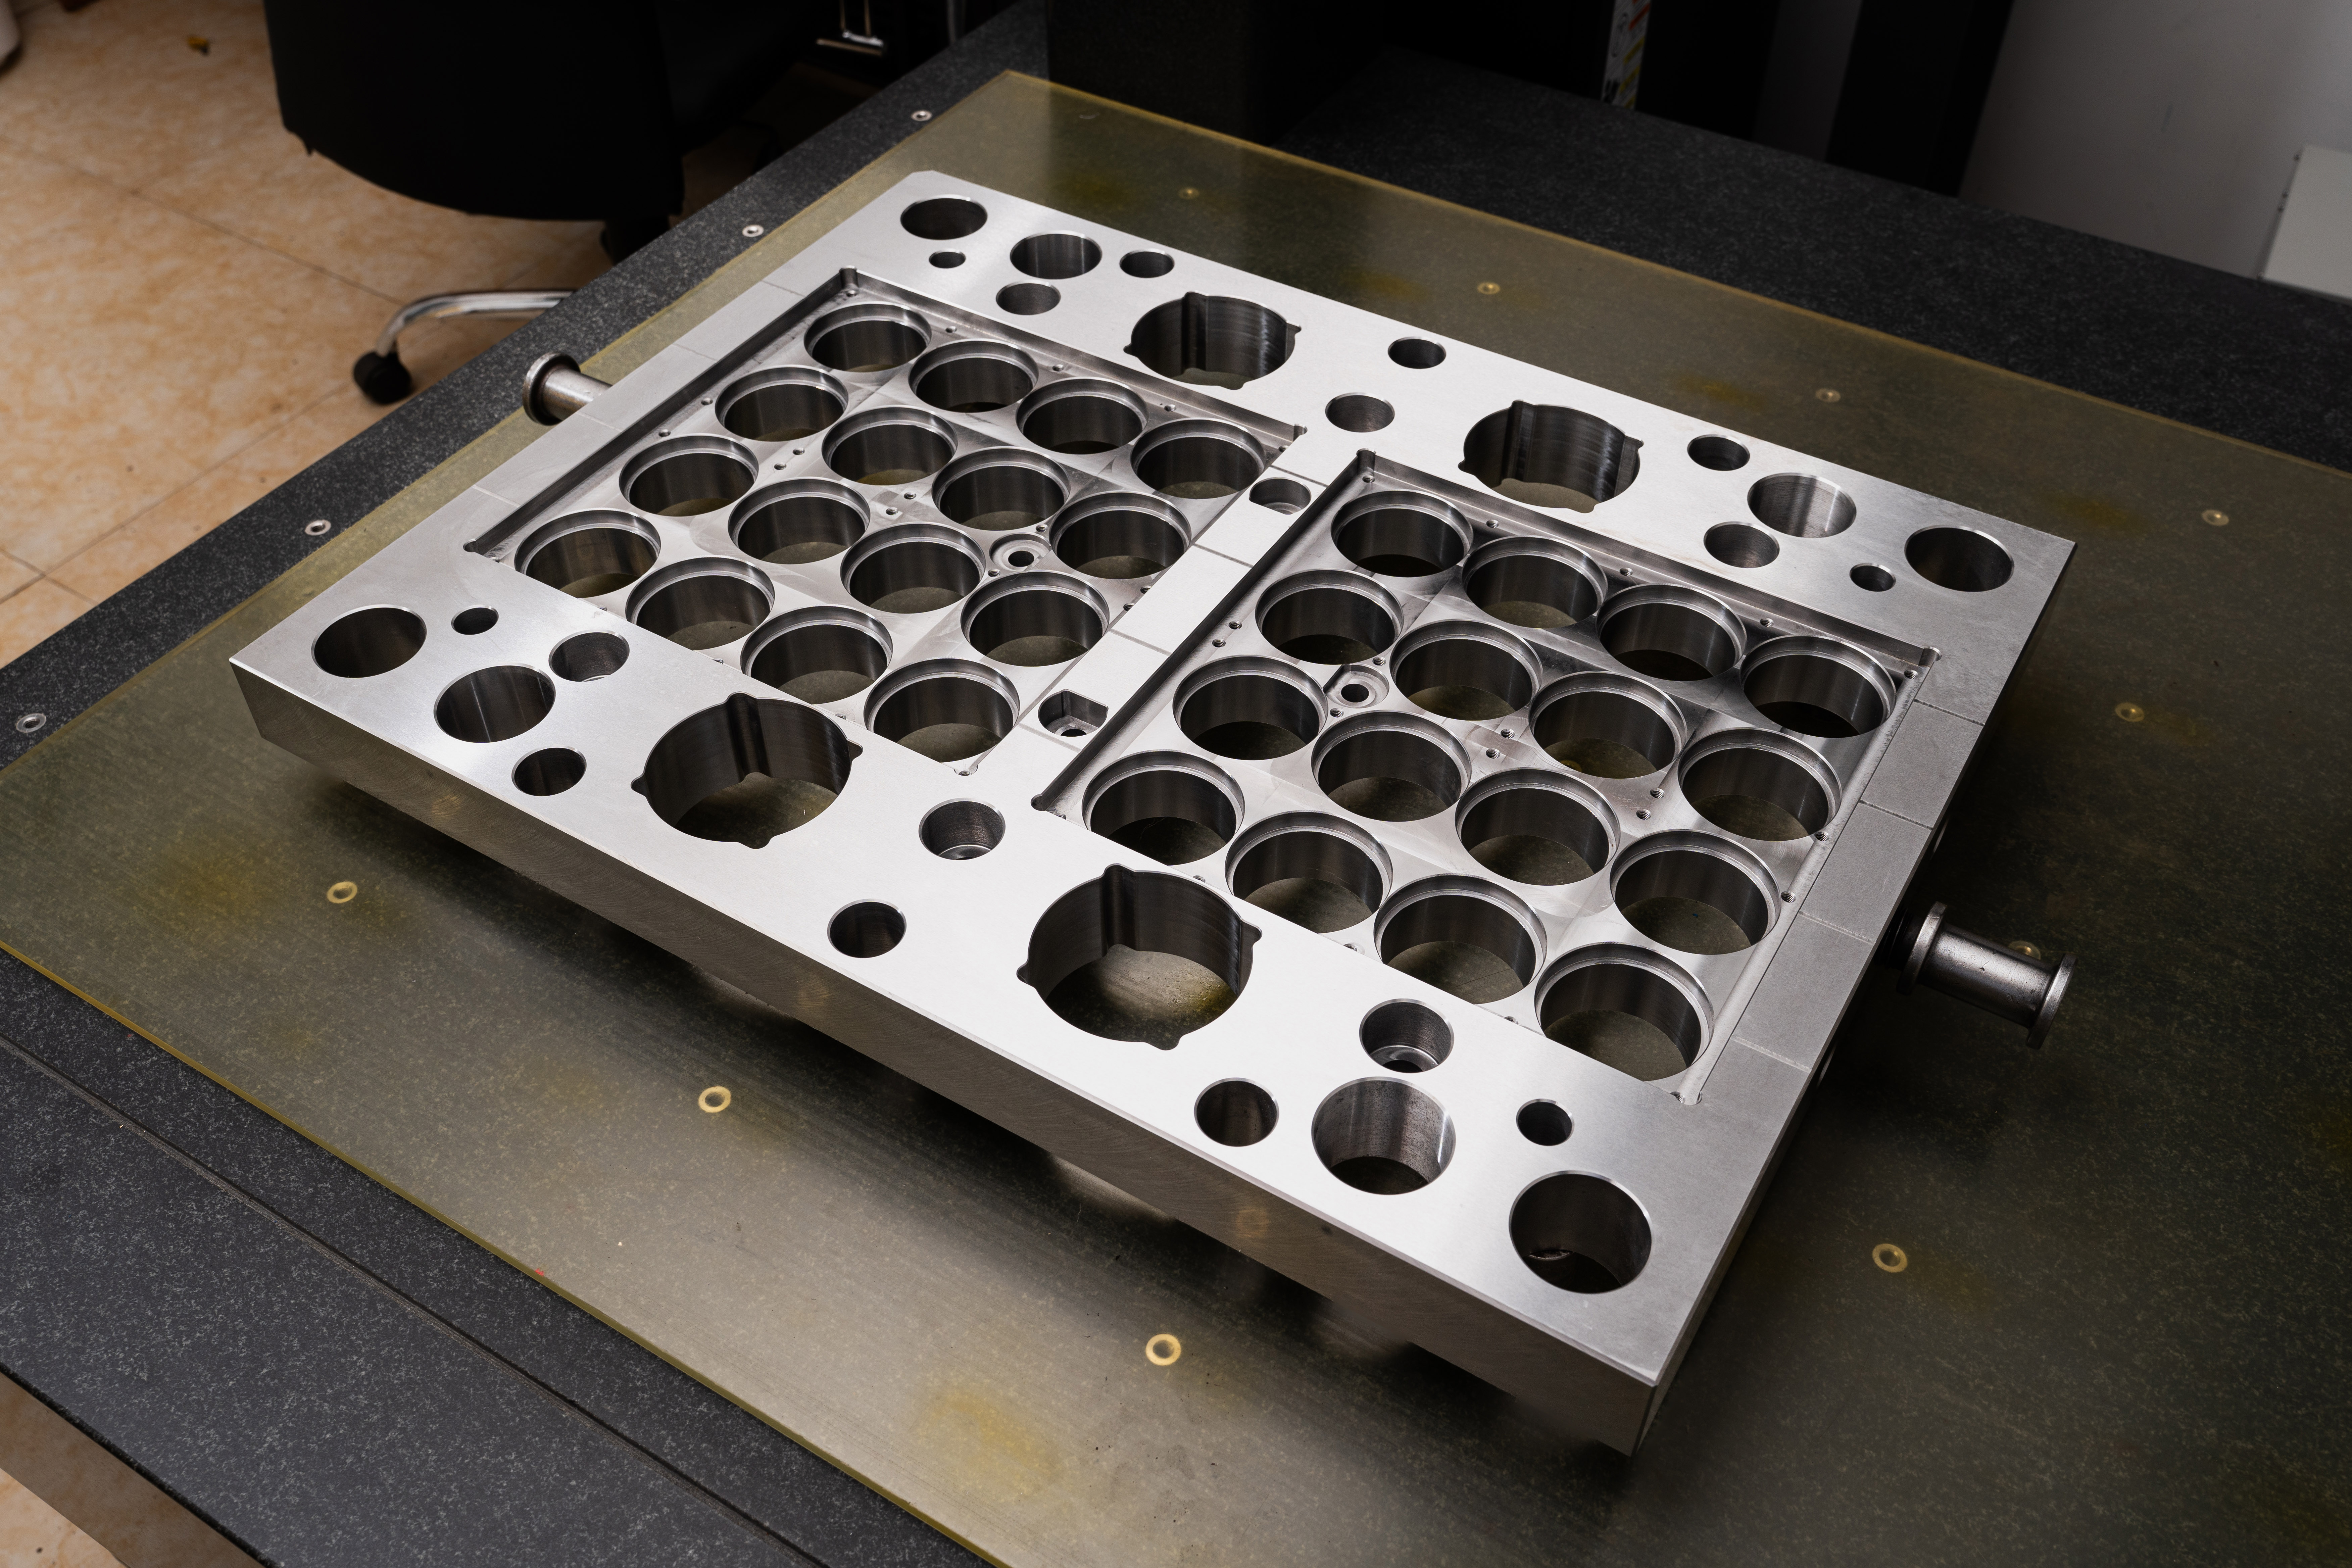
- Through Holes: These holes span entirely through the mold base, and their locations are typically indicated through circles or simple round symbols. Note the diameter and any additional specifications mentioned.
- Blind Holes: Unlike through holes, blind holes do not span entirely through the mold base. Instead, they have a specific depth, which should be identified on the blueprint. Pay attention to the symbol used for blind holes, such as a circle with a small indentation in the center representing the hole bottom.
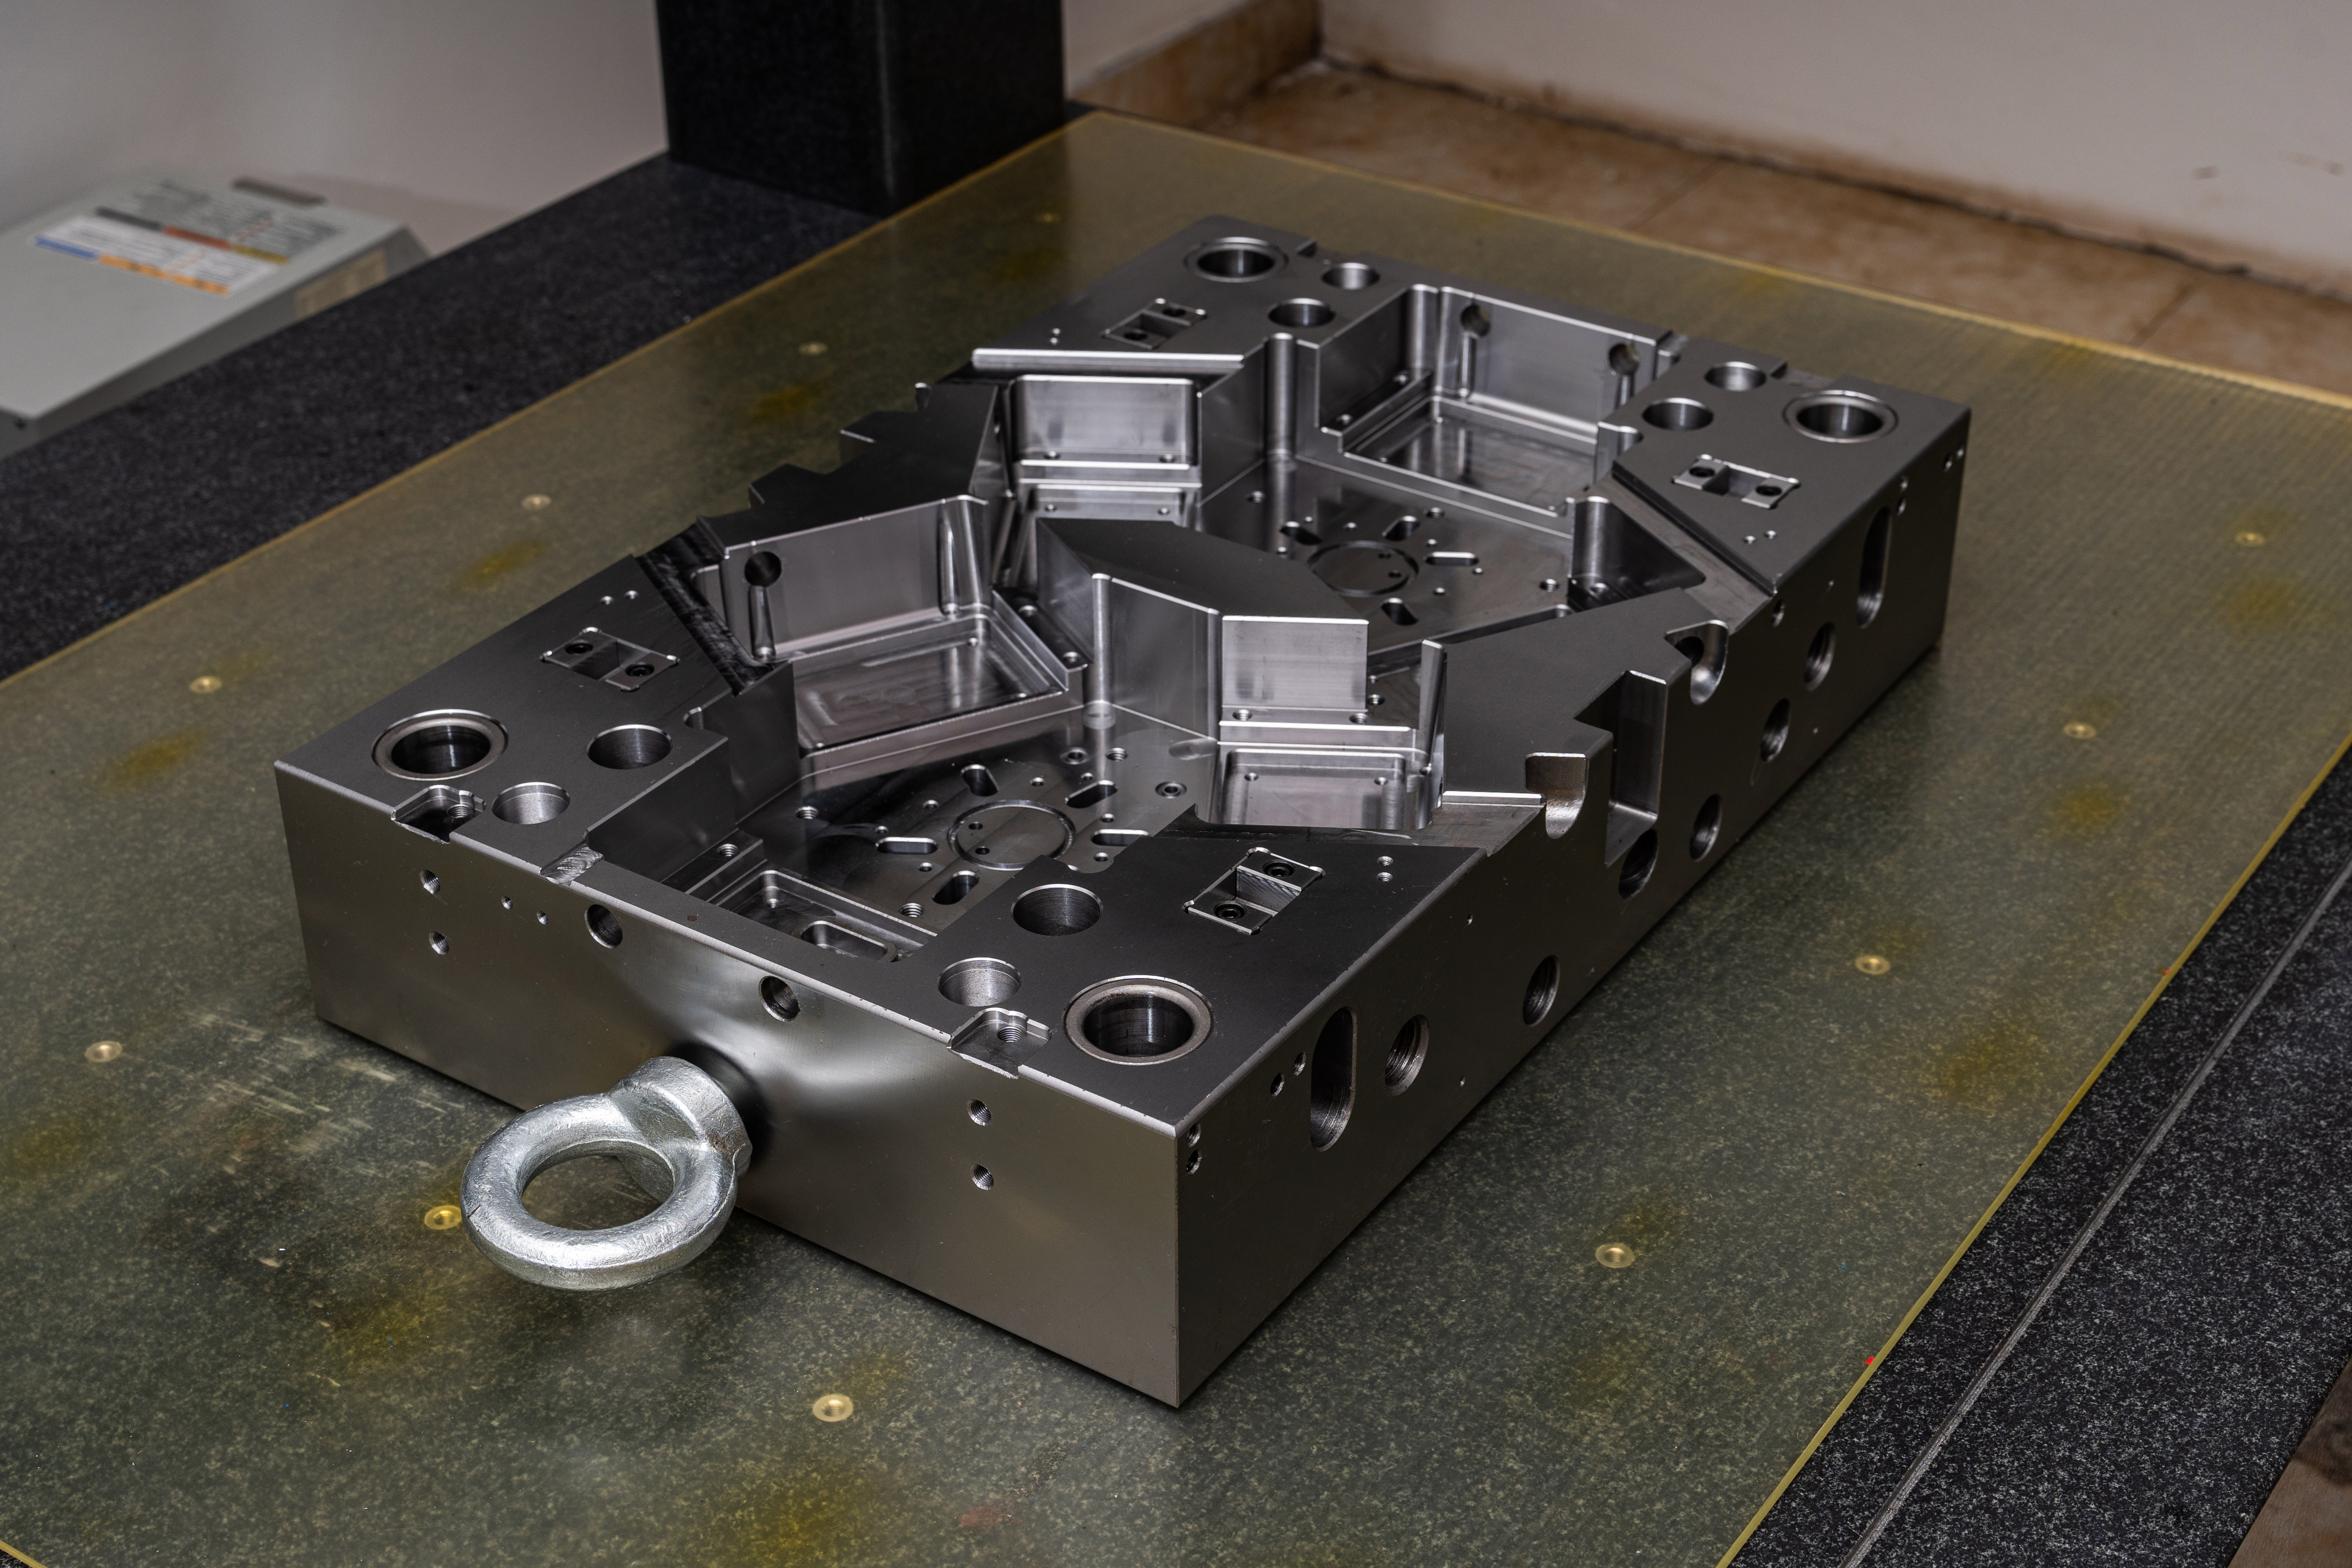
- Tapped Holes: Tapped holes are designed for screws or bolts and have threads inside. The blueprint should indicate the type and size of the threading, as well as the hole diameter.
- Countersunk Holes: These holes are conical in shape and used for countersunk screws. They have specific diameter and depth requirements, which should be clearly labeled on the blueprint.
- Counterbore Holes: Similar to countersunk holes, counterbore holes are used for accommodating bolts or other components. They have larger diameters compared to the screw size and require specific depth measurements.
Step 3: Consider Hole Placement
The position and arrangement of holes are essential in mold base construction. Different architectural blueprints may have varying methods of indicating hole locations. Typically, they use dimension lines, centerlines, or patterns to guide the placement of holes accurately. Pay attention to any notes or annotations related to hole positions, such as distances from edges or specific reference points.
Step 4: Note Hole Specifications
Apart from the basic type and position of holes, architectural blueprints may include additional specifications to ensure proper hole usage. These specifications can include tolerances, depth callouts, surface finishes, and other important considerations. Ensure you carefully read and understand all these specifications to guarantee the accuracy of the mold base construction.
Step 5: Seek Clarification if Needed
If you encounter any ambiguity or confusion while interpreting hole markings on architectural blueprints, always seek clarification from the relevant parties. Communicate with the architect, the designer, or the project manager to ensure a clear understanding of the hole requirements. It is better to clarify any doubts beforehand than to proceed under assumptions that may result in costly errors.
In conclusion, interpreting hole markings on architectural blueprints is a crucial task in the mold base industry. By systematically following the steps of understanding the symbol key, identifying hole types, considering hole placement, noting hole specifications, and seeking clarification if needed, professionals in the mold base industry can ensure accurate and precise construction based on the architectural blueprints.


