Introduction to Standard Frame Dimension Diagrams in Mold Base Industry
Standard frame dimension diagrams play a crucial role in the mold base industry. These diagrams provide essential information about the dimensions and geometry of mold base frames, facilitating the precise manufacturing and assembly of molds. In this article, we will explore how to interpret a standard frame dimension diagram, highlighting the key components and measurements involved. By understanding these diagrams, professionals in the mold base industry can ensure accuracy and efficiency in their work.
Components of a Standard Frame Dimension Diagram
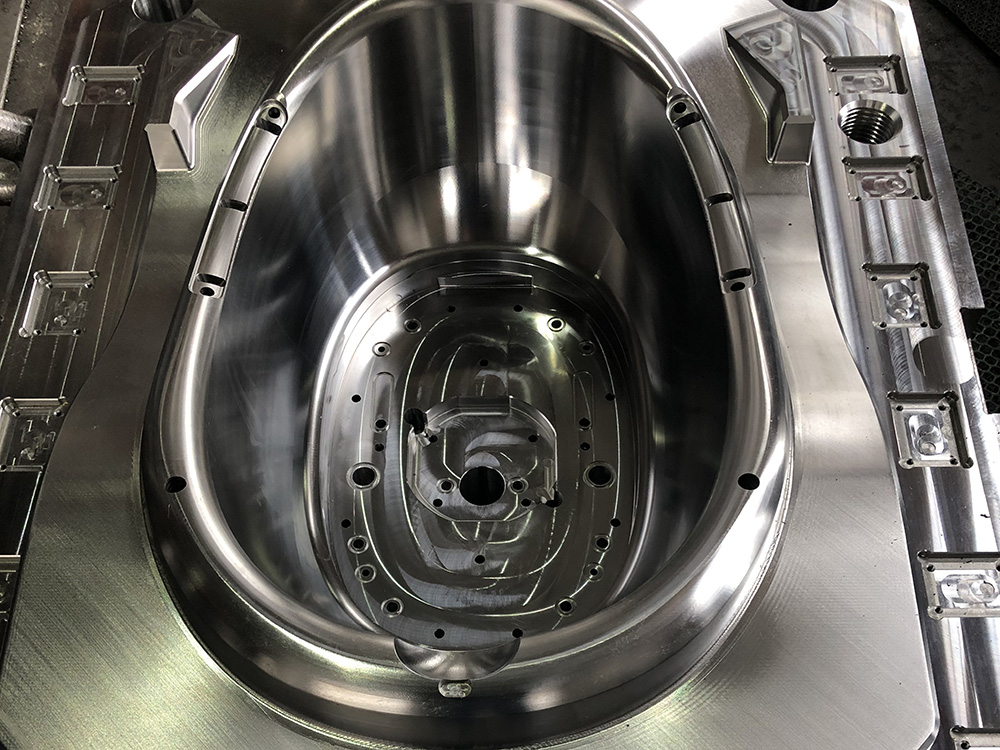
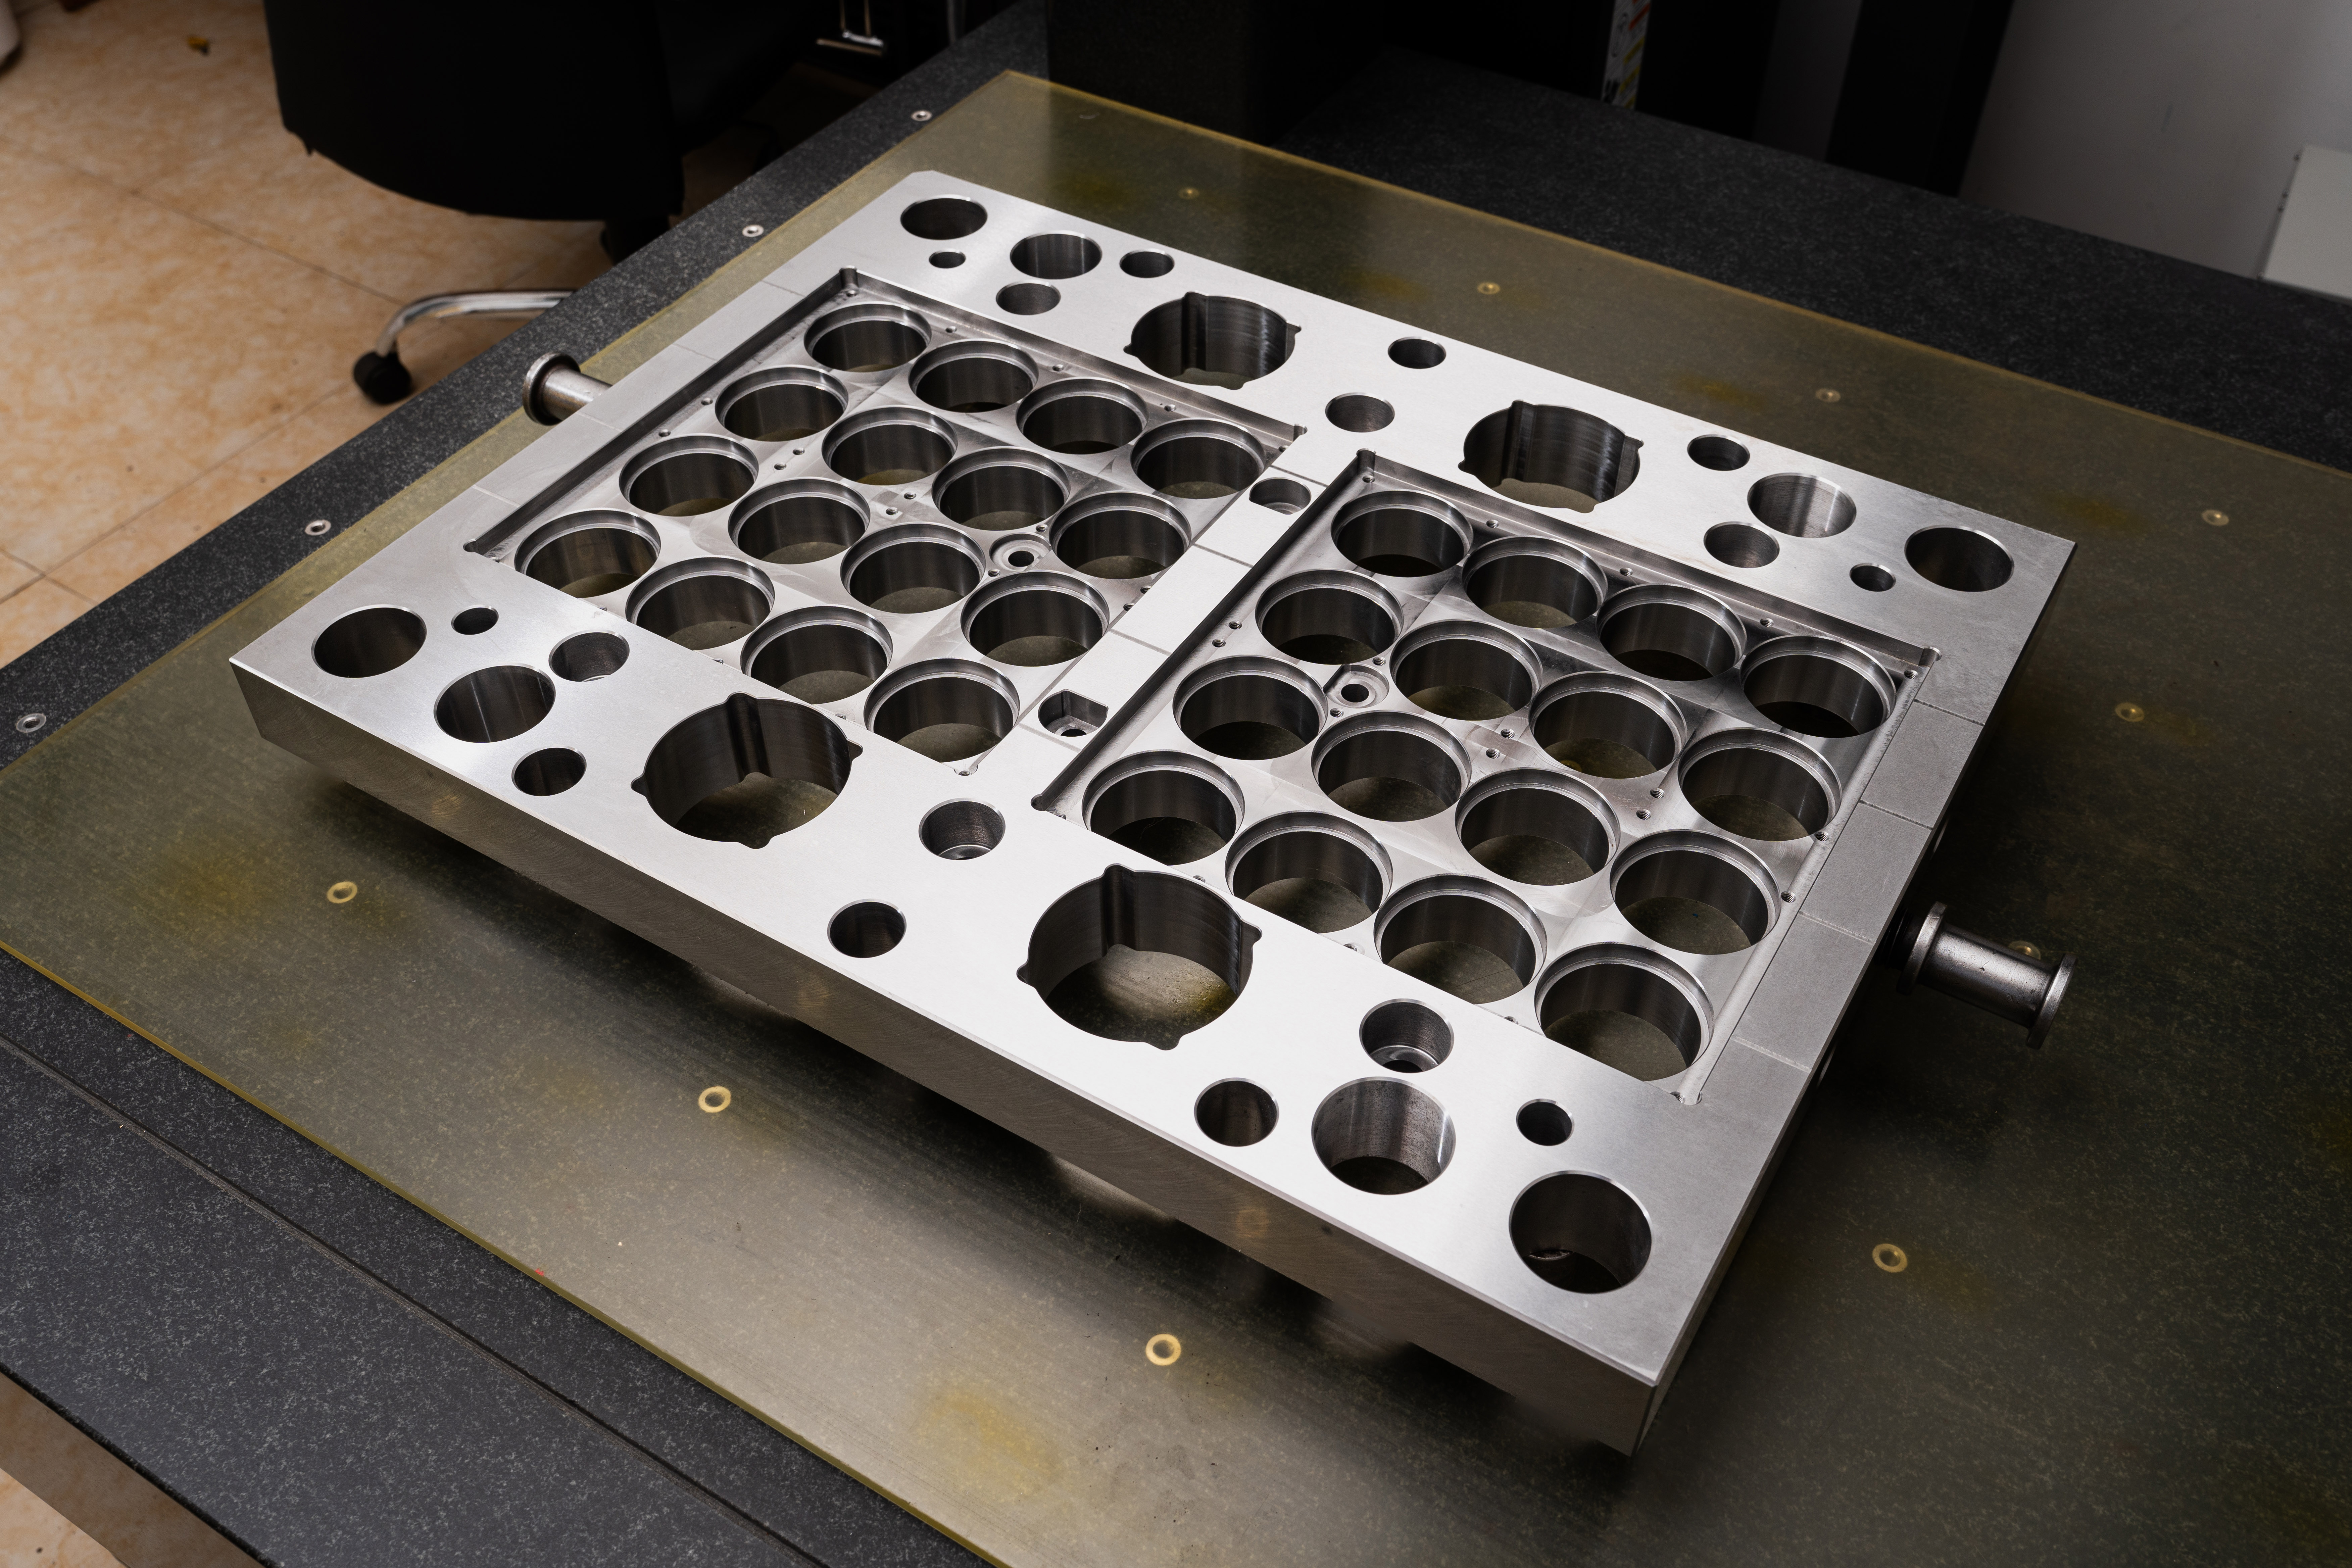
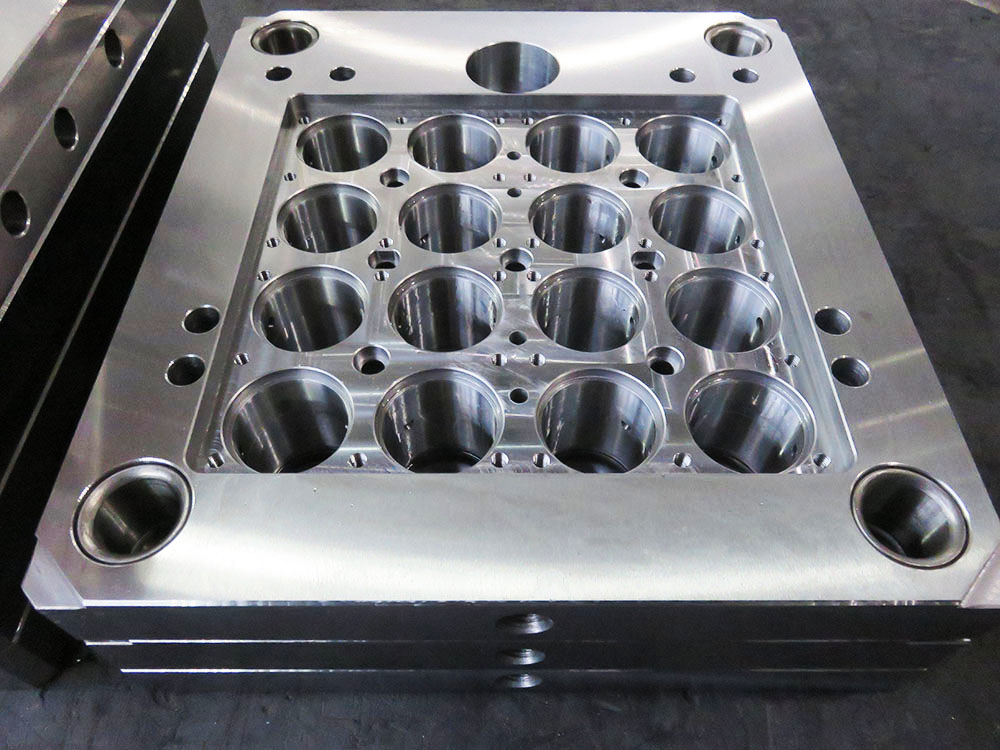
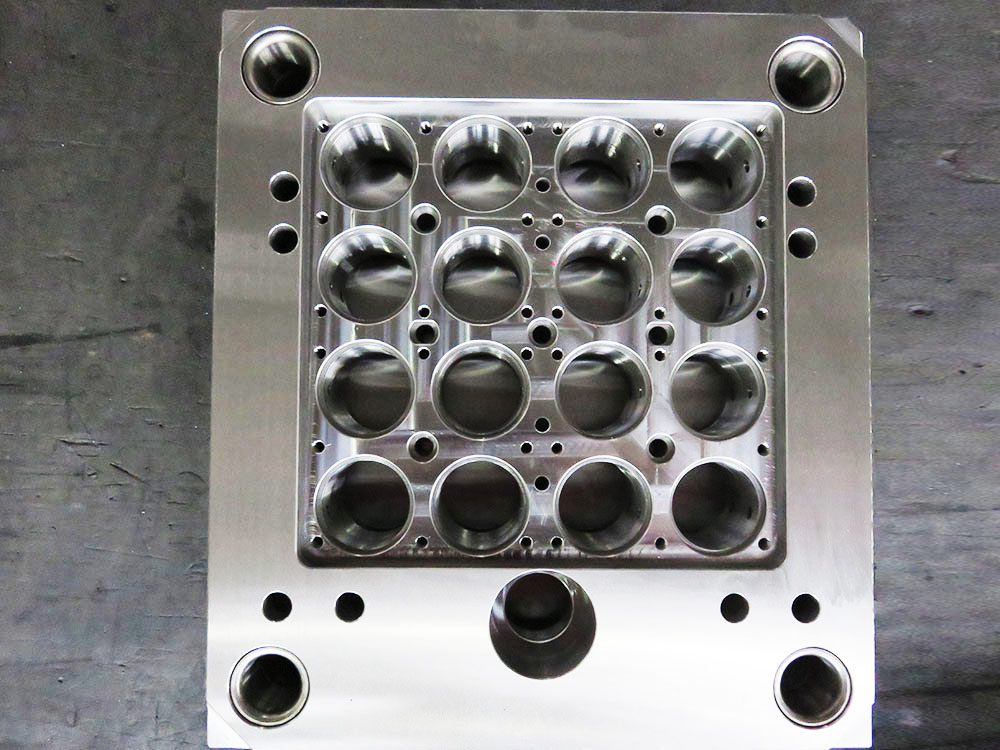
Before delving into the interpretation of a standard frame dimension diagram, it is important to familiarize ourselves with its key components. These components include: 1. Plate Thickness: This measurement indicates the thickness of the plates used in the mold base frame. It is typically denoted in millimeters (mm) and can vary depending on the specific requirements of the mold. 2. Cavity: The cavity is the void space within the mold base frame that defines the shape and size of the final product. It is represented by a solid outline in the diagram. 3. Ejector Pin Holes: Ejector pin holes are essential for removing the molded product from the mold. These holes are strategically placed within the mold base frame and are indicated by dashed lines in the diagram. 4. Slider/Core Pull: Sliders and core pulls are used to create complex shapes and features in the molded product. They are represented by additional outlines in the diagram and are often movable components within the mold base frame. 5. Alignment Pins and Bushings: These components ensure proper alignment and assembly of the mold base frame. They are depicted as small circles in the diagram and are used to guide the different plates and components during manufacturing and assembly.
Interpreting Measurements in a Standard Frame Dimension Diagram
The measurements provided in a standard frame dimension diagram are critical for ensuring accurate manufacturing and assembly of the mold base frame. The following key measurements are typically included in these diagrams: 1. Plate Dimensions: The dimensions of each plate used in the mold base frame are clearly indicated in the diagram. These dimensions include length, width, and plate thickness. 2. Cavity Size: The size of the cavity, which determines the final product dimensions, is specified in the diagram. It includes the length, width, and height of the cavity. 3. Hole Sizes: The diagram also includes measurements of various holes within the mold base frame, such as ejector pin holes and alignment pin holes. These sizes are typically denoted in millimeters (mm) and ensure precise placement and sizing of these holes during manufacturing. 4. Slider/Core Pull Positions: If the mold requires the use of sliders or core pulls, their positions and dimensions are indicated in the diagram. These measurements guide the manufacturing process, ensuring the proper placement and movement of these components. 5. Alignment Pin and Bushing Sizes: The diagram provides measurements for alignment pins and bushings, which ensure accurate alignment and assembly of the mold base frame. These sizes are essential for manufacturing and assembly processes, allowing for precise placement and retention of the components.
Conclusion
Standard frame dimension diagrams provide valuable information about mold base frame dimensions and geometry, enabling precise manufacturing and assembly of molds. By interpreting these diagrams accurately, professionals in the mold base industry can ensure the production of high-quality molds that meet specific requirements. Understanding the key components and measurements within these diagrams is essential for achieving accuracy and efficiency in the mold base manufacturing process.


