Determining the Reference for a Bicolor Mold Frame: Requirements and Guidelines
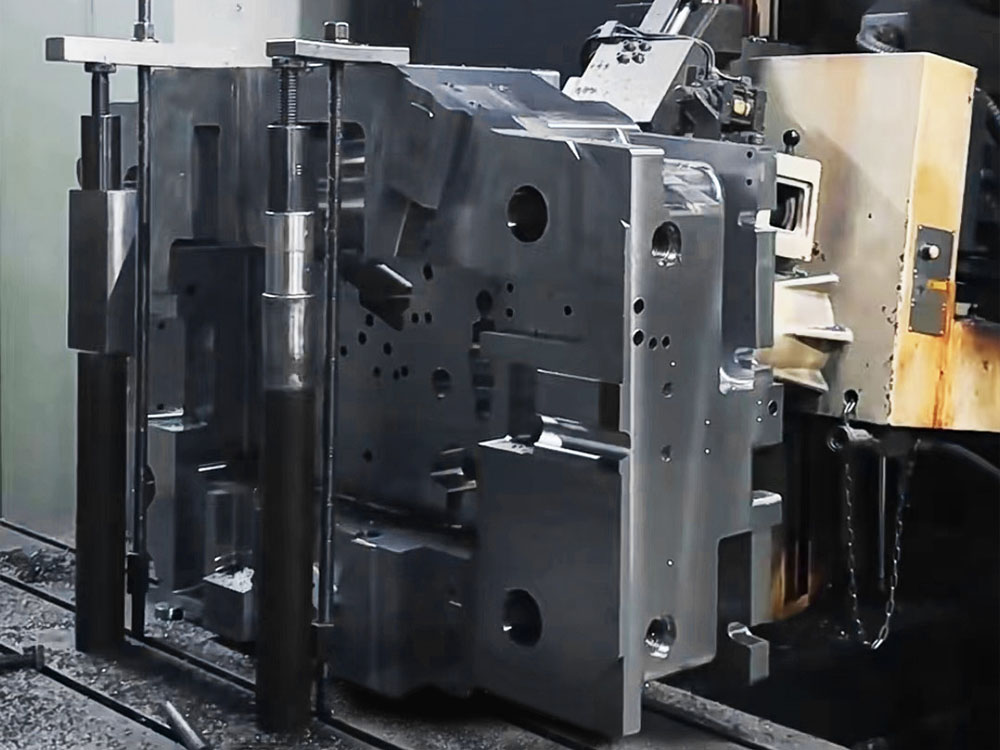
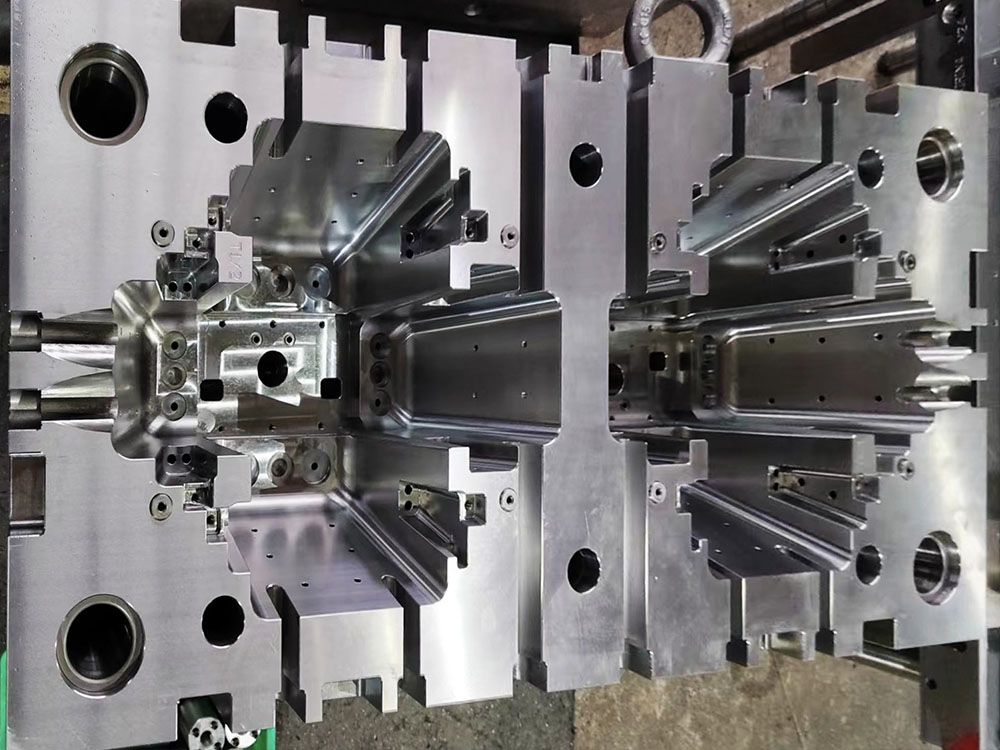
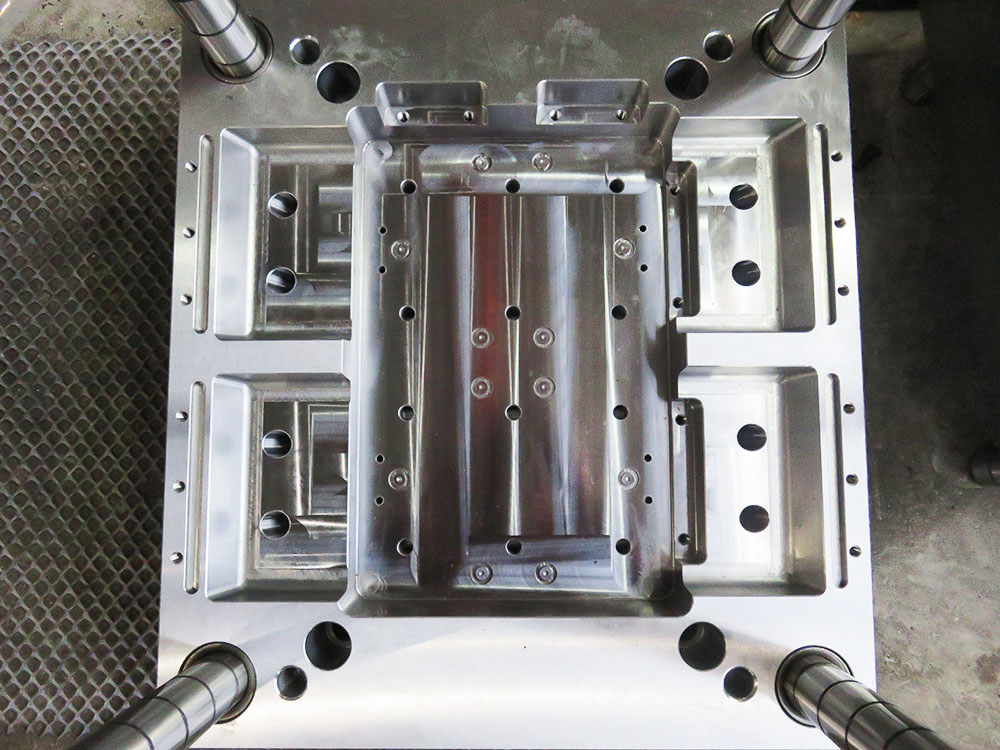
In the mold base industry, determining the reference for a bicolor mold frame is of utmost importance. The reference serves as a basis for aligning and assembling the components of the mold frame accurately. This article will outline the requirements and guidelines for establishing a reliable reference, ensuring efficient and precise manufacturing processes.
1. Selection of the Reference Face
The first step in determining the reference for a bicolor mold frame is choosing the appropriate face as the reference plane. This face should meet specific criteria to ensure stability and accuracy during the assembly process. It is recommended to select a face that is perpendicular to the injection axis and strategically positioned for easy access and measurement.
2. Flatness and Parallelism Requirements
The selected reference face must exhibit a high degree of flatness and parallelism to guarantee accurate alignment of the mold components. The flatness tolerance should be within a specified range, typically measured in microns, to avoid any deviations that could impact the quality of the final product. Additionally, the parallelism between the reference face and other critical surfaces must be maintained within tight tolerances to ensure precise mold assembly.
3. Surface Finish Guidelines
The surface finish of the reference face is crucial for achieving optimal mold performance. A smooth and uniform surface finish facilitates better contact between the mold components, minimizing the risk of misalignment or inconsistencies. The recommended surface finish for the reference face should adhere to industry standards and take into account factors such as material type and molding process requirements.
4. Measurement and Inspection Techniques
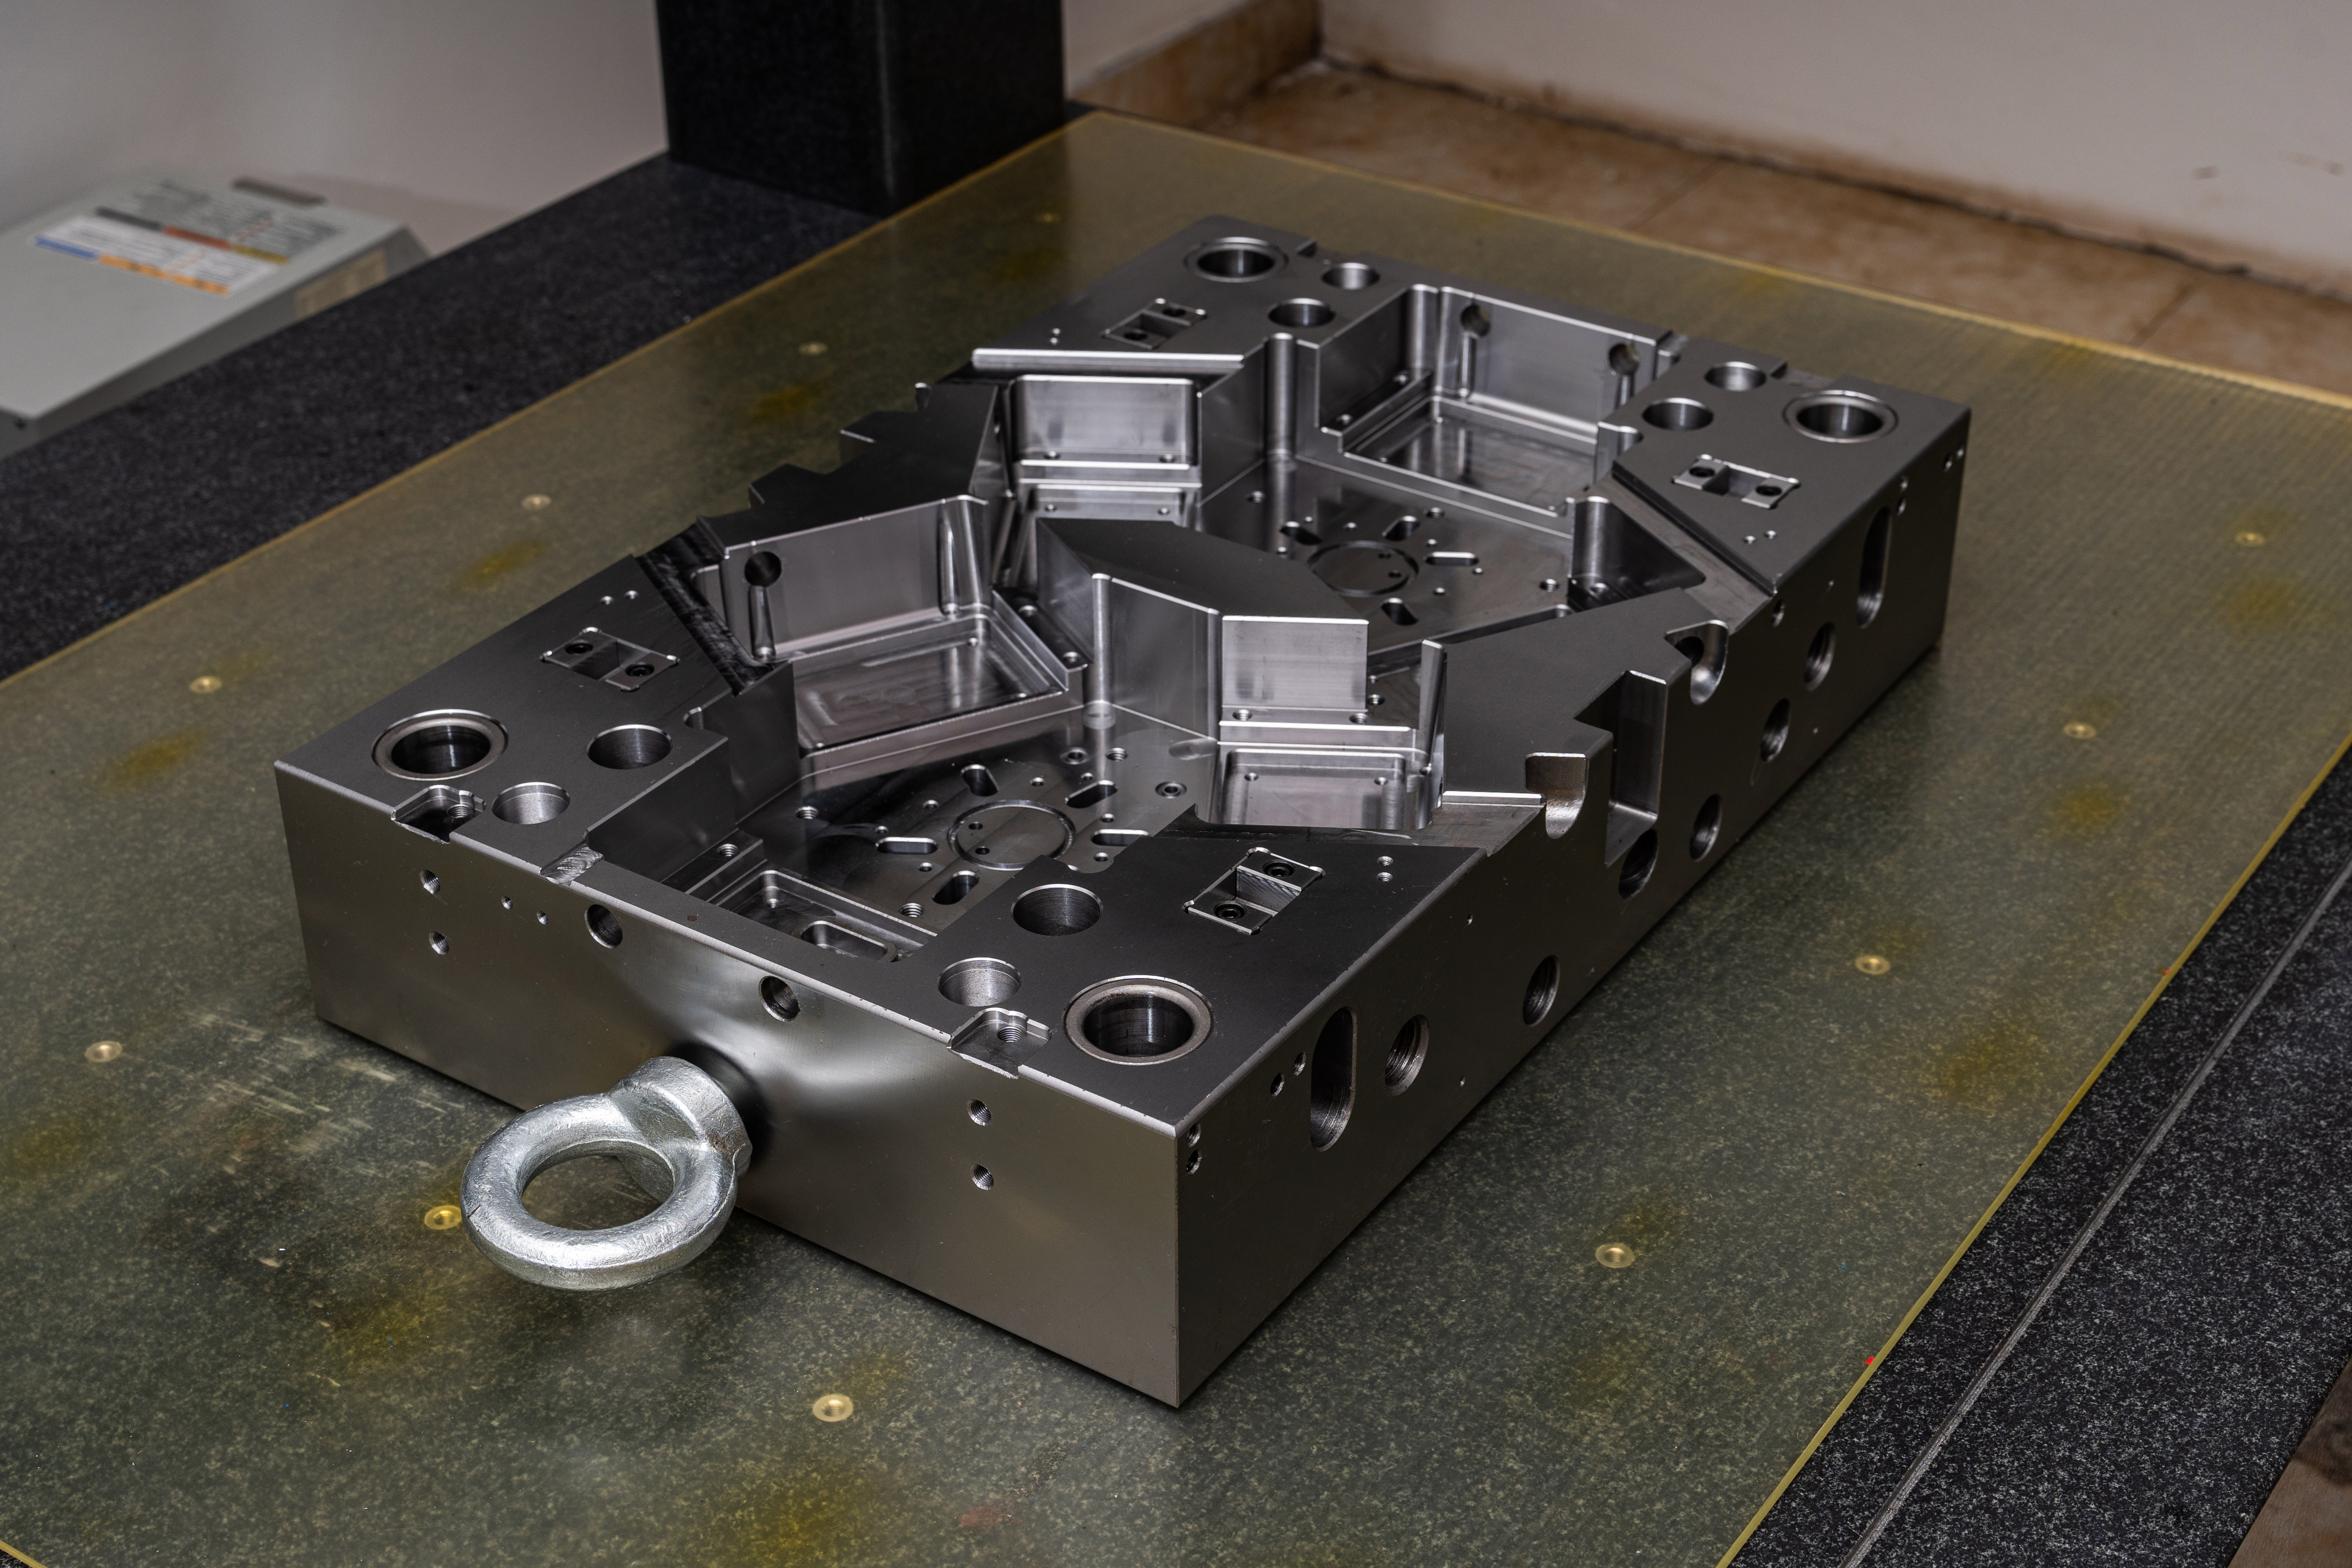
To determine the reference for a bicolor mold frame accurately, appropriate measurement and inspection techniques should be employed. Advanced metrology tools, such as coordinate measuring machines (CMMs), provide precise dimensional analysis and help validate the conformity of the reference face with the specified requirements. Regular inspections should be performed throughout the manufacturing process to ensure the stability and integrity of the reference plane.
5. Documentation and Traceability
Establishing a robust documentation system is vital for traceability purposes and quality control. Detailed records should be maintained, documenting the selection process of the reference face, measurements taken, and any adjustments made. This documentation ensures that the reference is consistent across all mold frames and provides valuable insights for troubleshooting and improvements in future iterations.
Conclusion
Determining the reference for a bicolor mold frame is a critical step in the mold base industry. By following the requirements and guidelines outlined in this article, manufacturers can achieve accurate alignment and assembly of mold components, resulting in high-quality molds and products. The careful selection of the reference face, adherence to flatness and parallelism requirements, proper surface finish, accurate measurement techniques, and comprehensive documentation contribute to the overall success of mold frame manufacturing processes.


