How to Measure the Dimensions of a Model Frame: Video Tutorial
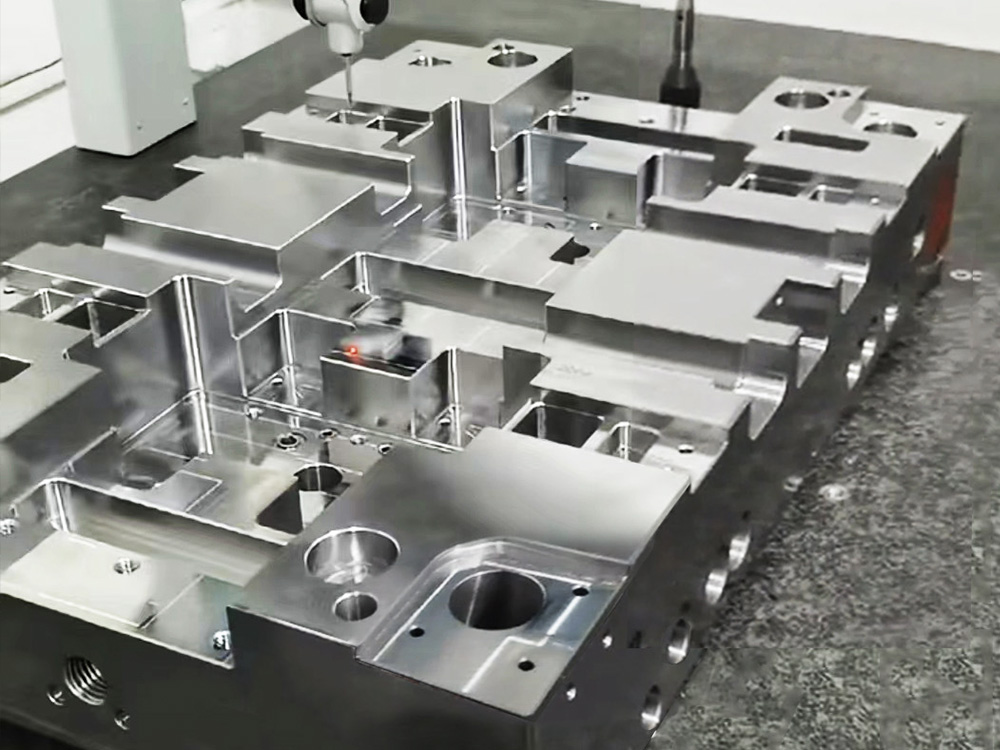
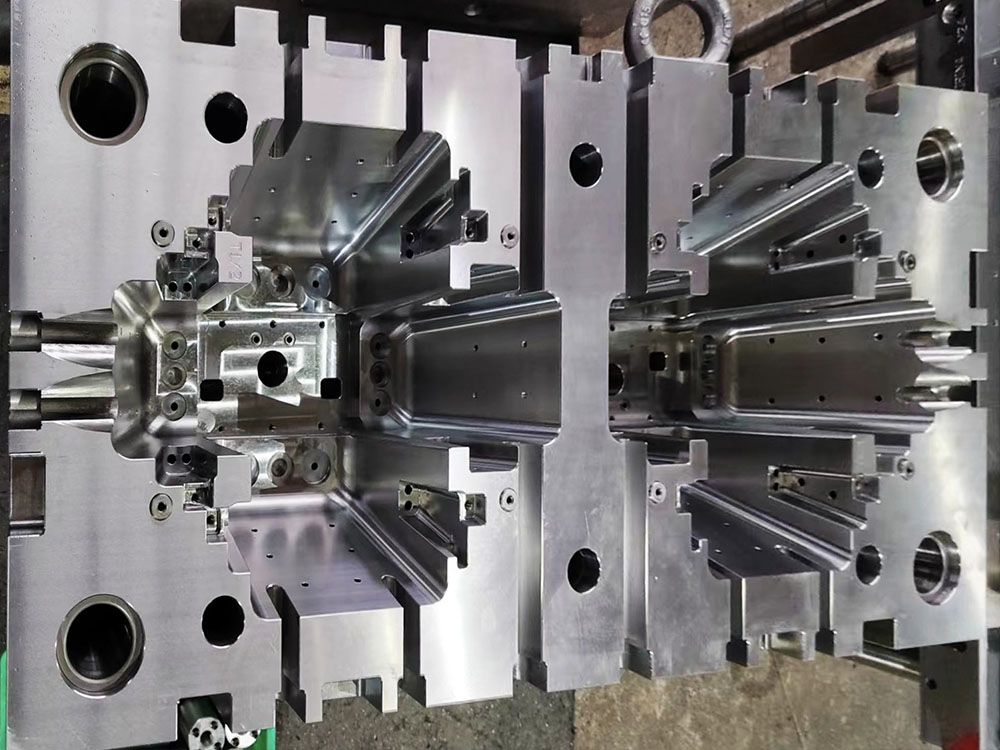
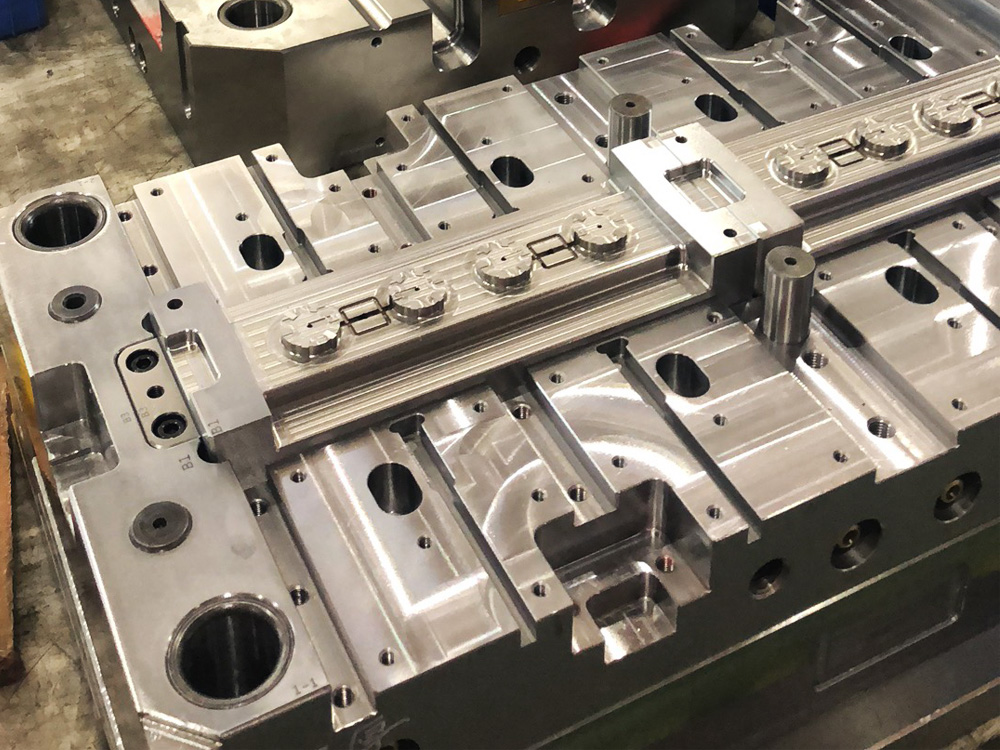
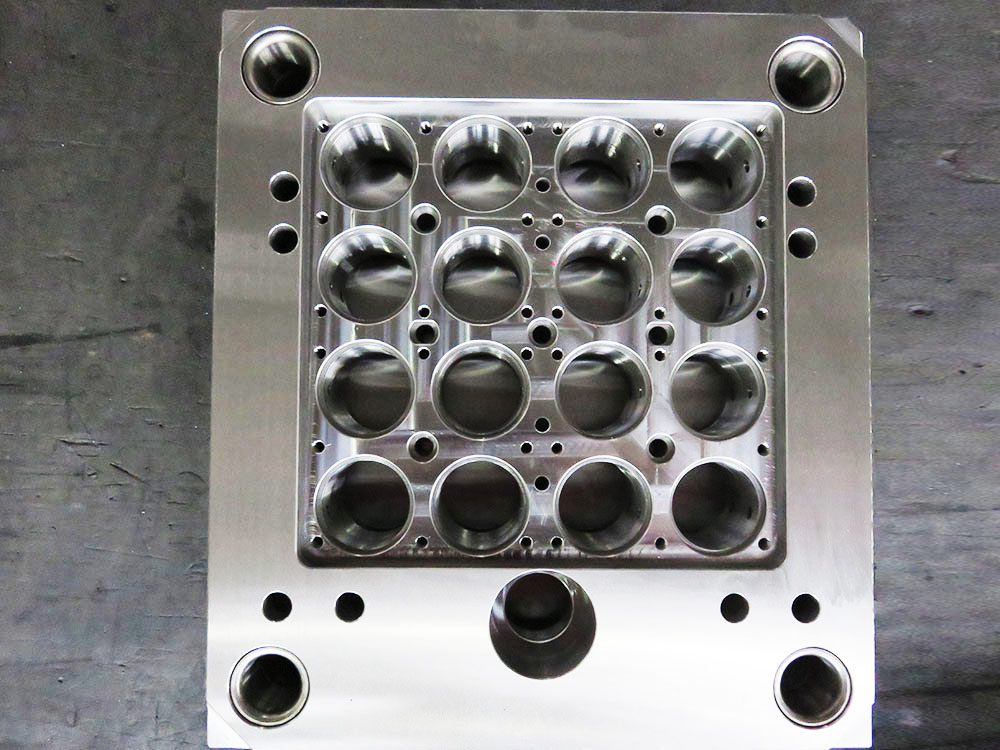
In the mold base industry, accurately measuring the dimensions of a model frame is crucial for ensuring precise and perfectly fitting molds. In this video tutorial, we will guide you step by step on how to measure these dimensions with precision and accuracy, using the right tools and techniques.
Step 1: Gather the Necessary Tools
Before you begin measuring the dimensions of a model frame, make sure you have the following tools handy:
1. Tape measure: A high-quality tape measure with clear markings is essential for precise measurements.
2. Vernier caliper: A vernier caliper is used to take accurate measurements of small features and is especially useful for measuring tight tolerances.
3. Height gauge: A height gauge is used to measure the height and depth of various components in the model frame.
4. Surface plate: A flat and level surface plate is required to ensure accurate measurements during the process.
5. Dial indicator: A dial indicator is used to measure the flatness and perpendicularity of surfaces.
6. Micrometer: A micrometer is used to measure very small dimensions, often in increments of 0.001 inches.
Step 2: Identify and Mark the Key Points
Start by identifying the key points on the model frame that need to be measured. These points include the overall length, width, and height of the frame, as well as specific dimensions of critical features.
Use a pencil or marker to mark these points clearly on the frame, ensuring that they are easily identifiable during the measuring process.
Step 3: Measure the Dimensions
Using your tape measure, begin by measuring the overall length, width, and height of the model frame. Make sure to take these measurements at the marked points to ensure accuracy.
For smaller features and tight tolerances, switch to the vernier caliper. Place the jaws of the caliper carefully on the feature to be measured and record the reading accurately.
For height and depth measurements, use the height gauge. Place the base of the gauge on the surface plate and set the desired height. Carefully lower the gauge until it touches the surface or feature to be measured, and note the reading on the gauge.
If you need to measure the flatness or perpendicularity of a surface, use the dial indicator. Attach the indicator to a stable surface and bring the contact point into contact with the surface to be measured. Rotate the surface and note any variations indicated on the dial.
For extremely small dimensions, rely on the micrometer. Gently close the jaws of the micrometer around the feature to be measured and read the measurement accurately.
Step 4: Document and Verify Measurements
It is crucial to accurately record all measurements to ensure that the mold base is manufactured to the required specifications. Use a measurement log or spreadsheet to document the measurements for future reference.
Once you have documented the measurements, carefully review them to ensure accuracy and consistency. Double-check any critical dimensions and re-measure if necessary.
Conclusion
Measuring the dimensions of a model frame accurately is a vital step in the mold base industry. By following the steps outlined in this video tutorial and using the appropriate tools, you can ensure precise and perfectly fitting molds for your projects. Remember to always double-check your measurements and document them accurately to guarantee the desired results in your mold base manufacturing process.


