How to Measure the Cutter Diameter for Milling on a Machining Center
In the mold base industry, precision and accuracy are crucial for producing high-quality molds. One important aspect of machining on a machining center is measuring the cutter diameter for milling operations. This measurement ensures that the desired dimensions and tolerances are achieved during the manufacturing process. In this article, we will discuss the steps involved in measuring the cutter diameter and the tools required for accurate measurements.
Step 1: Select the Appropriate Tool
Before measuring the cutter diameter, it is essential to choose the correct tool for the milling operation. The choice of tool depends on various factors, including the material being machined, the desired surface finish, and the specific geometry of the mold base. Once the tool is selected, ensure that it is properly secured in the spindle of the machining center.
Step 2: Set Up the Measurement System
To measure the cutter diameter accurately, a suitable measurement system is required. This usually involves using a precision measuring instrument such as a micrometer or a digital caliper. Ensure that the measuring instrument is properly calibrated and set to zero before starting the measurement process.
Step 3: Position the Workpiece
Place the mold base workpiece securely on the machining center's table or vice. Ensure that the workpiece is properly aligned and fixtured to prevent any movement during the milling operation. This will help in achieving accurate measurements of the cutter diameter.
Step 4: Begin the Measurement
Start the machining process by carefully positioning the cutter above the workpiece. Ensure that the cutter is properly aligned with the desired cutting path. Once the cutter is positioned, lower it gradually onto the workpiece and initiate the milling operation.
During the milling process, it is essential to monitor the cutting performance regularly. Pay close attention to any signs of tool wear or chipping, as this can affect the accuracy of the measurements. If necessary, make adjustments to the feed rate or the cutting speed to optimize the machining process.
Step 5: Perform the Measurement
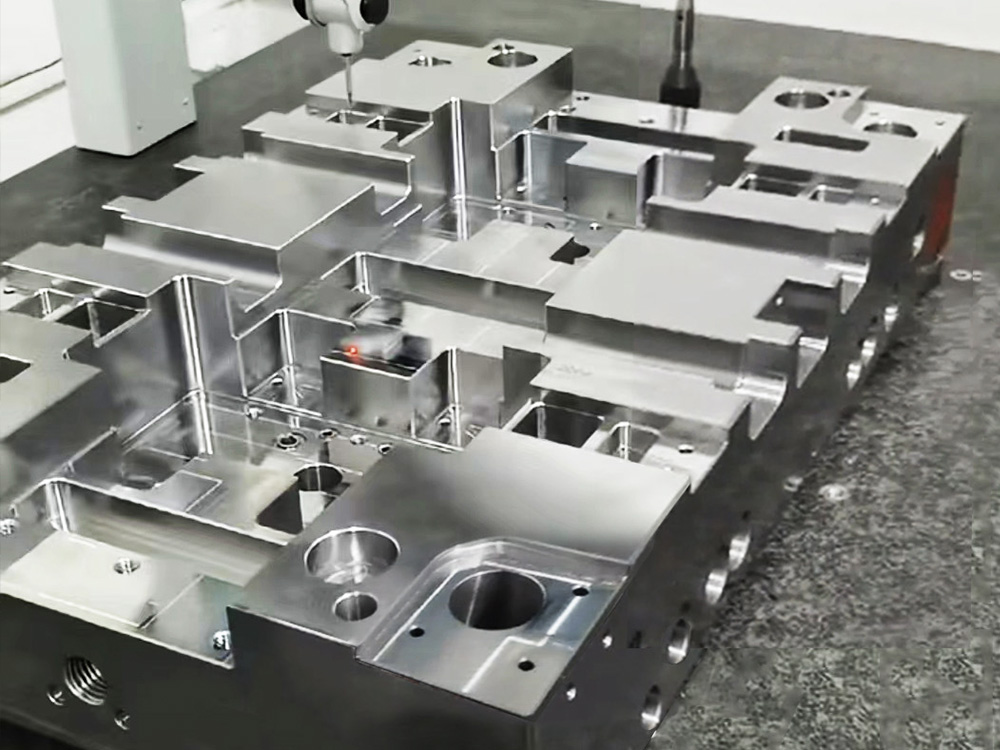
Once the milling operation is complete, remove the workpiece from the machining center. Using the selected measuring instrument, carefully measure the diameter of the milled feature. Take multiple measurements at different locations to ensure accuracy.
Record the measurements and compare them to the desired dimensions specified in the mold base design. If the measurements fall within the permissible tolerances, the milling operation is considered successful. However, if the measurements deviate from the desired dimensions, adjustments may need to be made to the machining process or tooling.
Step 6: Documentation and Analysis
Lastly, document the measurement results for future reference and analysis. This record will be useful in identifying any trends or patterns in the milling process that may affect the cutter diameter. By analyzing the data over time, you can make informed decisions to improve the machining operations and achieve greater precision in mold base manufacturing.
In conclusion, measuring the cutter diameter for milling operations is a critical step in the mold base industry. By following the steps outlined in this article and using appropriate measurement tools, you can ensure accurate and precise dimensions in your mold base manufacturing process.


