Introduction to Mold Base Industry
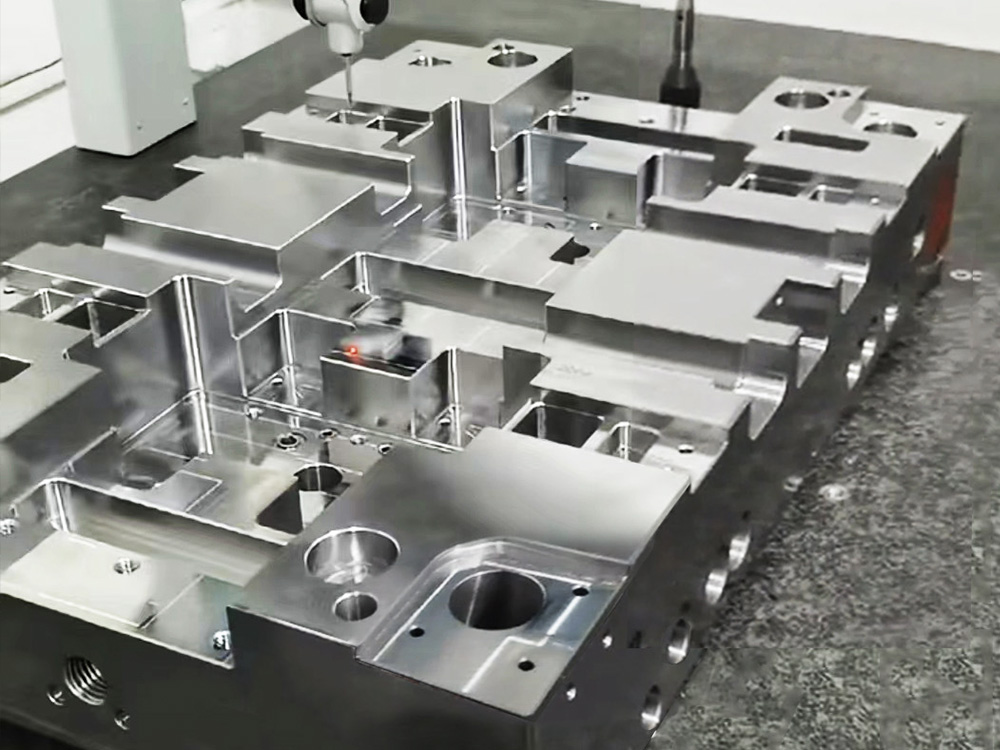
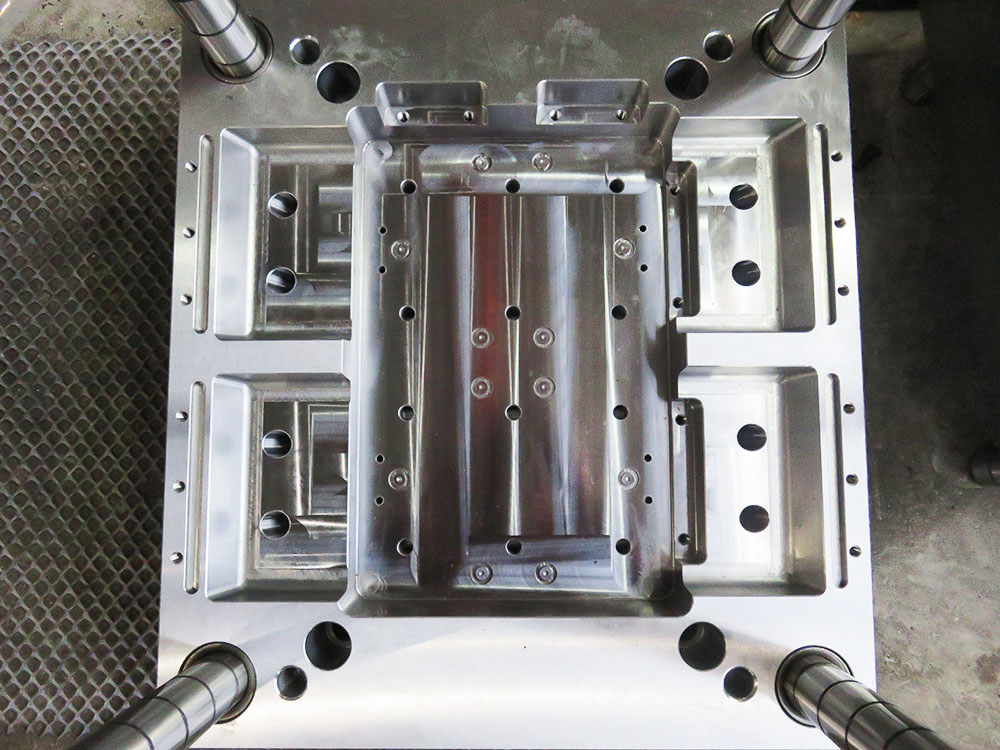
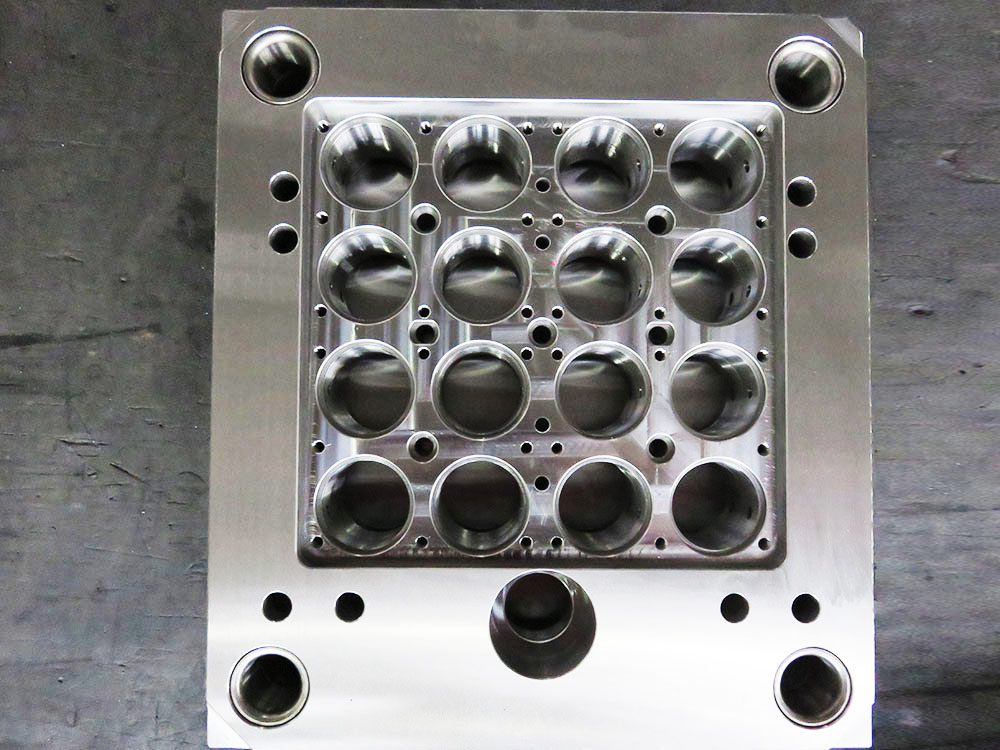
The mold base industry plays a crucial role in the manufacturing sector, providing a solid foundation for the production of high-quality molds. A mold base is essentially the frame or support structure for a mold, holding all the components together and ensuring proper alignment and functionality. In this article, we will discuss the process of drawing a standard two-dimensional chart for the mold base industry, focusing on the key steps and considerations involved.
Step 1: Gather necessary information
Before starting the chart drawing process, it is essential to gather all the necessary information. This includes the dimensions, specifications, and requirements of the mold base. Make sure to communicate with the design team, engineers, and other relevant stakeholders to ensure accuracy and completeness of the information.
Step 2: Determine the scale and size
Once all the information is collected, the next step is to determine the scale and size of the chart. This will depend on the complexity and level of detail required for the specific mold base. It is important to select a scale that provides clarity and ease of understanding.
Step 3: Start with the base dimensions
The base dimensions are the starting point for drawing the chart. These dimensions include the length, width, and height of the mold base. Use a ruler or scale to accurately measure and mark these dimensions on the chart.
Step 4: Add mounting holes and inserts
The mold base often includes mounting holes and inserts for attaching different components. These holes and inserts are essential for ensuring proper alignment and functionality of the mold. Carefully plot these holes on the chart, taking into account their precise location and size.
Step 5: Include cooling channels
Many mold bases incorporate cooling channels to regulate the temperature during the molding process. These channels need to be accurately represented on the chart to ensure optimal cooling efficiency. Use symbols or specific notations to represent the cooling channels, indicating their path and dimensions.
Step 6: Mark ejector pin holes
Ejector pin holes are critical for the removal of molded parts from the mold base. These holes should be carefully marked on the chart, considering their accurate position and size. Pay attention to the alignment and spacing of these holes to prevent interference or inefficiencies during the ejection process.
Step 7: Indicate guide pin holes
Guide pin holes are used to ensure proper alignment and movement of the mold components. These holes should be clearly indicated on the chart, taking into consideration their precise location and size. Attention to detail is crucial to avoid any misalignment or issues during the molding process.
Step 8: Include other relevant details
Depending on the specific requirements of the mold base, there may be additional details that need to be included in the chart. This could include features like alignment locks, witness marks, sprue bushings, and probe holes. Ensure that all relevant details are clearly represented on the chart to ensure accuracy and ease of manufacturing.
Conclusion
Drawing a standard two-dimensional chart for the mold base industry requires careful consideration of various dimensions, specifications, and requirements. By following the steps outlined in this article, one can create a clear and professional chart that accurately represents the mold base, ensuring optimal functionality and precision during the manufacturing process.


