Introduction
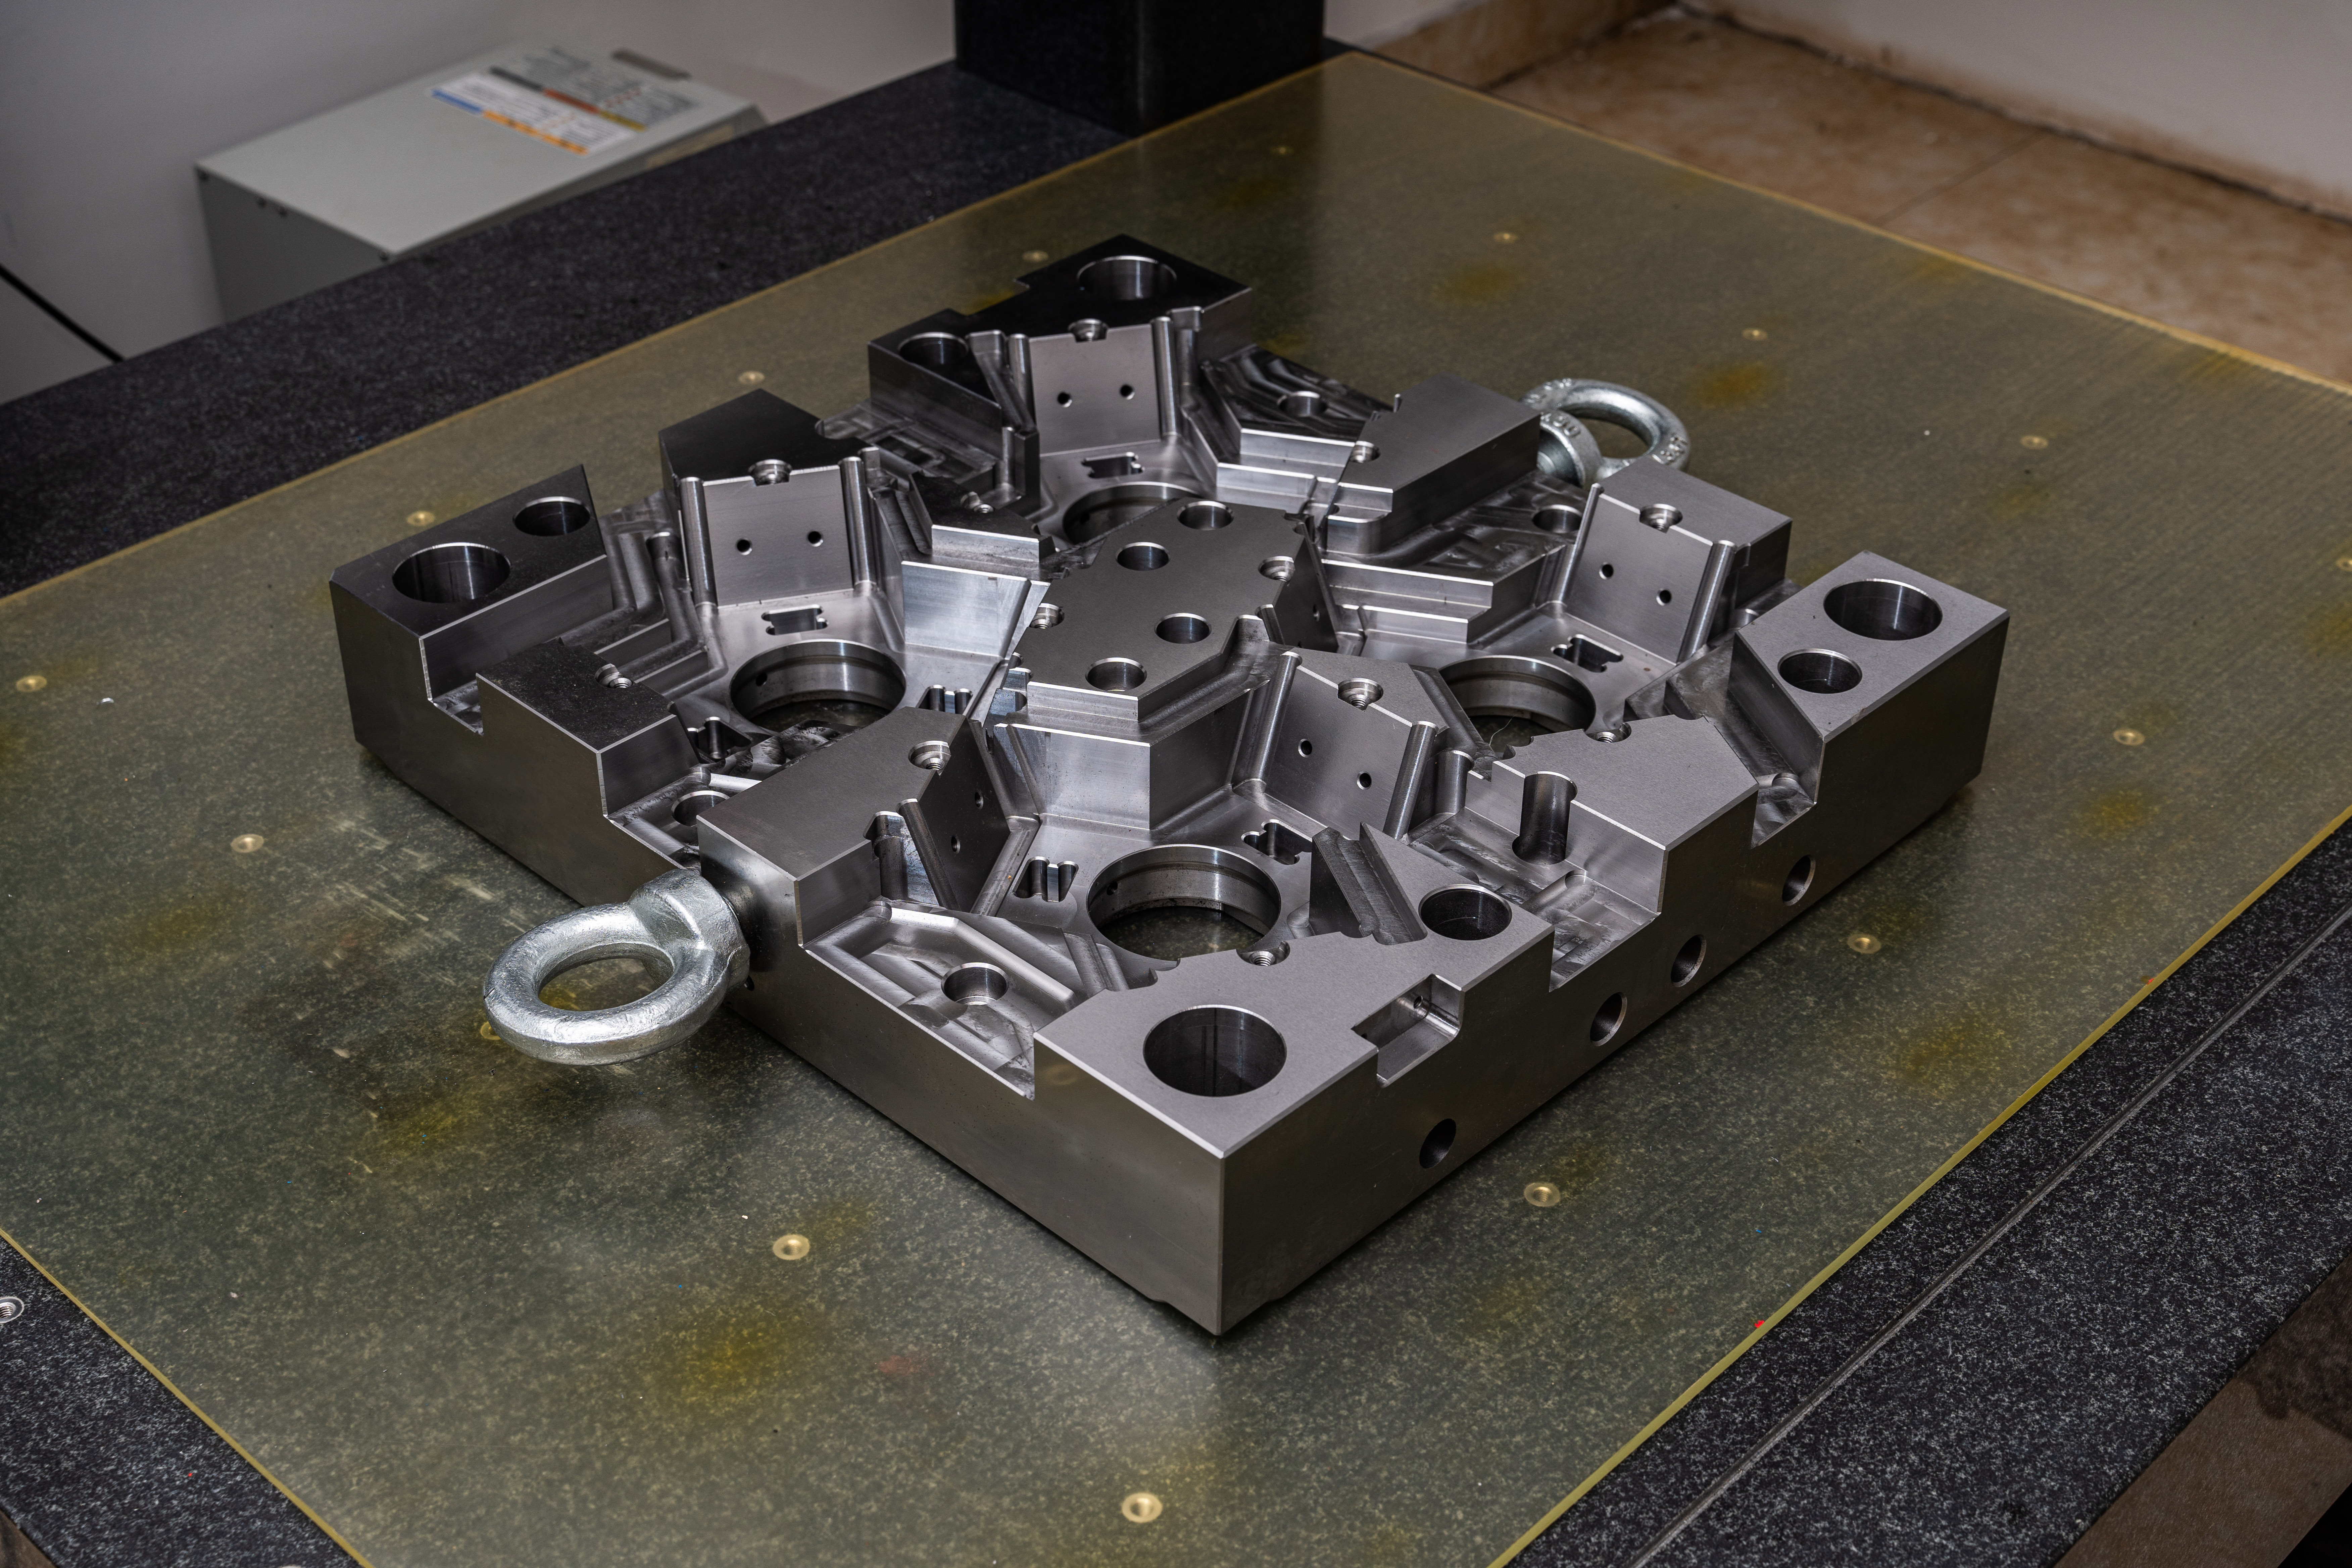
The Mold Base industry is a vital part of the manufacturing sector, enabling the production of intricate and precise molded parts. An essential component of the mold base design process is creating attractive and simple isometric drawings. Isometric drawings provide a 3D representation of the mold base, allowing engineers and manufacturers to visualize the final product accurately. In this article, we will explore the steps involved in creating an appealing and straightforward isometric drawing for the mold base industry.
Step 1: Define the Objectives
Before starting the isometric drawing, it is crucial to determine the objectives of the drawing. These objectives may include showcasing the mold base's overall structure, highlighting specific features or components, or demonstrating the assembly process. Clear objectives will guide the drawing process and ensure that the final result meets the intended purpose.
Step 2: Gather the Necessary Information
To create an accurate isometric drawing, gather all the required information about the mold base. This information may include the exact dimensions, specific tolerances, material specifications, and any other relevant details. Having comprehensive information at hand will help you create an isometric drawing that reflects the precise characteristics of the mold base.
Step 3: Use Appropriate Software
An isometric drawing requires the use of specialized software that enables the creation of 3D models. Choose a software program that allows you to generate isometric views accurately while offering a user-friendly interface. Some popular software options in the industry include Autodesk Inventor, SolidWorks, and AutoCAD.
Step 4: Start with Basic Shapes
Begin the isometric drawing by creating the basic shapes that form the mold base. Utilize the software's tools to draw rectangles, circles, and other necessary geometric shapes. Ensure that the dimensions of each shape match the predetermined specifications for the mold base.
Step 5: Add Depth and Detail
Once the basic shapes are in place, add depth and detail to the isometric drawing. Extrude the appropriate shapes to give them a three-dimensional appearance. Include features such as screw holes, slots, and recesses by using the software's tools for creating specialized cuts or protrusions. Pay careful attention to the precise measurements and alignment of these details to ensure accuracy.
Step 6: Apply Material and Texture
To enhance the visual appeal of the isometric drawing, apply different materials and textures to various components of the mold base. This will make the drawing more realistic and provide a clearer understanding of the material properties and surface finishes. Use appropriate rendering options in the software to achieve a visually pleasing representation.
Step 7: Label and Annotate
To make the isometric drawing informative, label and annotate the various parts and features of the mold base. Use callout boxes, text, or arrows to indicate important dimensions, tolerances, or assembly instructions. This labeling will provide valuable information for manufacturers, engineers, and any other stakeholders reviewing the drawing.
Step 8: Review and Revise
Before finalizing the isometric drawing, review it thoroughly for accuracy and clarity. Double-check all dimensions, labels, and annotations to ensure they are correct and effectively communicate the required information. Revise any errors or inconsistencies, and make necessary adjustments to improve the drawing's overall quality.
Conclusion
Creating an attractive and simple isometric drawing is essential in the Mold Base industry. It allows for clear visualization of the mold base's structure, features, and assembly process. By following the steps outlined in this article, you can produce professional-looking isometric drawings that accurately depict the mold base, contributing to efficient manufacturing processes and successful production of molded parts.


