Introduction to Interpreting Dimension Format Drawings in the Mold Base Industry
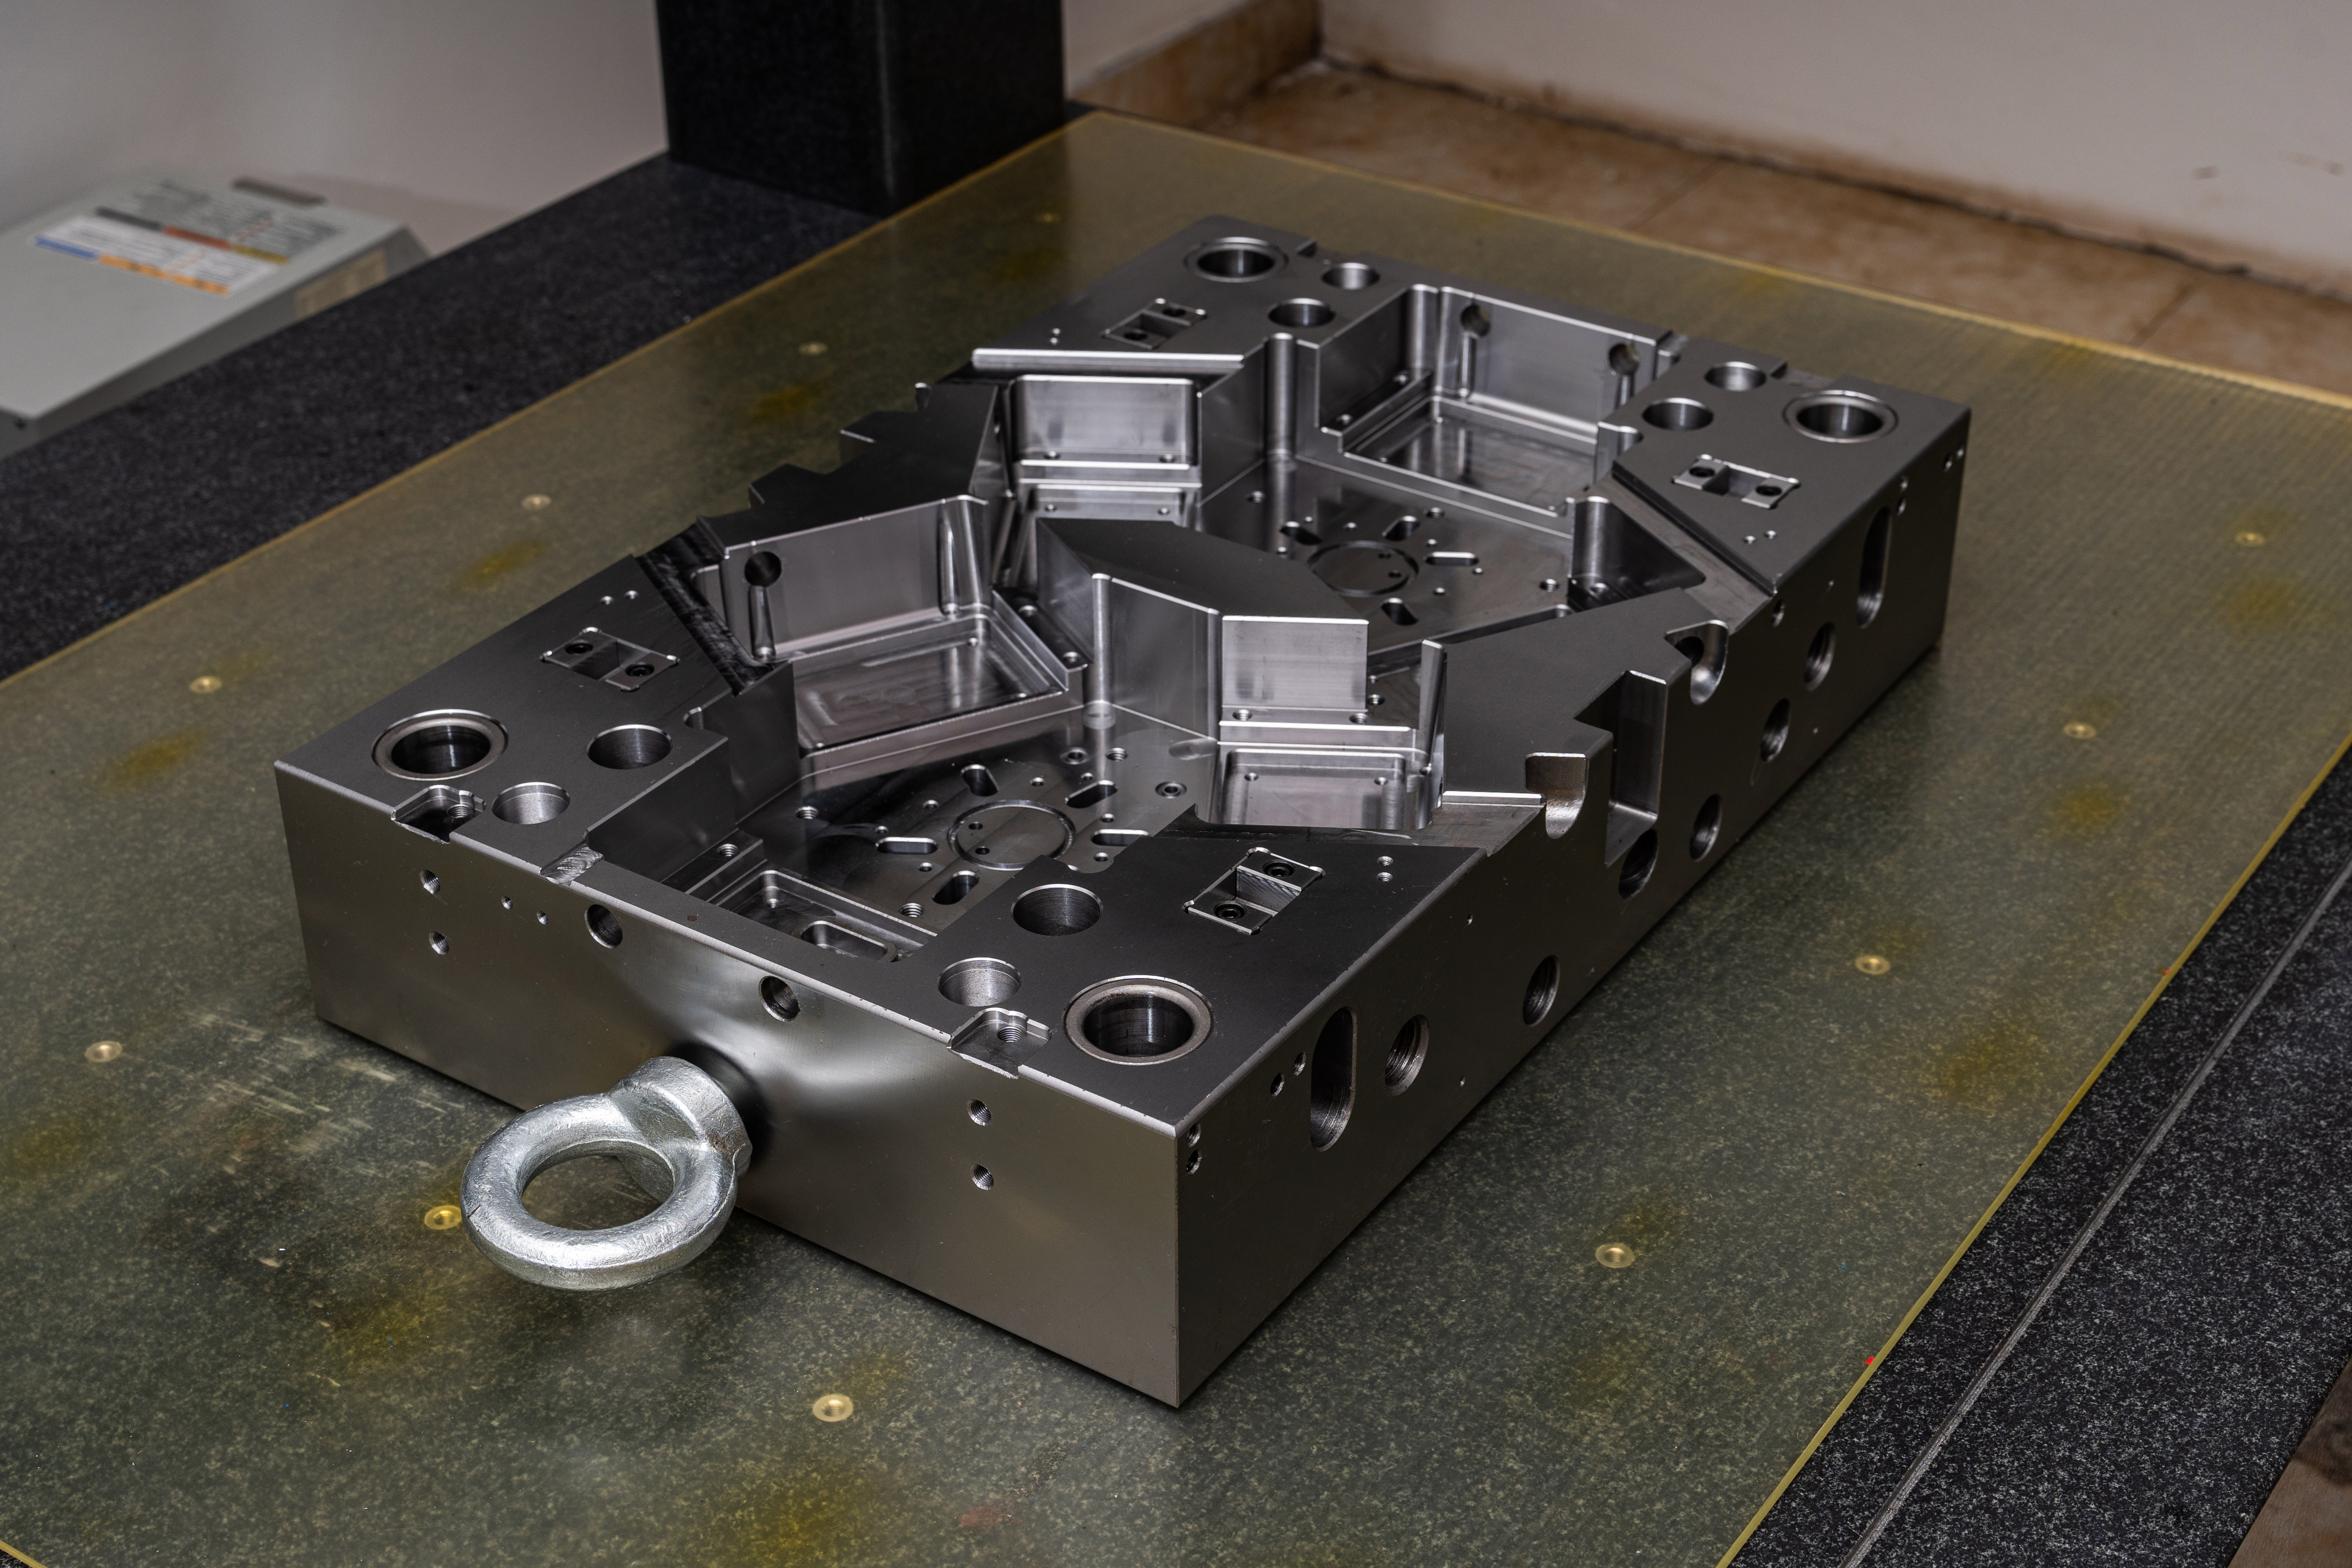
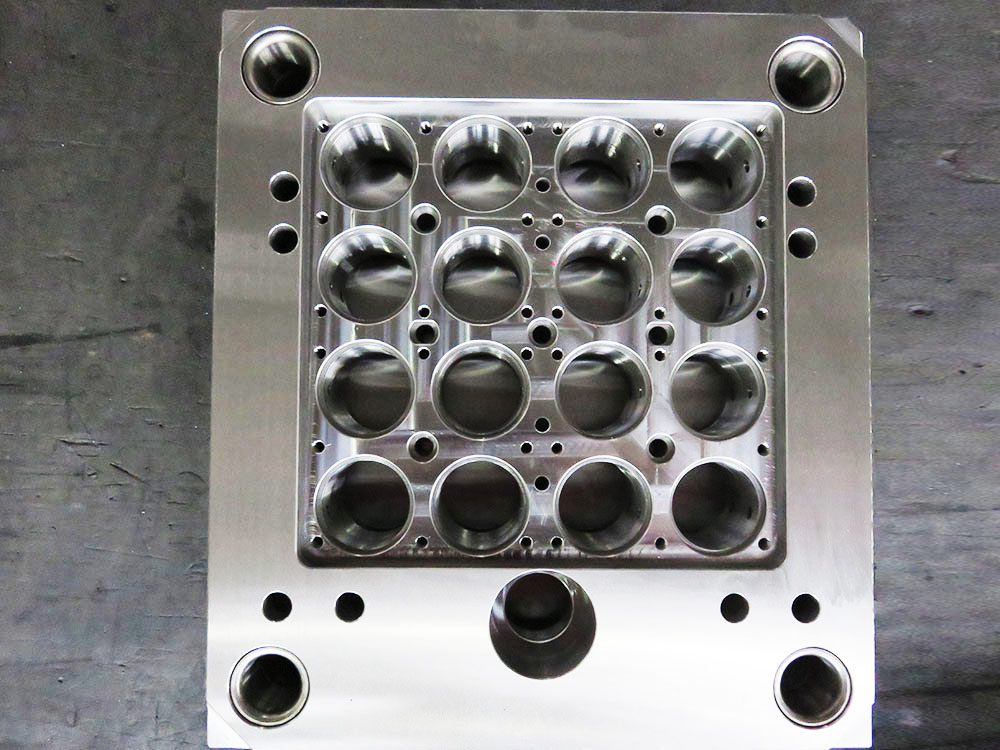
In the mold base industry, dimension format drawings play a crucial role in communicating design specifications and guiding the manufacturing process. These drawings provide detailed information about the size and shape of the mold base, allowing designers and manufacturers to accurately create the required mold components. In this article, we will explore the process of interpreting dimension format drawings in the mold base industry.
Understanding Dimension Format Drawings
Dimension format drawings consist of various symbols, lines, and annotations that convey precise measurements and specifications. To interpret these drawings accurately, it is essential to have a thorough understanding of the various elements used.
The most common symbols used in dimension format drawings include circles for holes and cylinders, triangles for positioning, squares for dimensions, and double arrows for distances. These symbols are used in combination with lines and annotations to depict the size, shape, and placement of mold base components.
Interpreting Lines and Annotations
Lines and annotations in dimension format drawings provide crucial information about the mold base design. The most common lines used include solid lines, dash lines, and centerlines.
Solid lines represent visible edges and outlines of the mold base components. They indicate the actual dimensions and shapes that should be replicated during the manufacturing process. Dash lines, on the other hand, are used for hidden features or components that are not visible from the outside. These lines provide information about the internal structure of the mold base.
Centerlines are used to indicate the center of circles, cylinders, or other symmetrical shapes. They help in aligning components and ensuring accurate positioning during assembly. It is crucial to pay close attention to these lines and accurately interpret their meanings to avoid errors in manufacturing.
Understanding Dimensional Measurements
Dimensional measurements in dimension format drawings are crucial for the accurate production of mold base components. These measurements are typically represented using squares and numbers.
When interpreting dimensional measurements, it is important to pay attention to the units of measurement used. Common units include inches and millimeters. Precision is also a critical factor, with decimal places and tolerances often specified in the drawings.
Additionally, dimensions may be accompanied by annotations that provide further instructions or specifications. These annotations can include geometric tolerancing symbols, surface finish requirements, or material specifications. It is essential to understand and interpret these annotations accurately to ensure the successful manufacturing of mold bases.
Utilizing CAD Software for Interpretation
In today's digital era, CAD software has become an essential tool in the mold base industry. These software applications allow designers and manufacturers to create, interpret, and modify dimension format drawings with precision and ease.
By utilizing CAD software, the interpretation process becomes more efficient and accurate. The software provides advanced tools for zooming, rotating, and analyzing various components of the mold base drawings. It also offers features for automatic dimensioning and annotation, reducing the chances of interpretation errors.
Conclusion
Interpreting dimension format drawings is an essential skill in the mold base industry. It requires a thorough understanding of the various symbols, lines, and annotations used in these drawings. Accurate interpretation ensures precise manufacturing and successful production of mold base components. By utilizing CAD software, designers and manufacturers can enhance the interpretation process and improve overall efficiency in the industry.


