How to Create a CAD Sketch of a Frame in the Mold Base Industry
In the mold base industry, creating a CAD sketch of a frame is an essential task in the mold design process. A CAD sketch allows engineers to visualize and analyze the frame's dimensions, features, and tolerances before manufacturing. In this article, we will discuss the step-by-step process of creating a CAD sketch of a frame, ensuring clarity, professionalism, and organized content.
Step 1: Initial Design Requirements
The first step in creating a CAD sketch of a frame is understanding the design requirements. These requirements may include the overall size of the frame, the number of cavities, the type of material to be used, and any specific design features specified by the client.
Step 2: Choosing the CAD Software
Once the design requirements are clear, the next step is to select the appropriate CAD software. Options such as AutoCAD, SolidWorks, or Creo are commonly used in the mold base industry. Choosing the right software is important as it affects the ease of sketching, modeling, and generating accurate dimensions.
Step 3: Creating the Sketch
With the chosen CAD software, the engineer can start creating the sketch of the frame. It is crucial to establish an orthographic projection to accurately represent the different views of the frame. The front, top, side, and isometric views should be created and aligned properly.
Step 4: Applying Dimensions and Tolerances
After creating the initial sketch, the engineer needs to apply dimensions and tolerances. These dimensions define the specific measurements of the frame, while tolerances ensure that the manufactured frame remains within acceptable limits. It is essential to refer to industry standards and manufacturing capabilities to determine appropriate tolerances.
Step 5: Adding Design Features
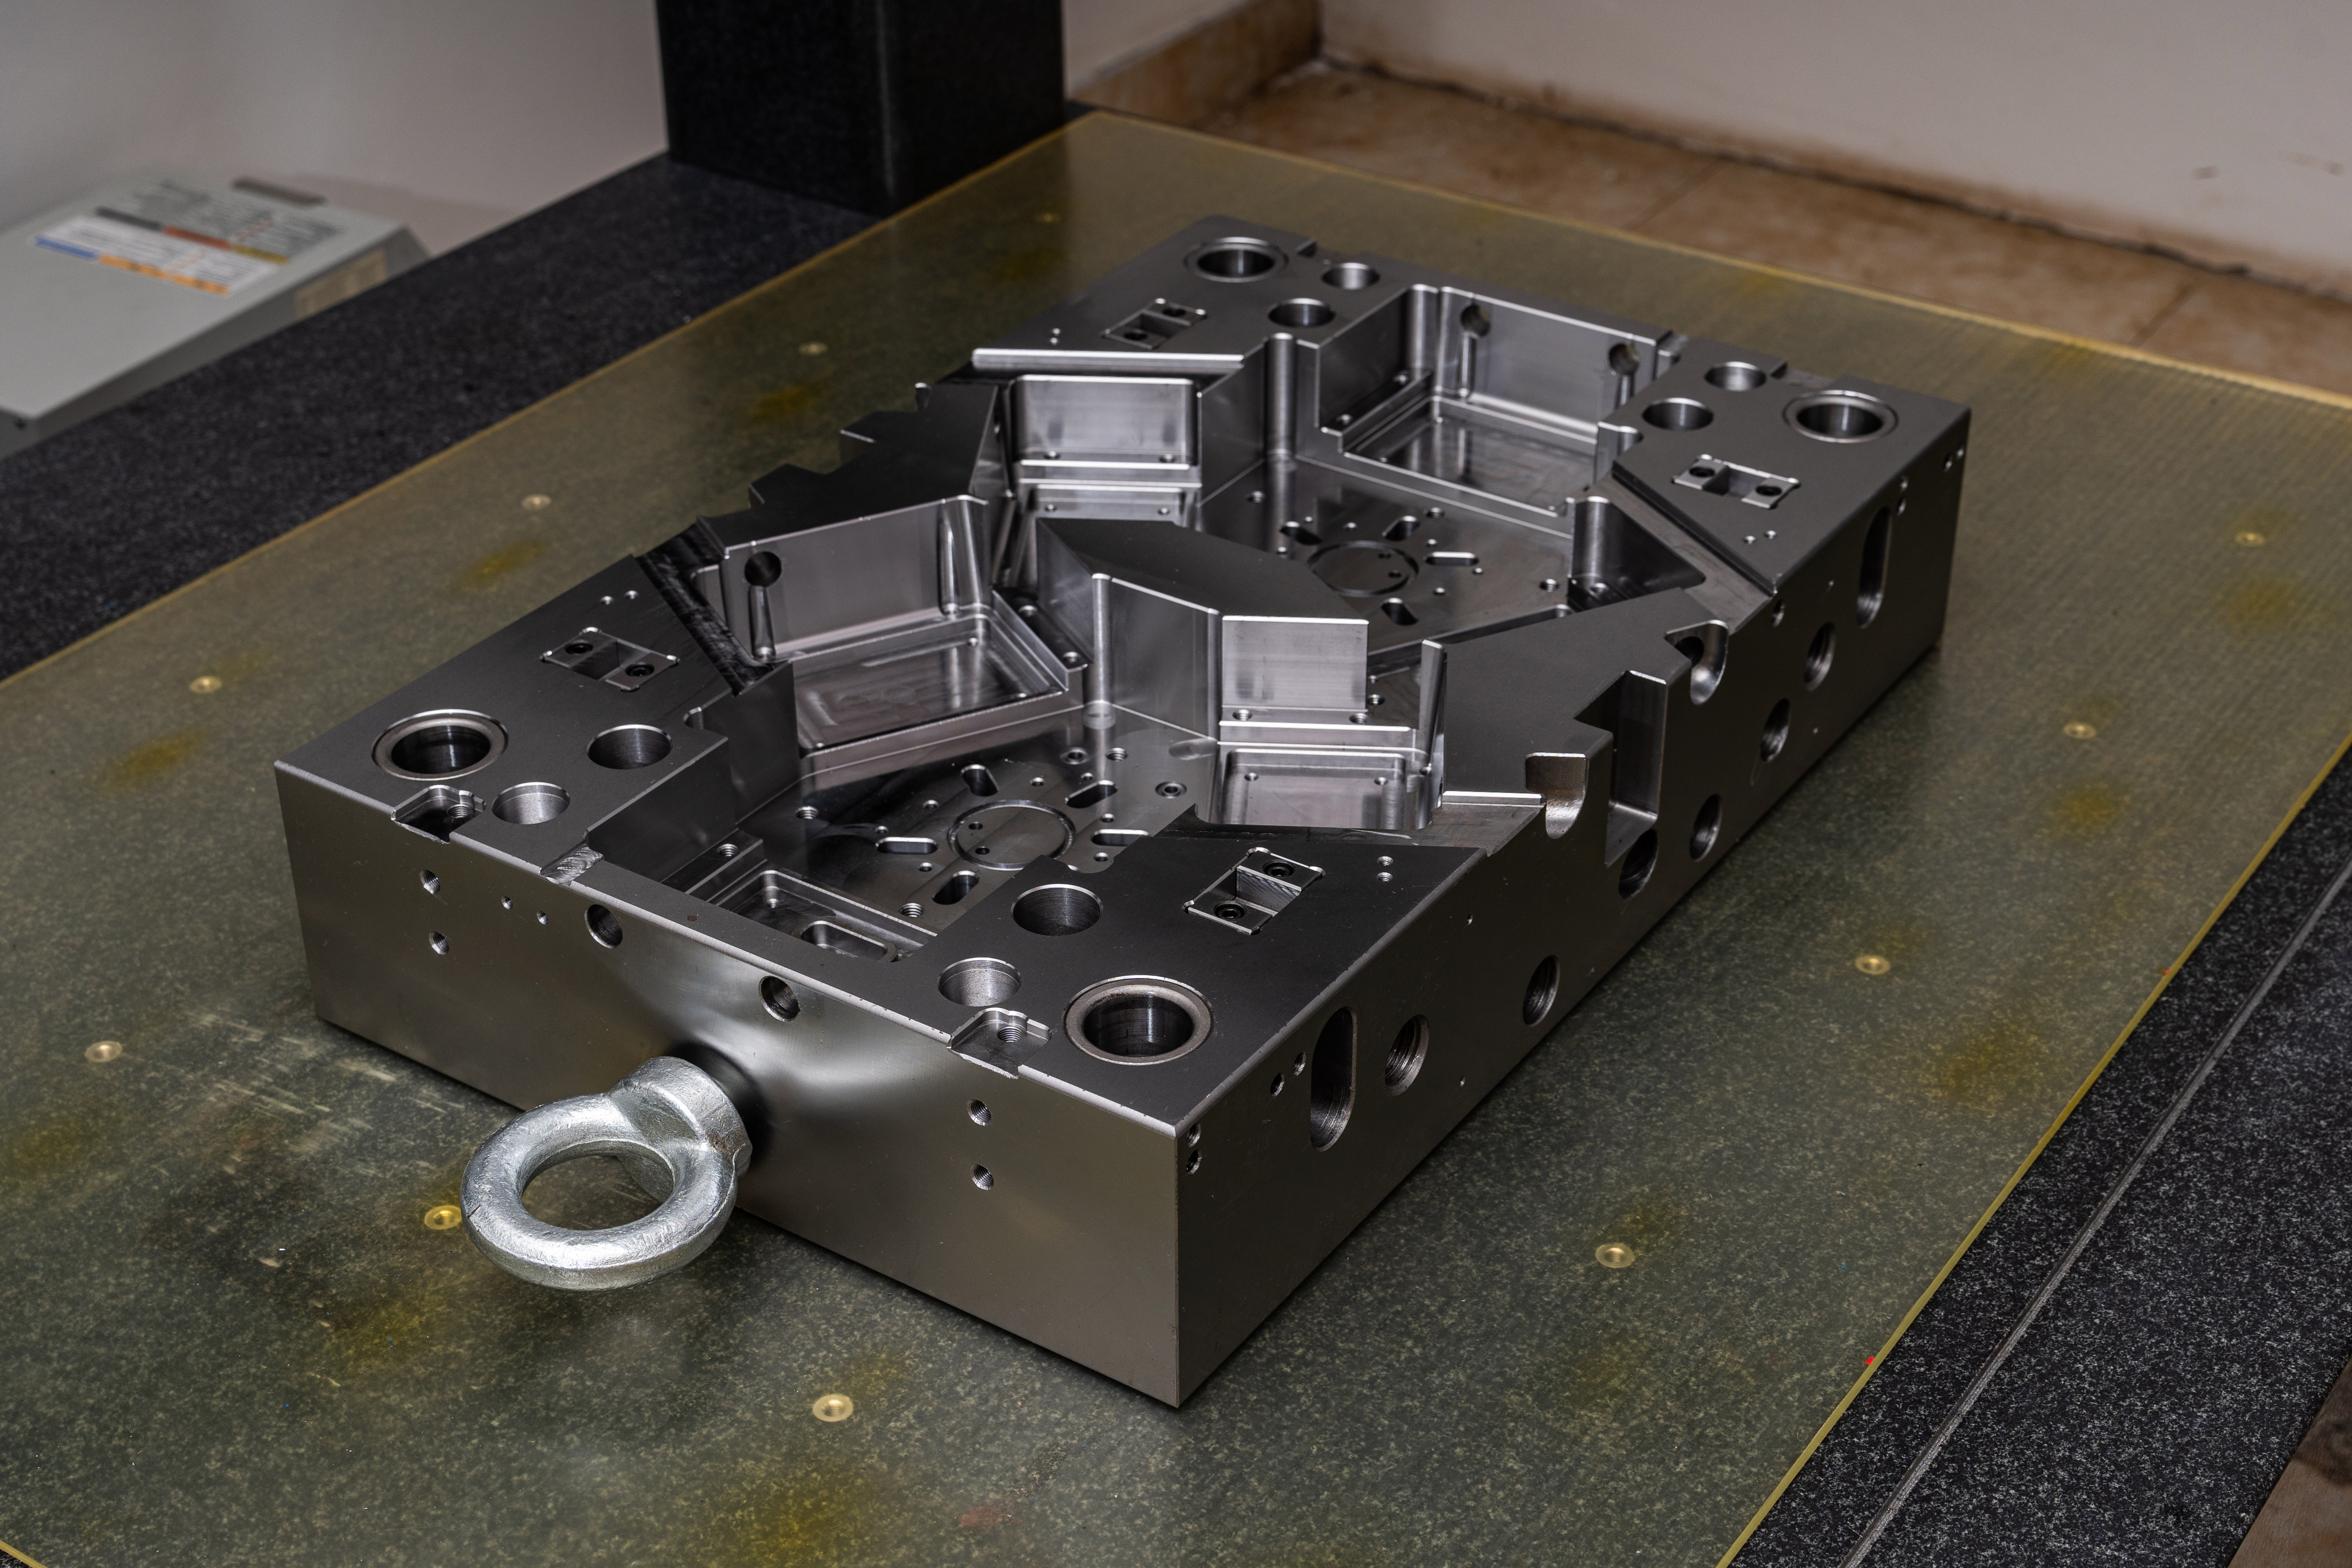
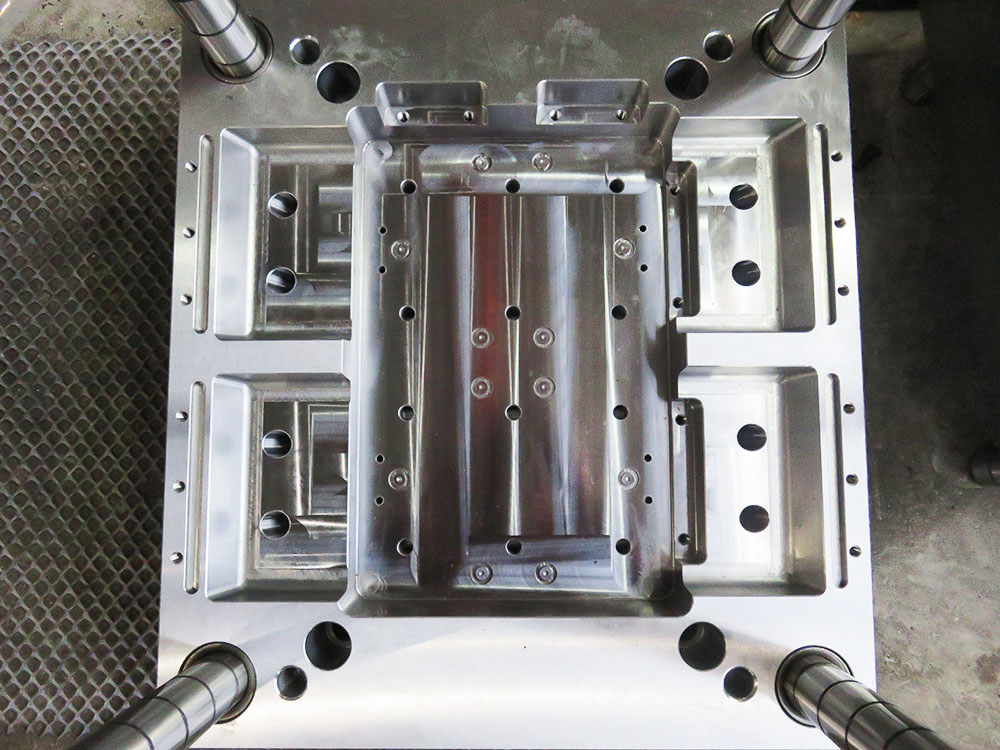
Once the basic sketch and dimensions are established, the engineer can proceed to add design features to the frame. These features may include slots, holes, ribs, bosses, or any other necessary elements based on the function and requirements of the mold. These design features should be carefully placed and dimensioned to ensure proper functionality and manufacturability.
Step 6: Review and Optimization
After completing the initial sketch, it is important to review the design for any errors or inconsistencies. This review process allows engineers to identify and correct any design issues before moving forward with manufacturing. Additionally, the design can be optimized to improve functionality, reduce cost, or enhance manufacturability.
Step 7: Collaboration and Communication
Throughout the CAD sketch creation process, collaboration and communication with other stakeholders, such as mold makers or clients, is crucial. This ensures that all parties involved have a clear understanding of the design requirements and can provide valuable input to the sketch. Regular updates and documentation of design changes also help in maintaining clarity and accountability.
Step 8: Finalization and Documentation
Once the CAD sketch of the frame has been reviewed, optimized, and validated by all stakeholders, it is ready for finalization. The final sketch should be accurately documented, including all relevant views, dimensions, tolerances, and design features. This documentation serves as a reference for manufacturing, inspections, and future design iterations.
Conclusion
Creating a CAD sketch of a frame in the mold base industry requires careful attention to detail, adherence to design requirements, and effective communication with stakeholders. By following the step-by-step process outlined in this article, engineers can ensure a professional and accurate CAD sketch, ultimately contributing to the successful manufacturing of high-quality mold bases.


