Finding the Reference Plane in a Standard Stamping Die: How to Achieve It?
In the mold base industry, finding the reference plane in a standard stamping die is a critical step in ensuring accurate and efficient stamping operations. The reference plane serves as a benchmark for positioning various components and tools within the die, ultimately determining the quality and precision of the final stamped products. In this article, we will explore the process of achieving the reference plane in a standard stamping die and highlight the key steps involved.
Step 1: Establishing the Die Surface
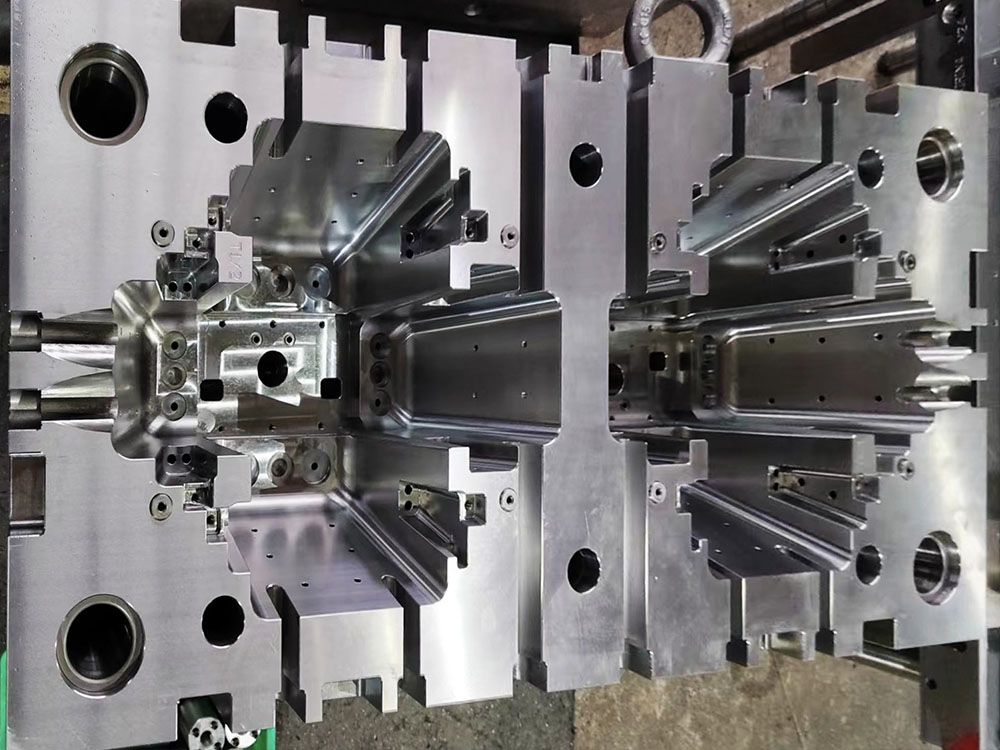
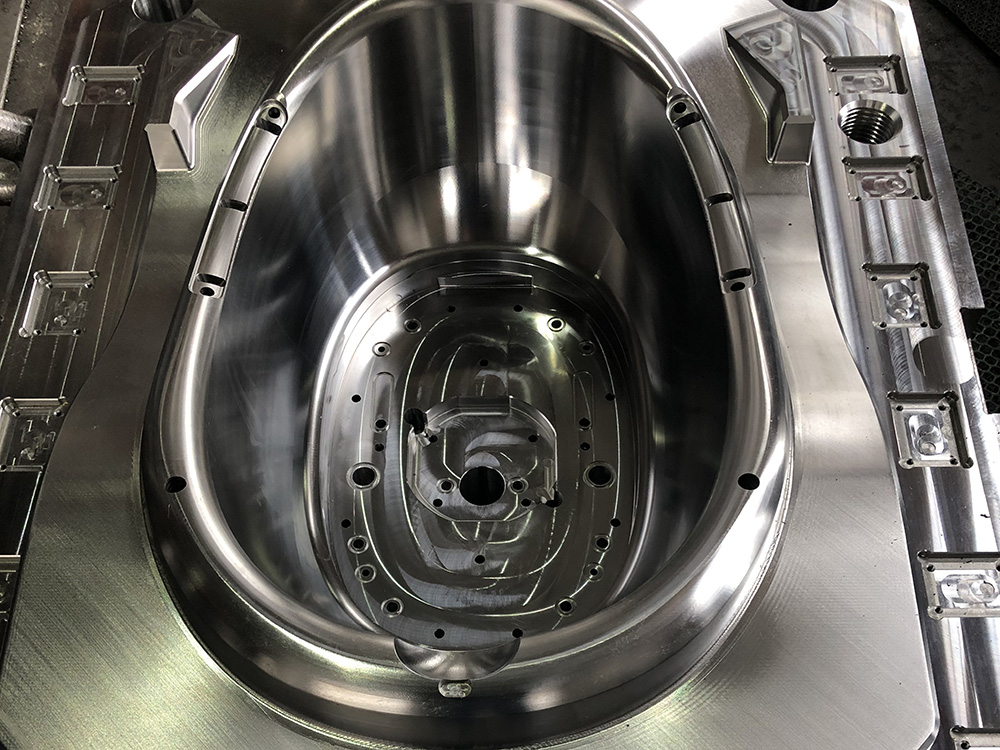
The first step in finding the reference plane is to establish the die surface. This surface serves as the primary base for the rest of the die components. It is typically made of a high-strength material, such as steel or cast iron, to withstand the high pressures and forces involved in the stamping process. The die surface needs to be carefully machined and leveled to ensure its flatness and perpendicularity to the die's guiding system.
Step 2: Installing Alignment Pins
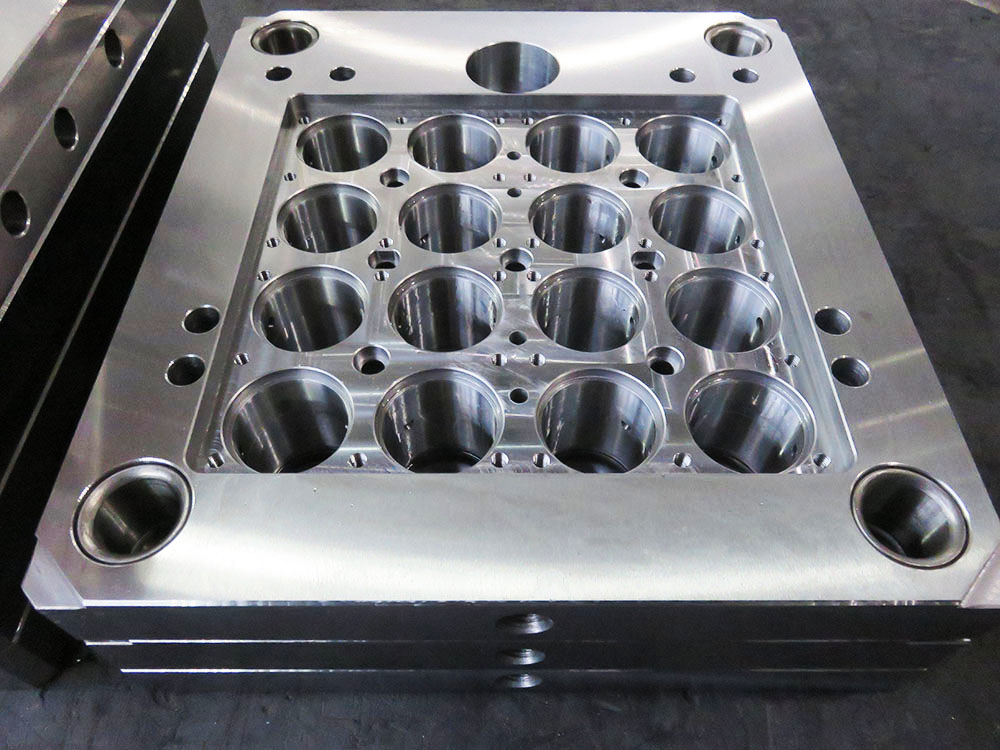
Once the die surface is prepared, the next step is to install alignment pins. Alignment pins play a crucial role in positioning and aligning various components and tools within the die. These pins are precisely machined and strategically placed to ensure accurate alignment of the die components. By securing the alignment pins in the die surface, a fixed reference point is established, facilitating the subsequent positioning of other die components.
Step 3: Mounting the Die Shoe
The die shoe, also known as the die base, is the foundation on which the stamping die is mounted. It provides stability and support to the die during the stamping process. To achieve the reference plane, the die shoe needs to be precisely aligned with the established die surface and the installed alignment pins. This alignment ensures that the die components mounted on the die shoe are accurately positioned relative to the reference plane.
Step 4: Positioning the Die Components
With the die shoe in place, the next step is to position the die components. These components include punches, dies, and retainers, among others, which are essential for forming and shaping the final stamped products. The position of these components is determined by their interaction with the alignment pins and the reference plane. Careful attention must be paid to ensure the accurate alignment and positioning of these components to avoid any distortion or misalignment during the stamping process.
Step 5: Verifying the Reference Plane
Once the die components are in position, the final step is to verify the reference plane. This involves performing various tests and measurements to ensure that the die components are accurately aligned with the established reference plane. This verification process may include the use of precision measuring instruments, such as dial indicators or laser alignment systems, to check the flatness, parallelism, and perpendicularity of the die components. Any discrepancies or deviations from the desired reference plane should be addressed and corrected to achieve optimal stamping performance.
Conclusion
Finding the reference plane in a standard stamping die is a crucial process in the mold base industry. It ensures the accurate alignment and positioning of die components, ultimately impacting the quality and precision of the final stamped products. By following the steps outlined in this article, manufacturers can achieve a reliable reference plane, leading to improved efficiency and productivity in stamping operations.


