Detecting Deformation of Support Frame with Theodolite
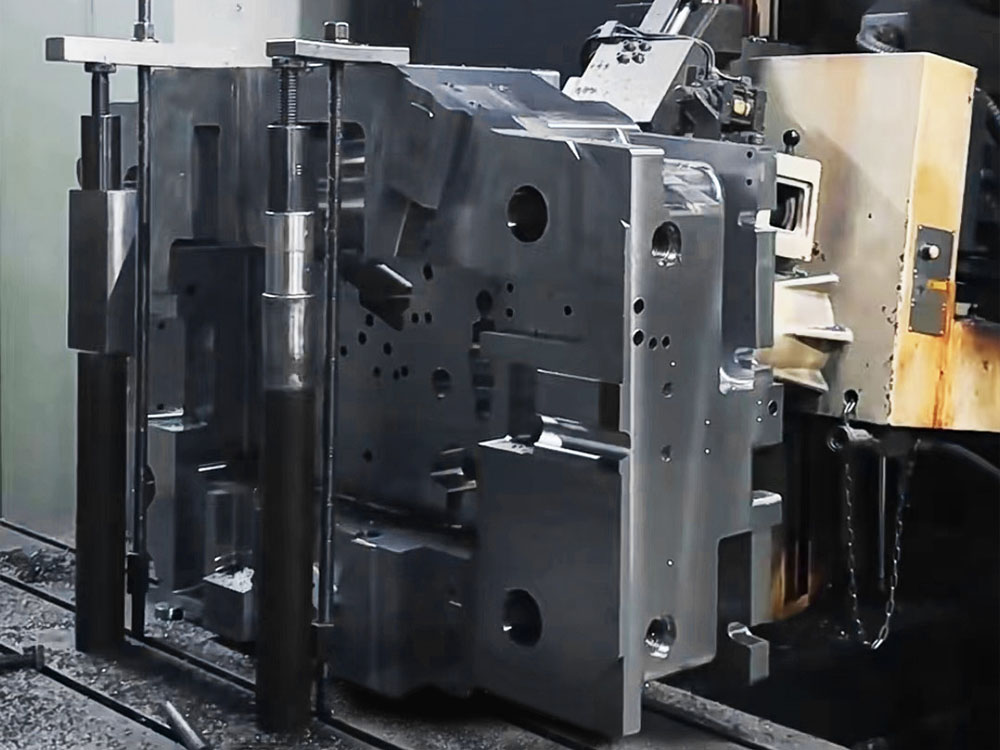
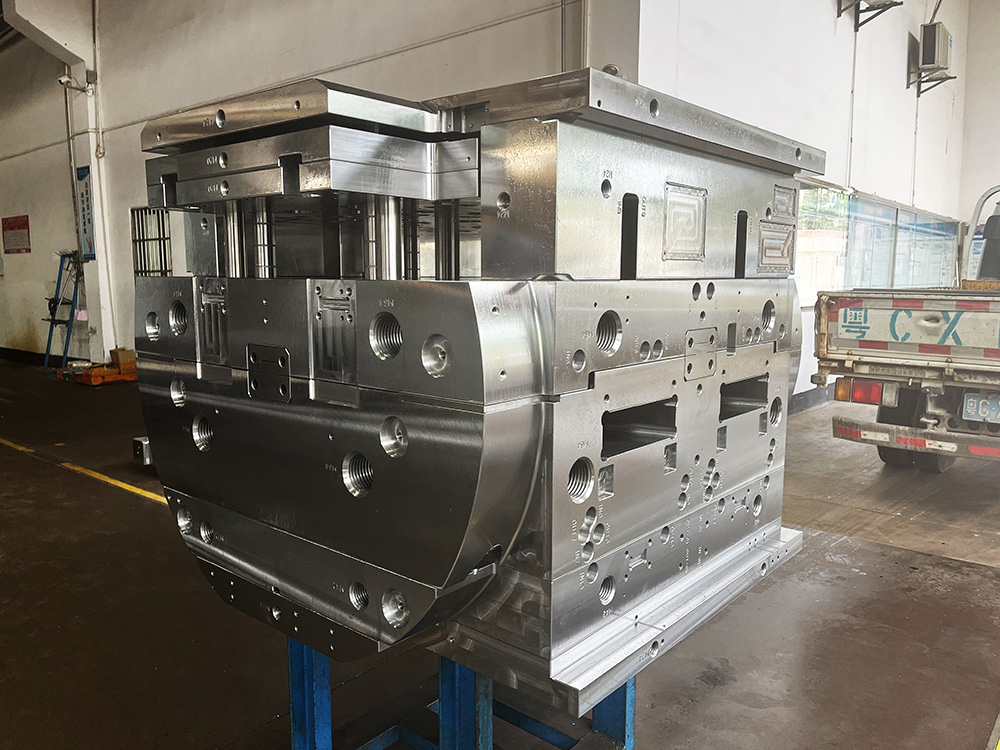
The support frame plays a crucial role in the Mold Base industry. It provides stability and structural integrity to support the mold and ensure the accuracy of the final product. However, over time, the support frame may experience deformation due to various factors such as high temperature, heavy loads, or improper maintenance. Detecting and rectifying these deformations is essential to maintain the productivity and quality of the mold base. In this article, we will discuss the use of theodolite in detecting deformations of the support frame and the importance of this process.
1. Introduction to Theodolite
A theodolite is a precision instrument used for measuring vertical and horizontal angles with a high degree of accuracy. It consists of a telescope mounted on a rotating base and a vertical axis that allows for precise measurements. Theodolites are widely used in surveying, civil engineering, and construction for various applications, including measuring distances, determining elevations, and performing angular measurements.
2. The Importance of Detecting Support Frame Deformations
The support frame serves as the foundation for the entire mold base system. Any deformation in the frame can have serious consequences, such as misalignment of the mold components, decreased precision, and even mold failure. Therefore, it is crucial to detect and rectify support frame deformations as early as possible to ensure the smooth operation of the mold base.
3. Process of Detecting Support Frame Deformation with Theodolite
3.1 Preparation: Before beginning the deformation detection process, it is essential to ensure that the theodolite is calibrated correctly and set up on a stable tripod. The support frame should also be cleaned and free from any obstructions or debris.
3.2 Establishing Control Points: Control points are reference points on the support frame that will be used to measure deformations accurately. These points should be strategically located across the frame, considering its size and structure. It is advisable to consult the manufacturer's guidelines or an expert for guidance on the appropriate control point locations.
3.3 Measurement Procedure: The measurement procedure involves observing and recording the angle readings from the theodolite for each control point. The procedure should be systematic, starting from one end of the support frame and gradually moving to the other end. Each control point should be measured multiple times to ensure accuracy and consistency in the readings.
3.4 Calculation and Analysis: Once all the angle readings for the control points are recorded, they can be used to calculate the deformations in the support frame. This calculation can be performed using mathematical formulas or dedicated software designed for this purpose. The results should be analyzed to identify any significant deformations and their probable causes.
4. Rectifying Support Frame Deformations
If deformations in the support frame are detected, appropriate corrective measures should be taken to rectify them. The specific actions required will depend on the nature and extent of the deformations. Common methods for rectifying deformations include applying heat to restore the frame's original shape, reinforcing the frame with additional support structures, or replacing damaged components. It is crucial to consult experts or follow manufacturer recommendations while performing these rectification procedures.
5. Conclusion
In summary, detecting and rectifying deformations in the support frame is vital for the Mold Base industry. The use of theodolite provides a precise and accurate method for measuring these deformations. By following a systematic process and utilizing theodolite measurements, manufacturers can ensure the structural integrity and performance of the support frame, ultimately leading to improved productivity and high-quality mold base products.


