Introduction
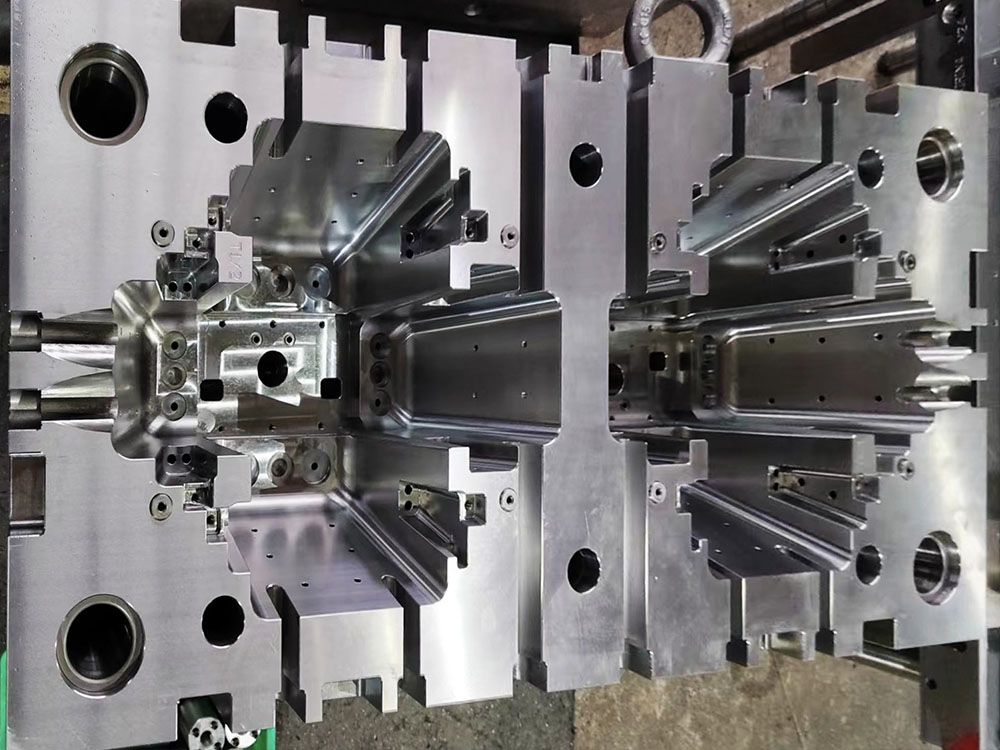
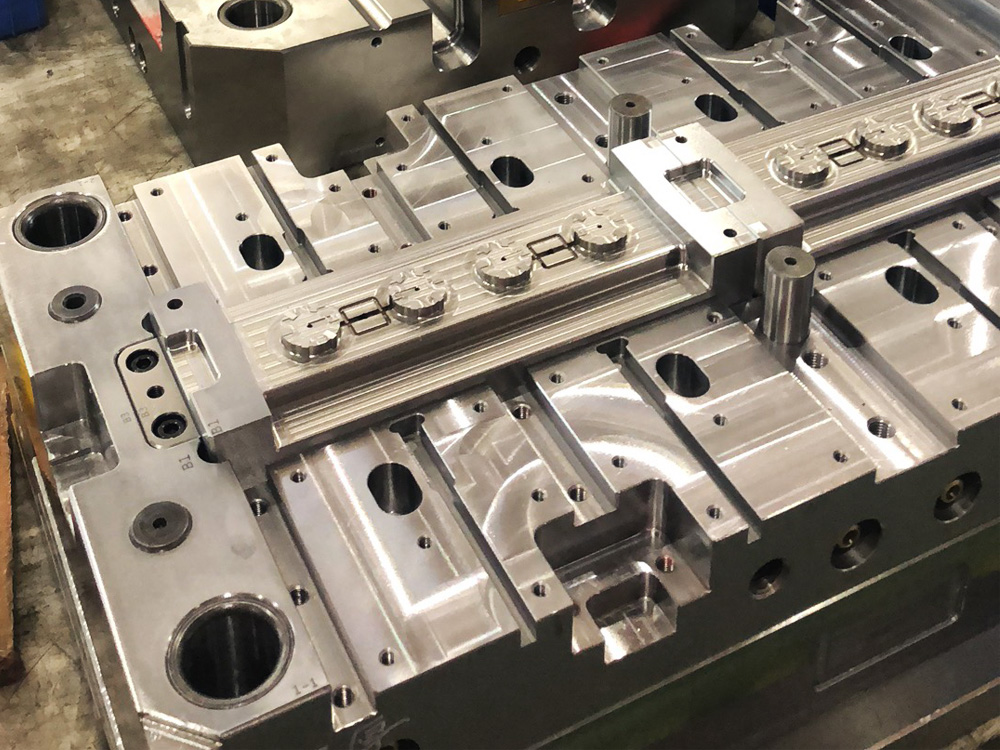
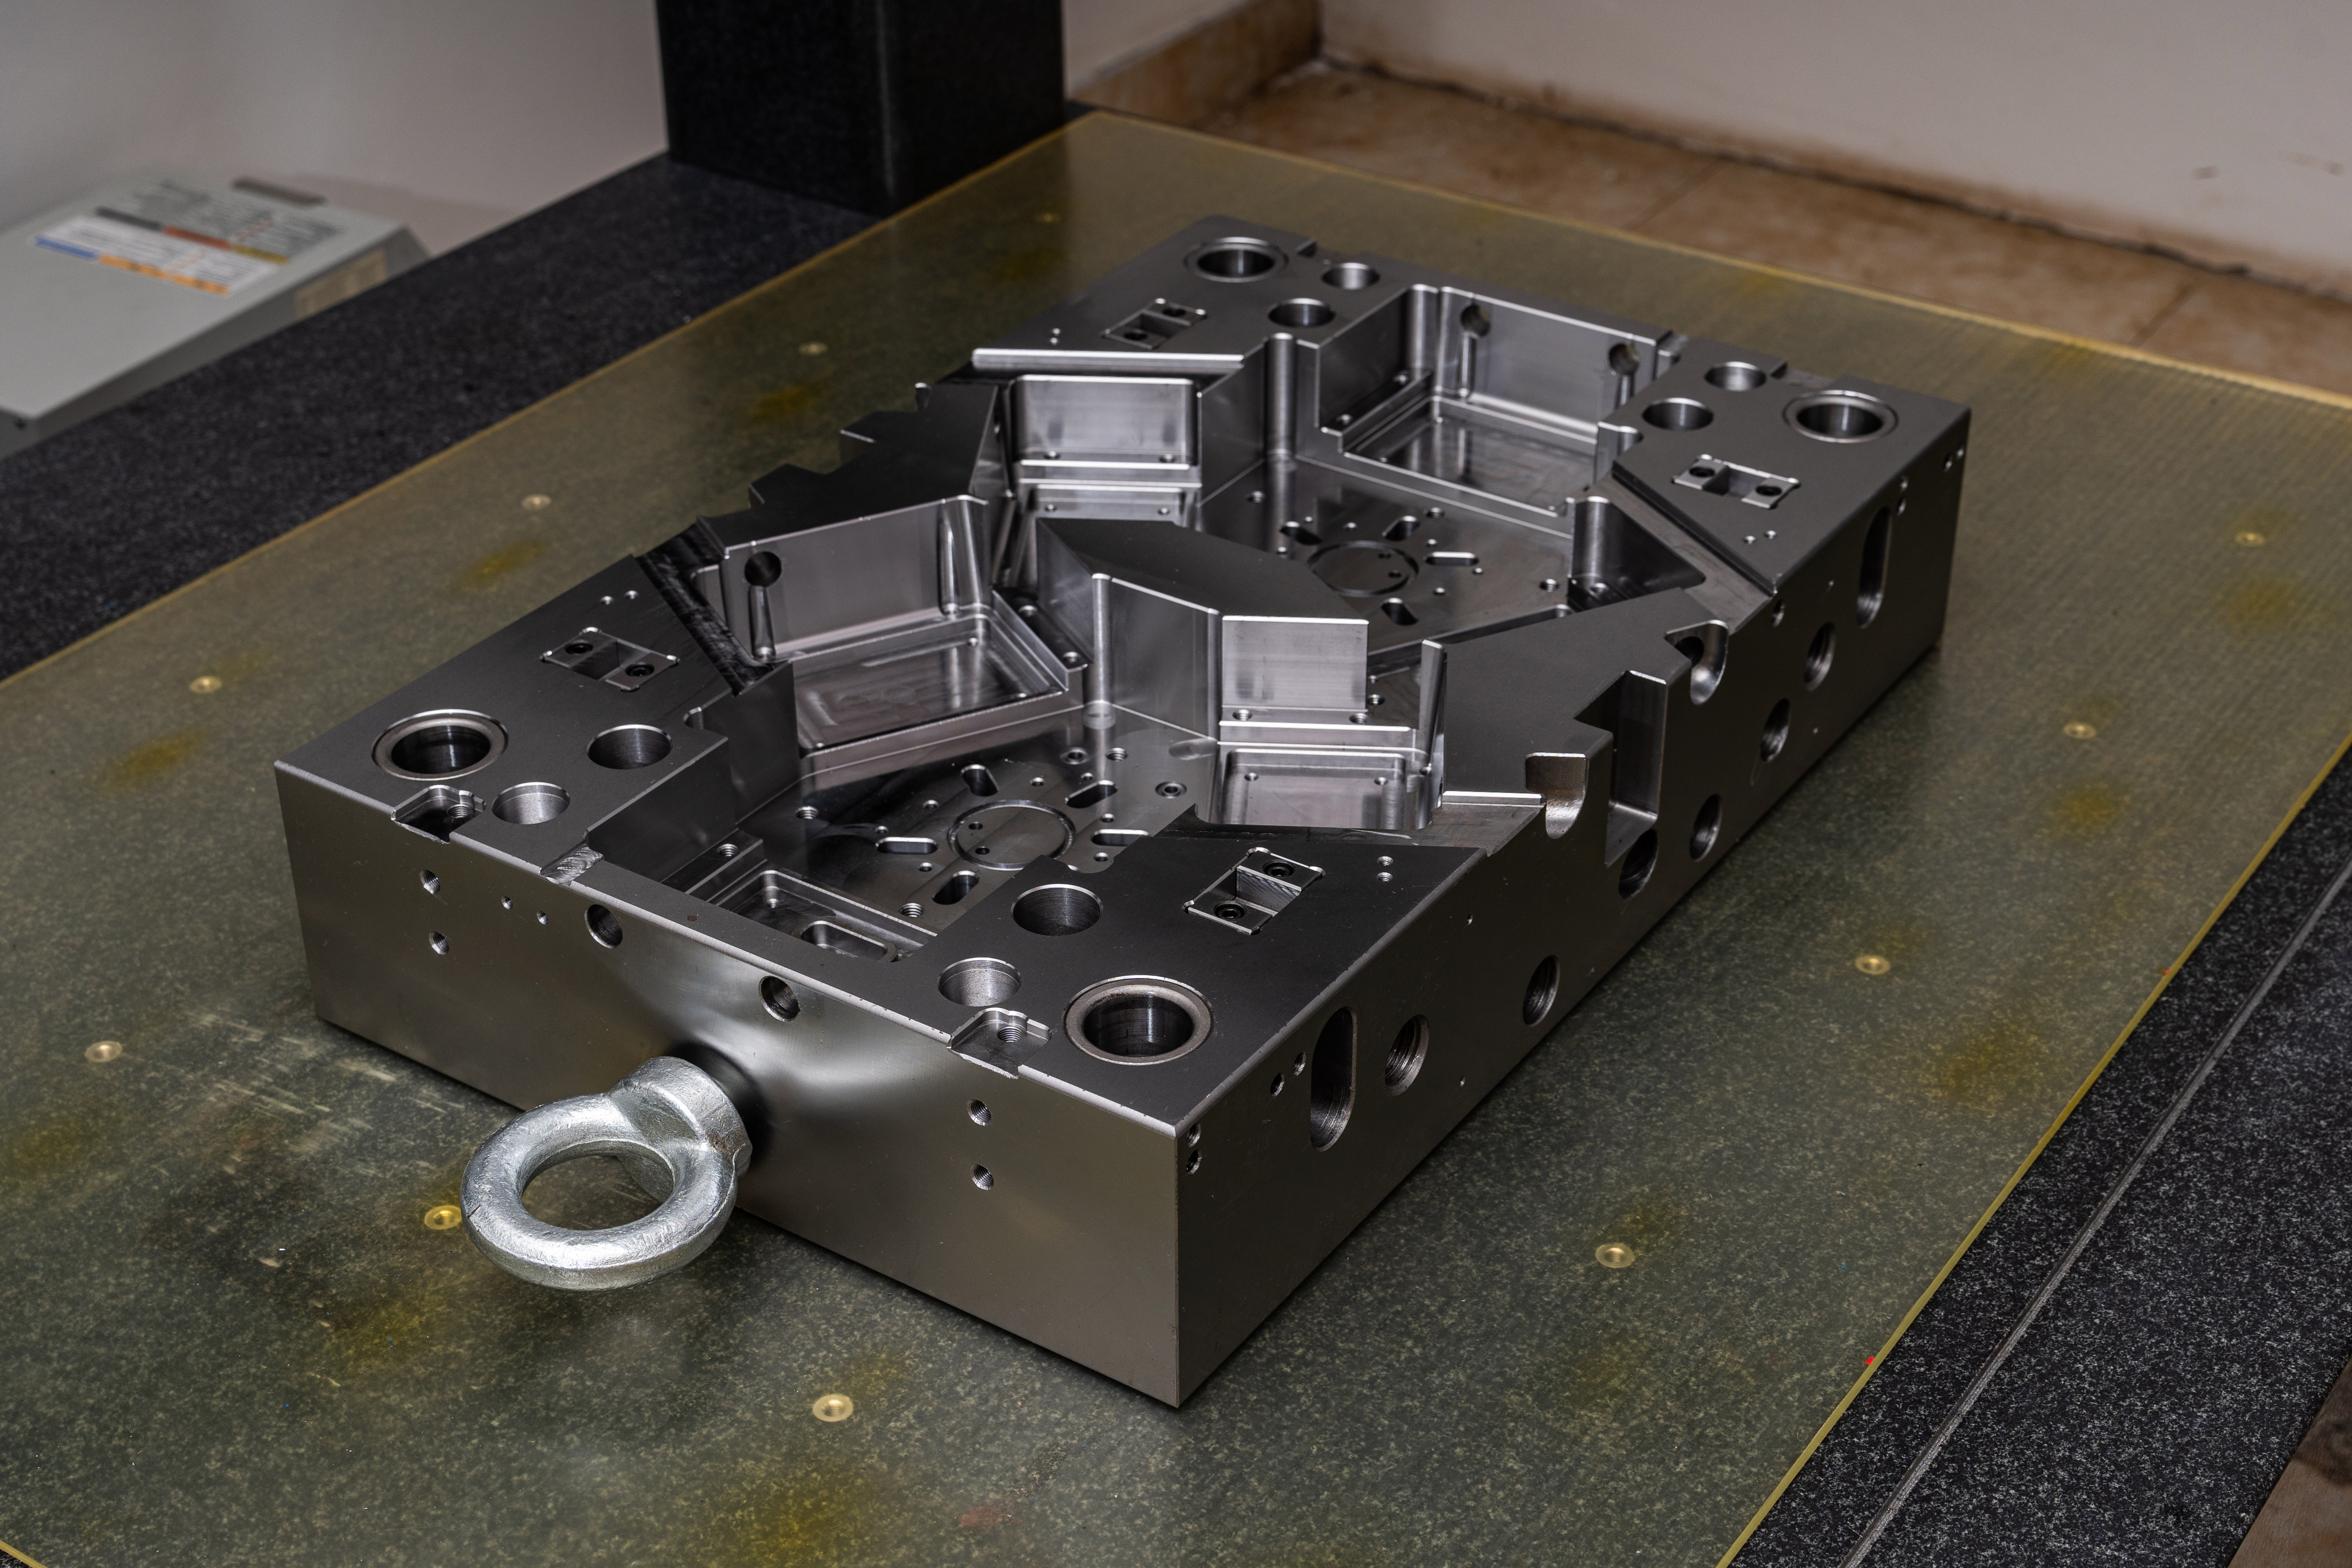
In the mold base industry, achieving optimal surface flatness is crucial for ensuring high-quality powder metallurgy mold frames. A flat mold frame surface is essential to produce precise and consistent molded parts, reducing defects and enhancing overall productivity. This article discusses various techniques and measures to improve the surface flatness of powder metallurgy mold frames.
1. Proper Selection of Materials
Choosing the right materials for mold frame construction is the first step towards achieving improved surface flatness. Materials with high dimensional stability and low internal stress, such as pre-hardened or stainless steels, are ideal choices. These materials have minimal distortion during the manufacturing process, resulting in a flatter mold frame surface.
2. Precision Machining
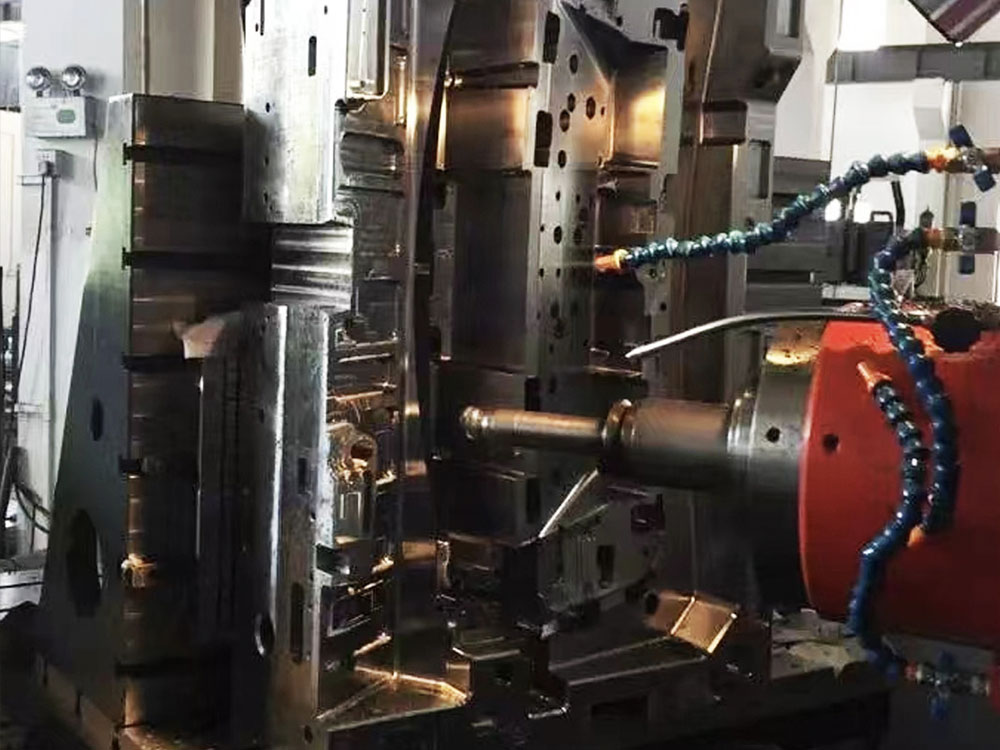
Precision machining plays a vital role in achieving flatness in mold frames. Advanced machining techniques, such as CNC milling and grinding, should be employed. This ensures accurate and consistent removal of material, resulting in a flat surface with tight dimensional tolerances. Regular maintenance of machining tools and equipment is also essential to ensure optimal performance.
3. Heat Treatment
Heat treatment processes, such as stress relieving, annealing, or tempering, can significantly improve the flatness of powder metallurgy mold frames. These processes help eliminate internal stresses and deformations caused by material processing, resulting in a more stable and flat surface.
4. Surface Polishing and Finishing
Post-machining surface polishing and finishing techniques are essential to eliminate any irregularities and imperfections on the mold frame surface. This includes removing burrs, scratches, and any surface roughness. Processes like grinding, lapping, and polishing should be applied meticulously to achieve the desired surface flatness.
5. Proper Assembly and Alignment
During mold frame assembly, it is crucial to ensure proper alignment and fitment of all components. Misalignment or improper assembly can contribute to uneven stress distribution, leading to surface deformations. Utilizing precision measurement tools and techniques, such as coordinate measuring machines (CMMs), can help verify alignment and minimize any potential flatness issues.
6. Quality Control and Inspection
Implementing strict quality control measures and carrying out regular inspections are essential to identify and rectify any potential flatness deviations. Advanced inspection techniques, such as optical profilometers or laser scanning, can accurately assess the surface flatness and identify areas requiring further improvement.
7. Continuous Improvement and Monitoring
Creating a culture of continuous improvement is vital in the mold base industry. By monitoring and analyzing data related to surface flatness, manufacturers can identify patterns, potential sources of issues, and implement corrective actions. Regular monitoring and reassessment of processes and materials used can lead to ongoing enhancements in surface flatness.
Conclusion
Surface flatness is a critical factor in the production of high-quality powder metallurgy mold frames. By employing proper material selection, precision machining, heat treatment processes, surface polishing, proper assembly, and continuous improvement measures, manufacturers can achieve superior surface flatness. Ensuring optimal surface flatness enhances the overall performance, lifespan, and productivity of powder metallurgy mold frames.


